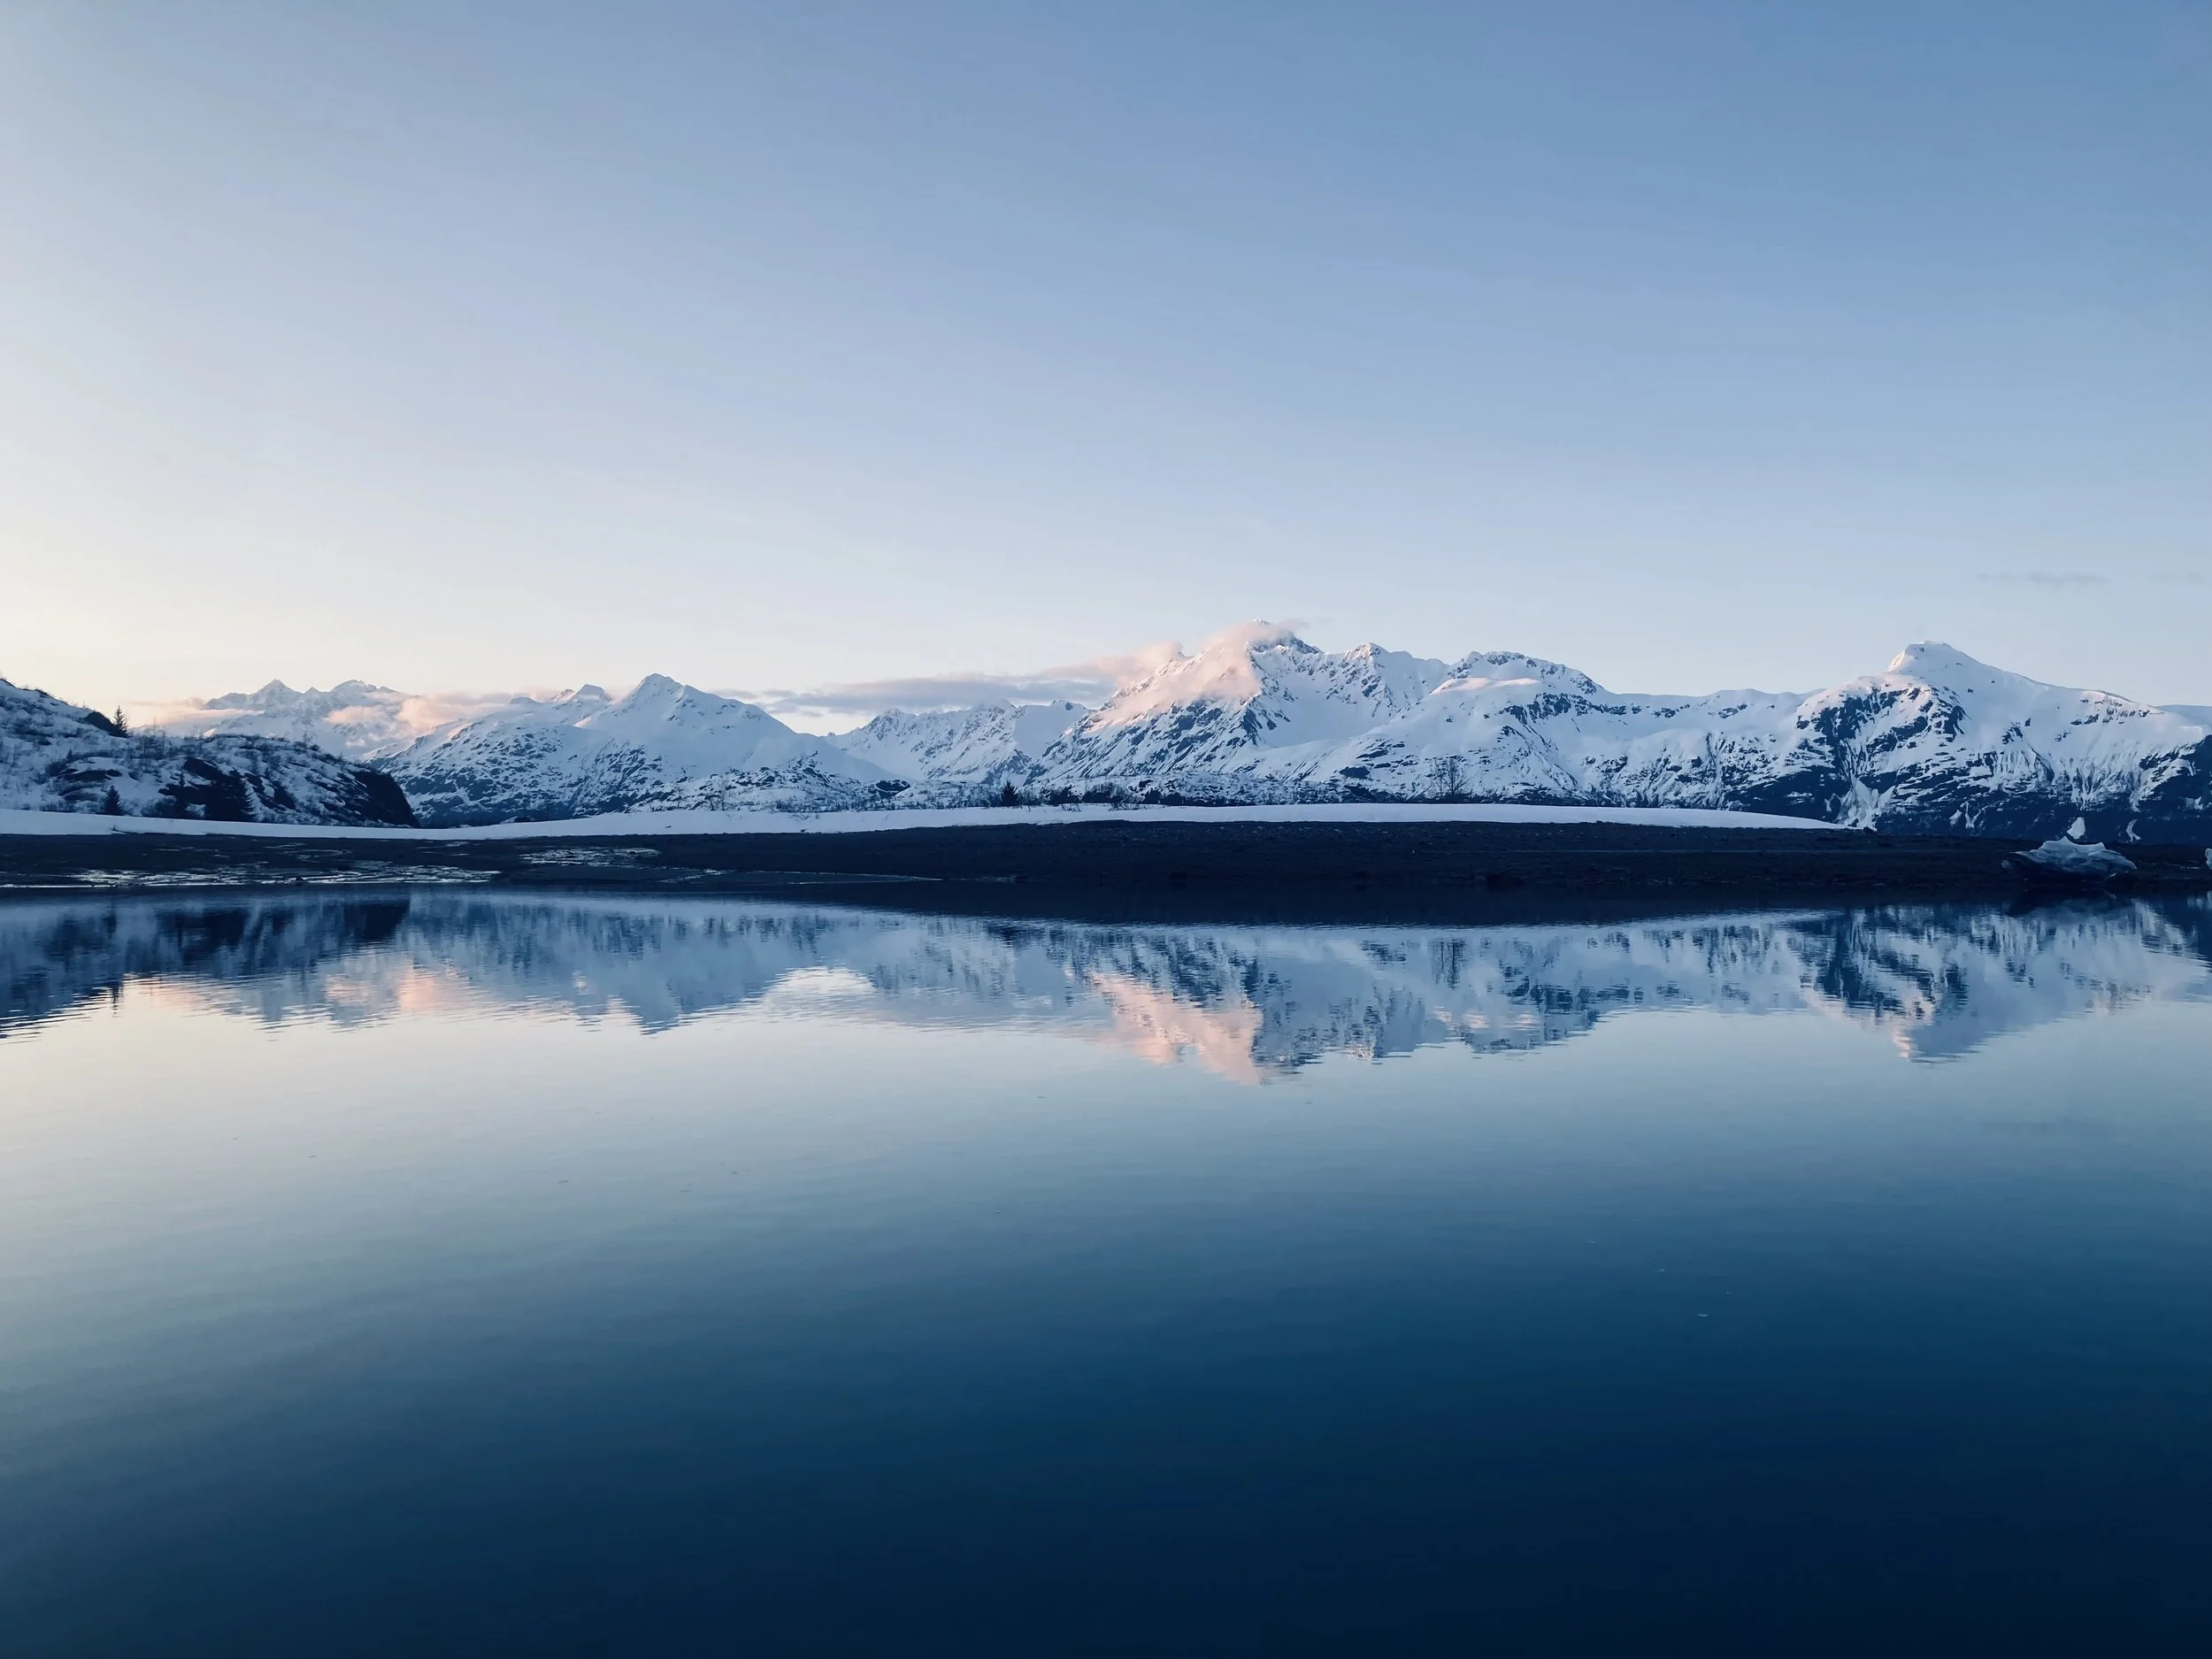
Glacier Bay National Park 2023

Comment

Glacier Bay National Park 2023

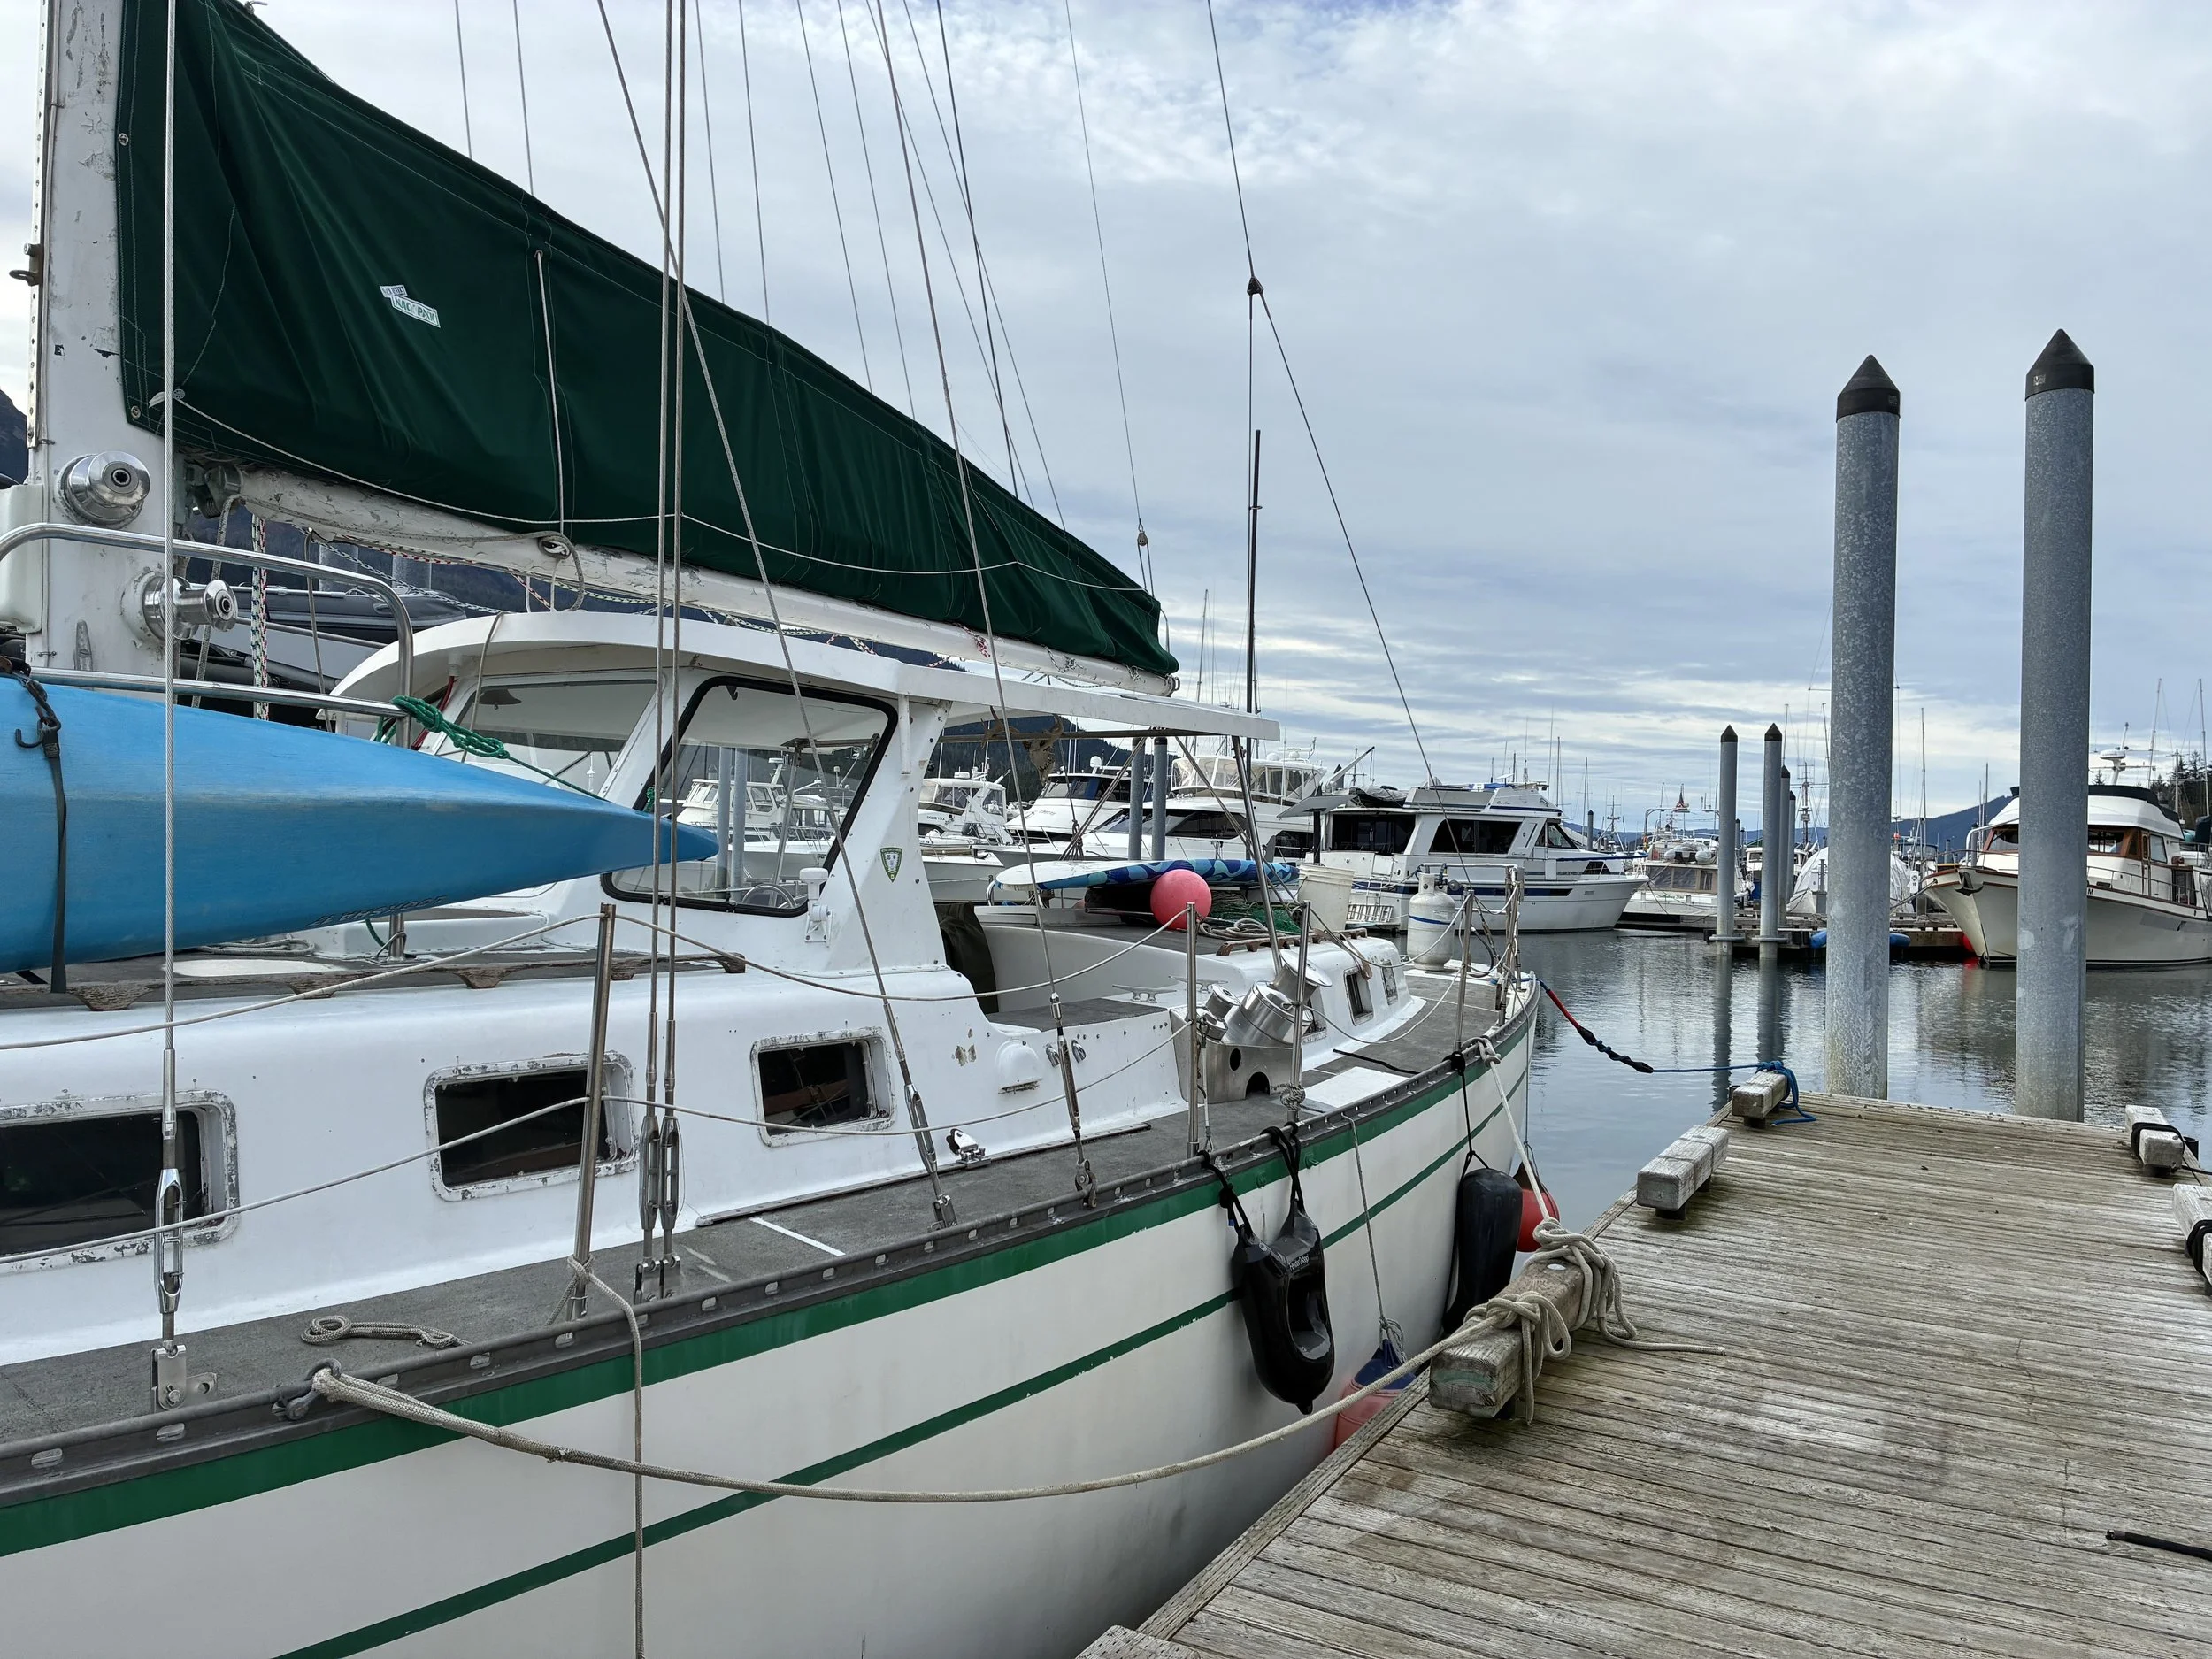
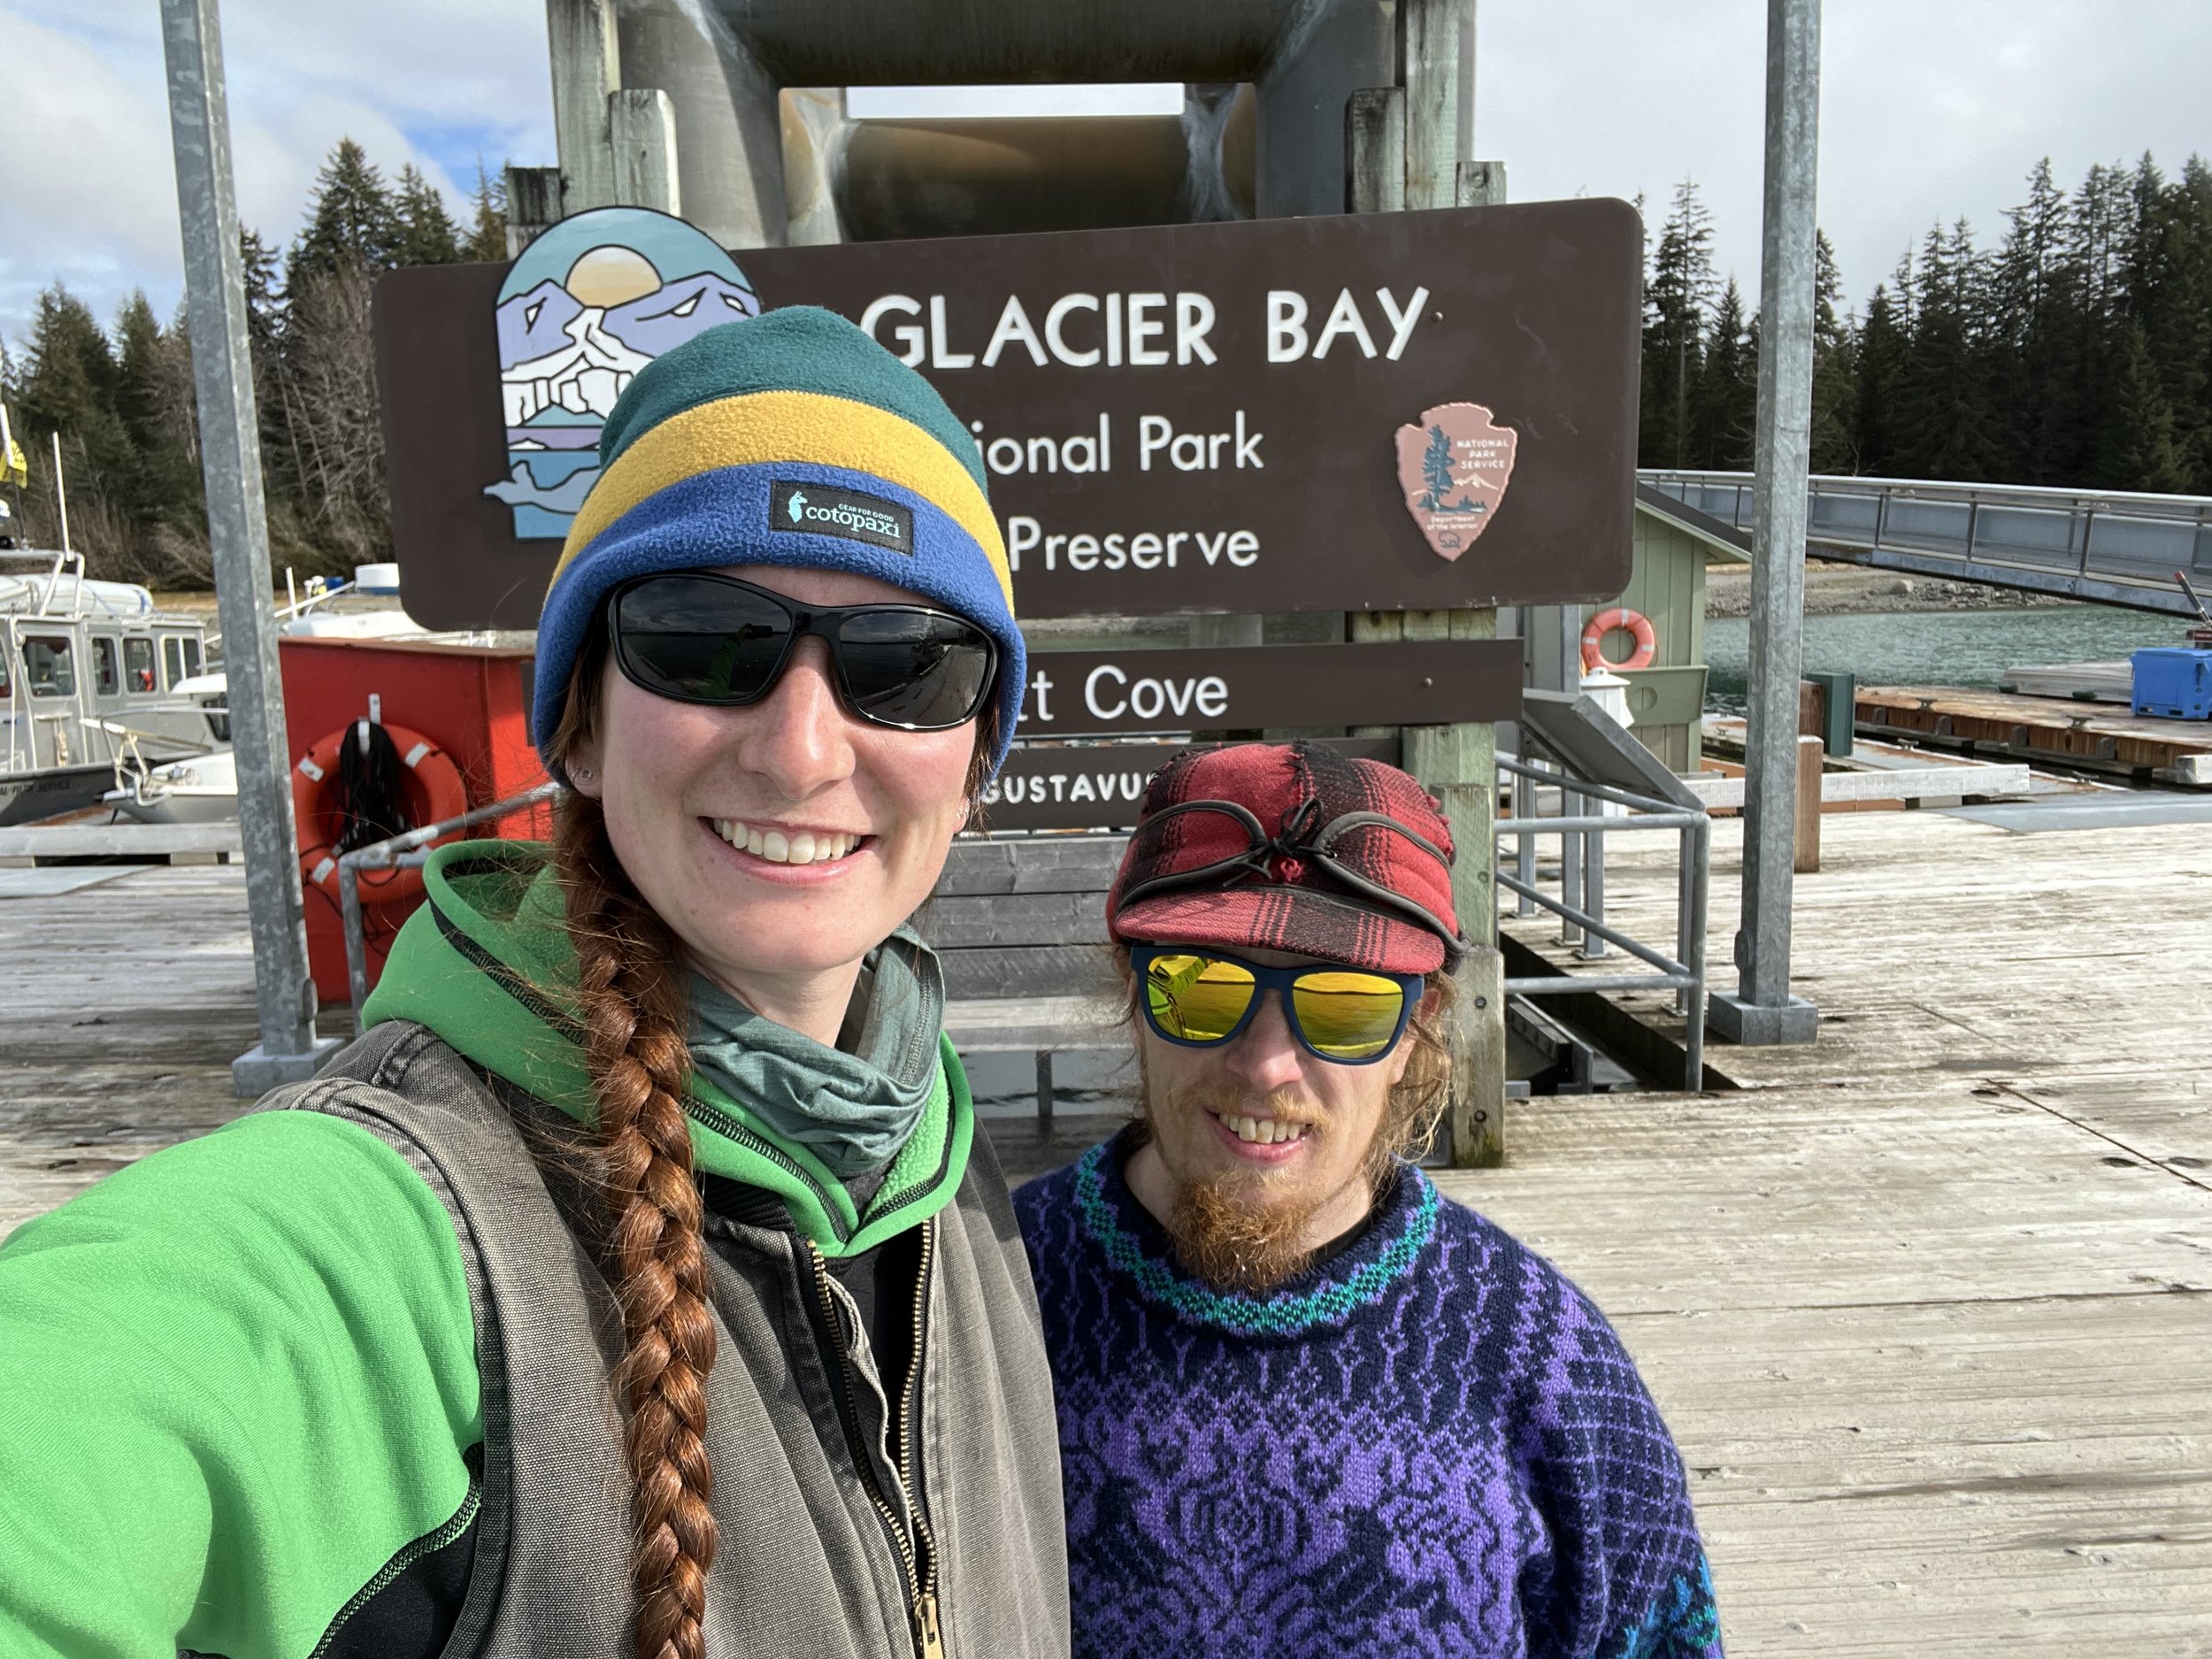
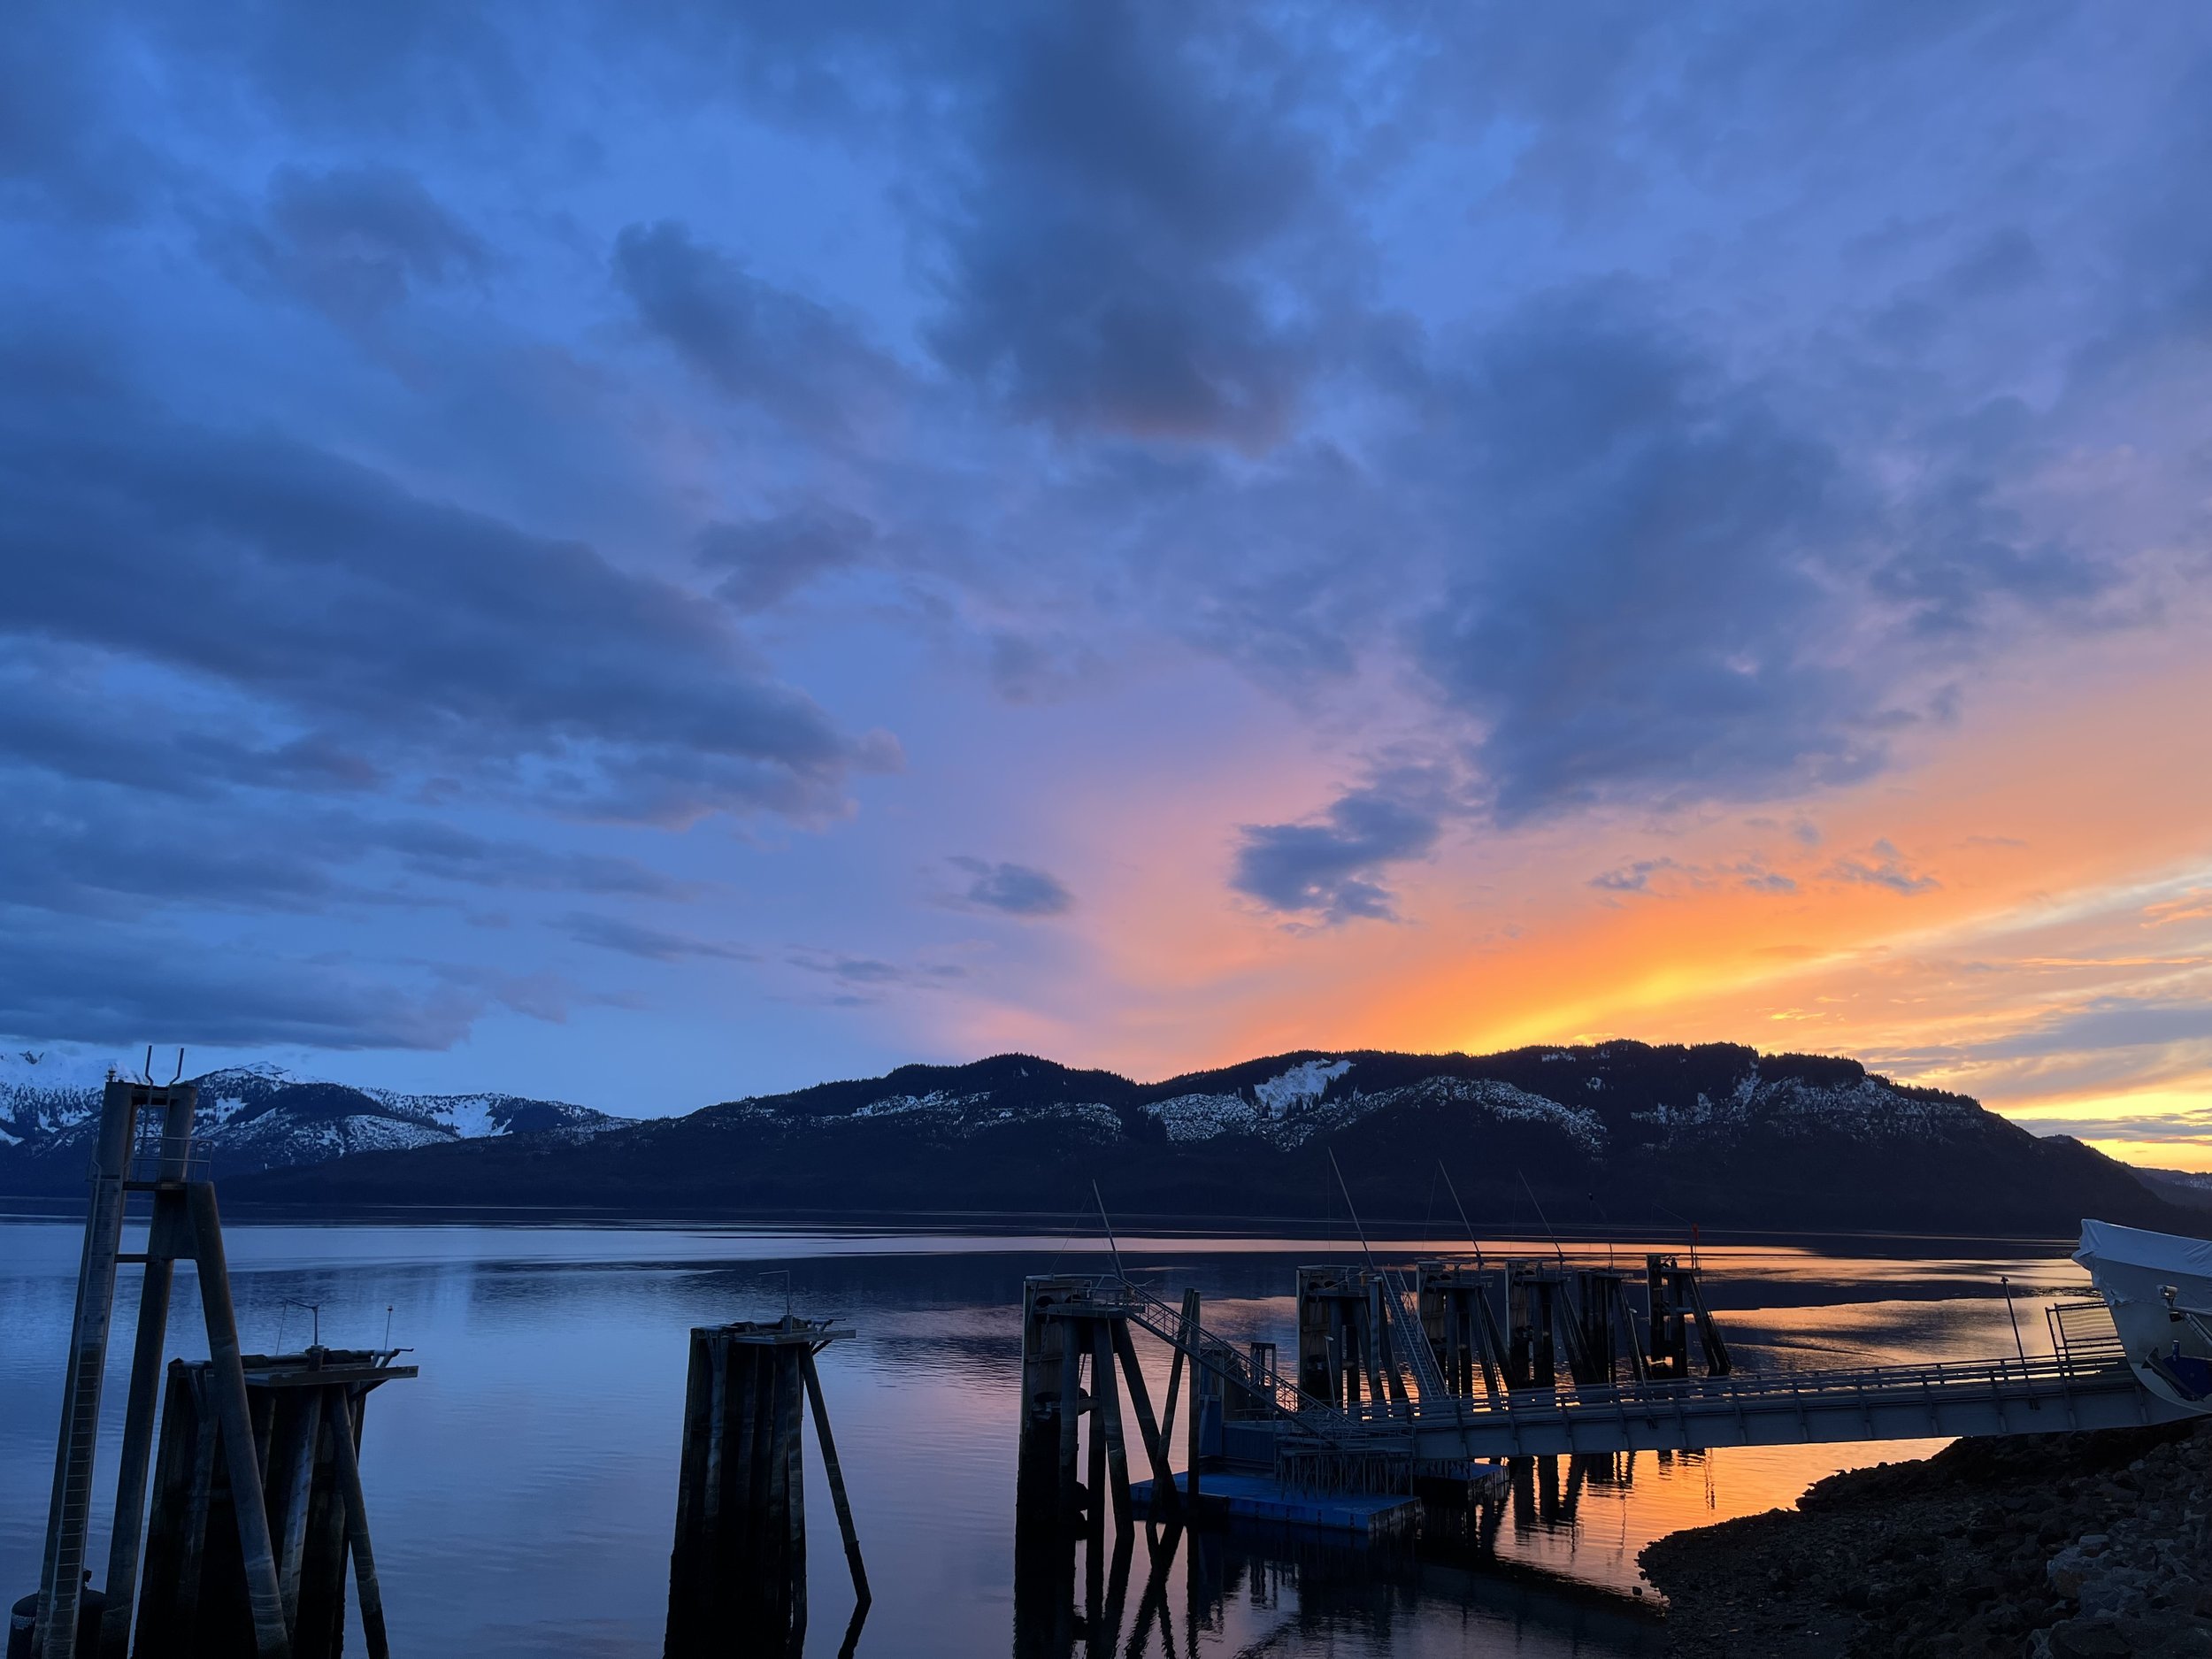
We came into Glacier Bay in late April 2023 and tied up at the Bartlett Cove dock. As soon as we tied up, a park ranger named Joseph walked over to greet us. He told us all about the park, what he does there, and answered every rules question we had. Years later, we still cross paths often and have become good friends.

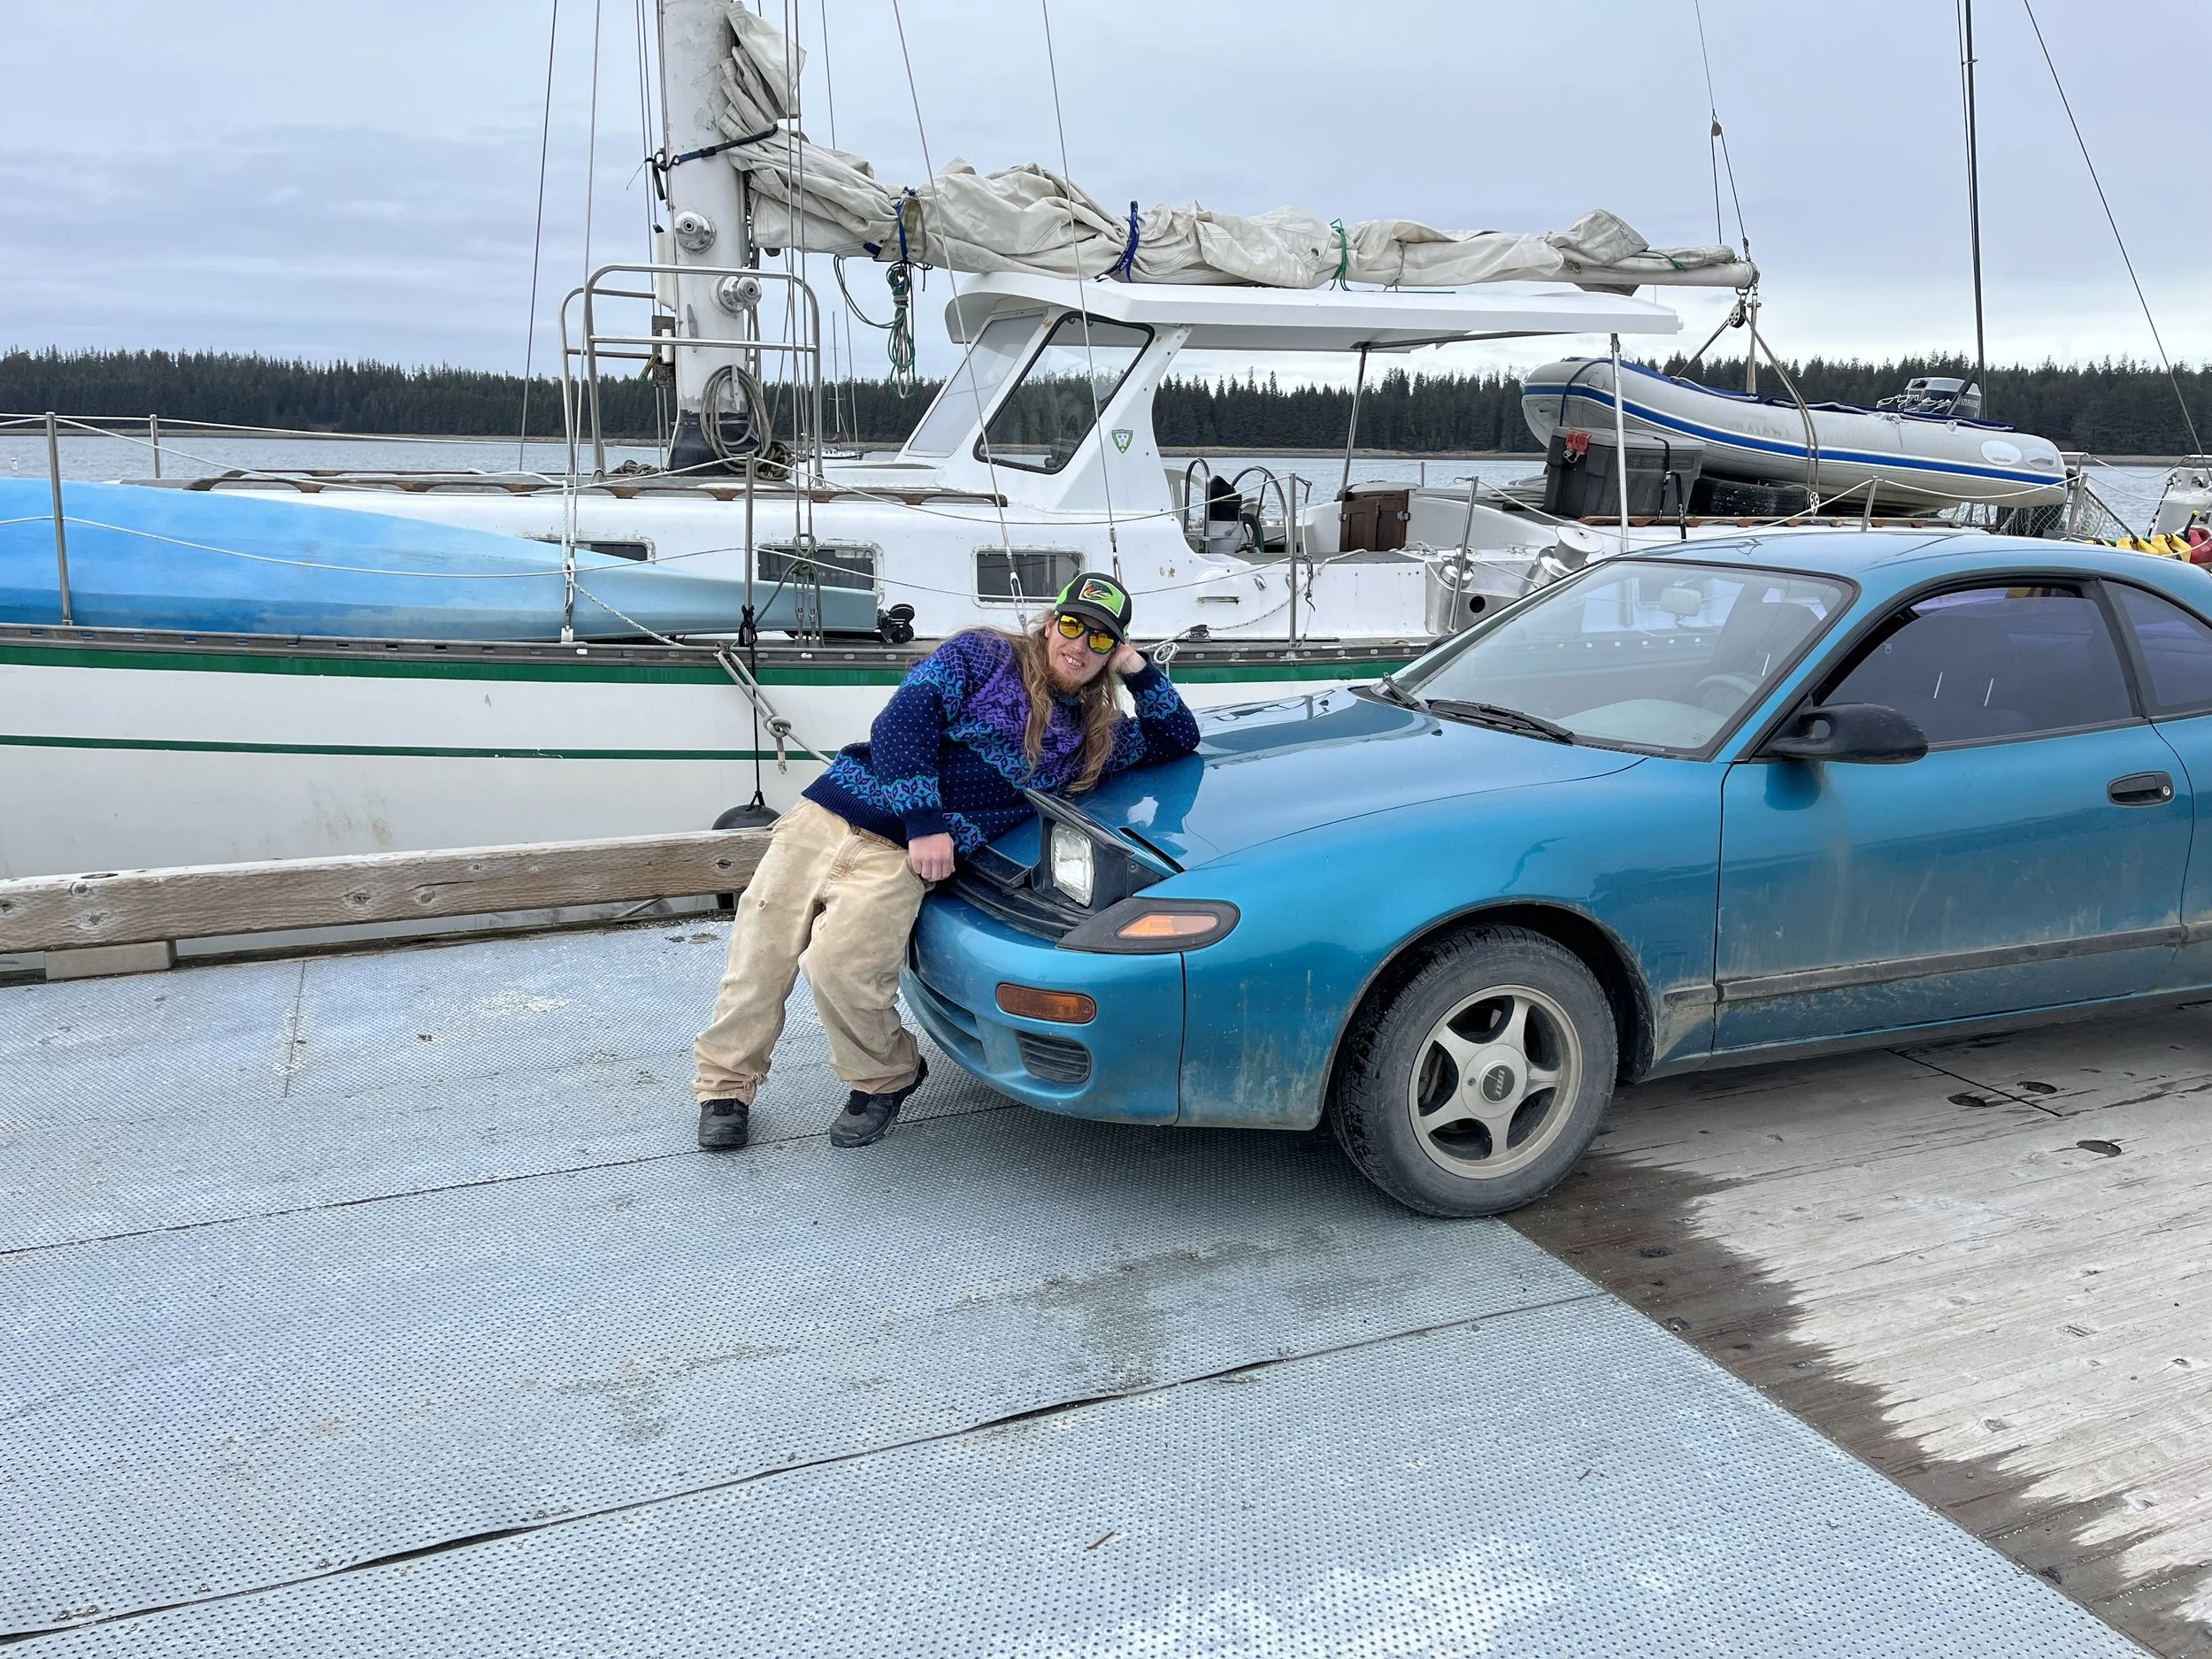
Our week on that dock was great. It’s free, and you’re allowed ten days at a time in the winter. We traveled into Gustavus every day to see friends who lived there. We borrowed a car “Cecelia” — one of Dylan’s dream cars — provisioned, visited, and got all our socializing out of the way before heading up‑bay to be alone for three weeks.
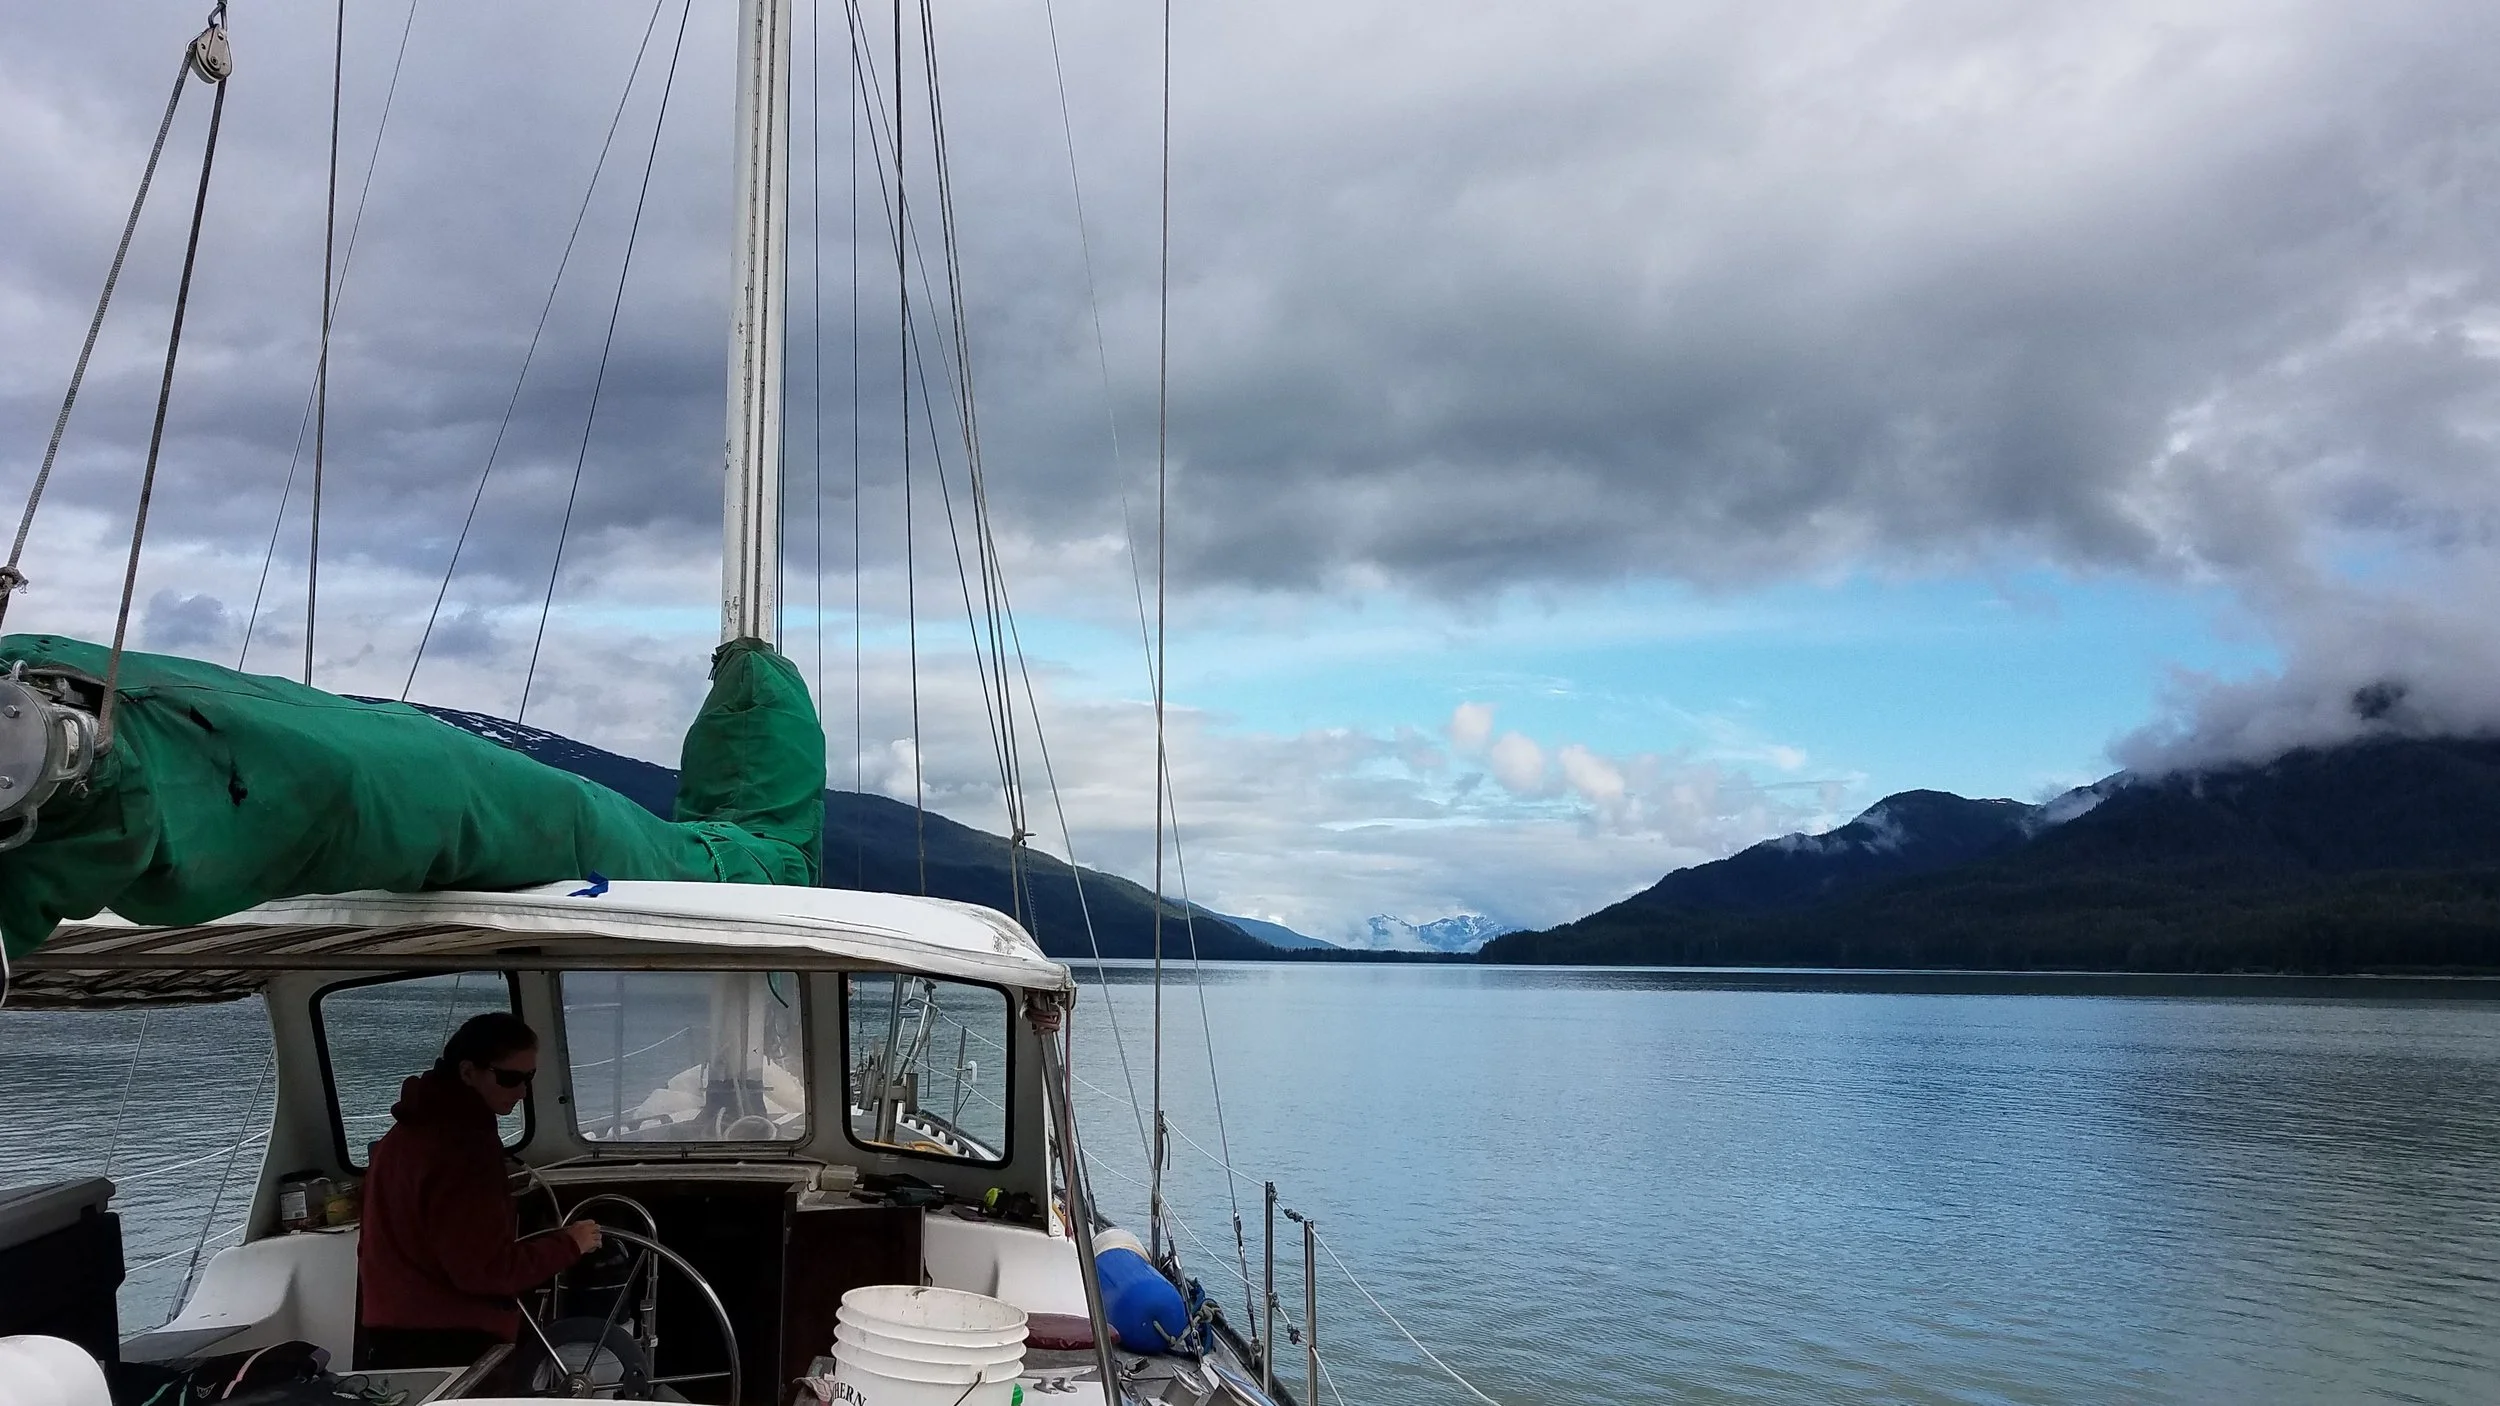
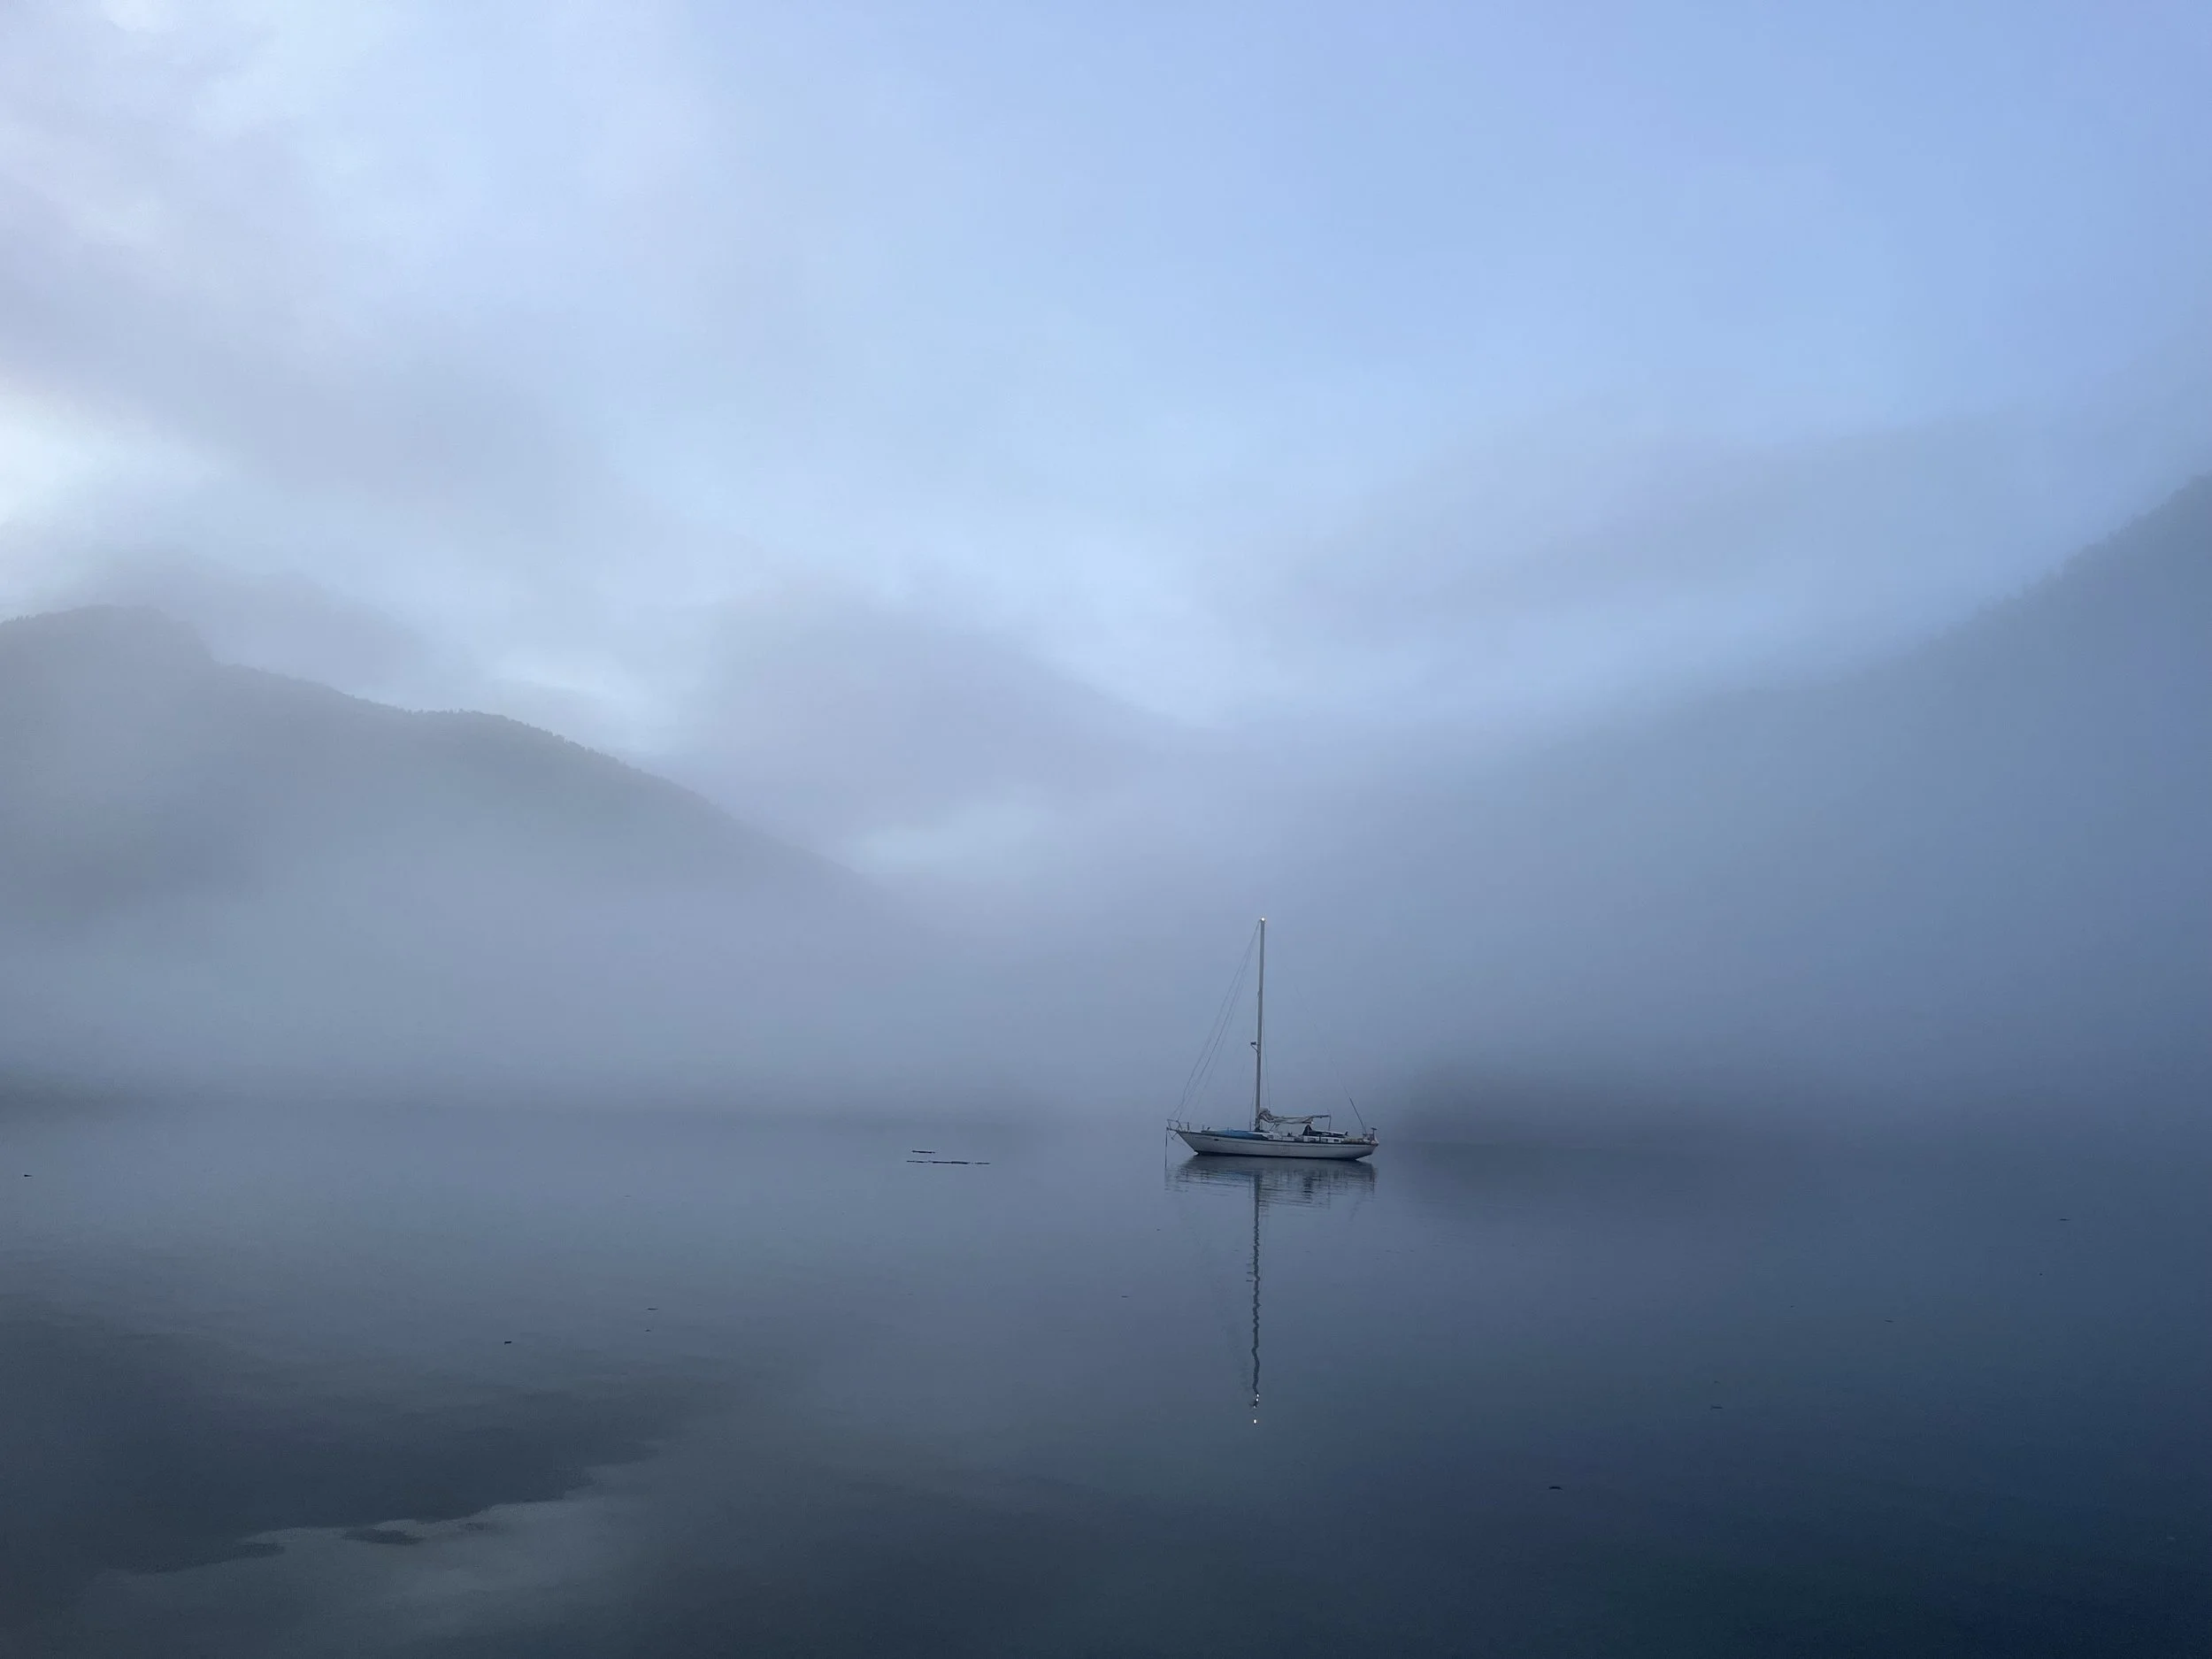
Our first stop was North Sandy Cove, where we immediately heard wolves howling and whales spouting. It felt like spring with new shoots and flowers everywhere. That first night at anchor was a bit emotional as we were finally living the dream we had been working so long towards. The next morning, in still mist, we crossed paths with a pod of orcas and continued all the way across the bay to Blue Mouse Cove. We stayed there a couple of rainy days, hanging out and doing projects. We only saw one boat the whole time.
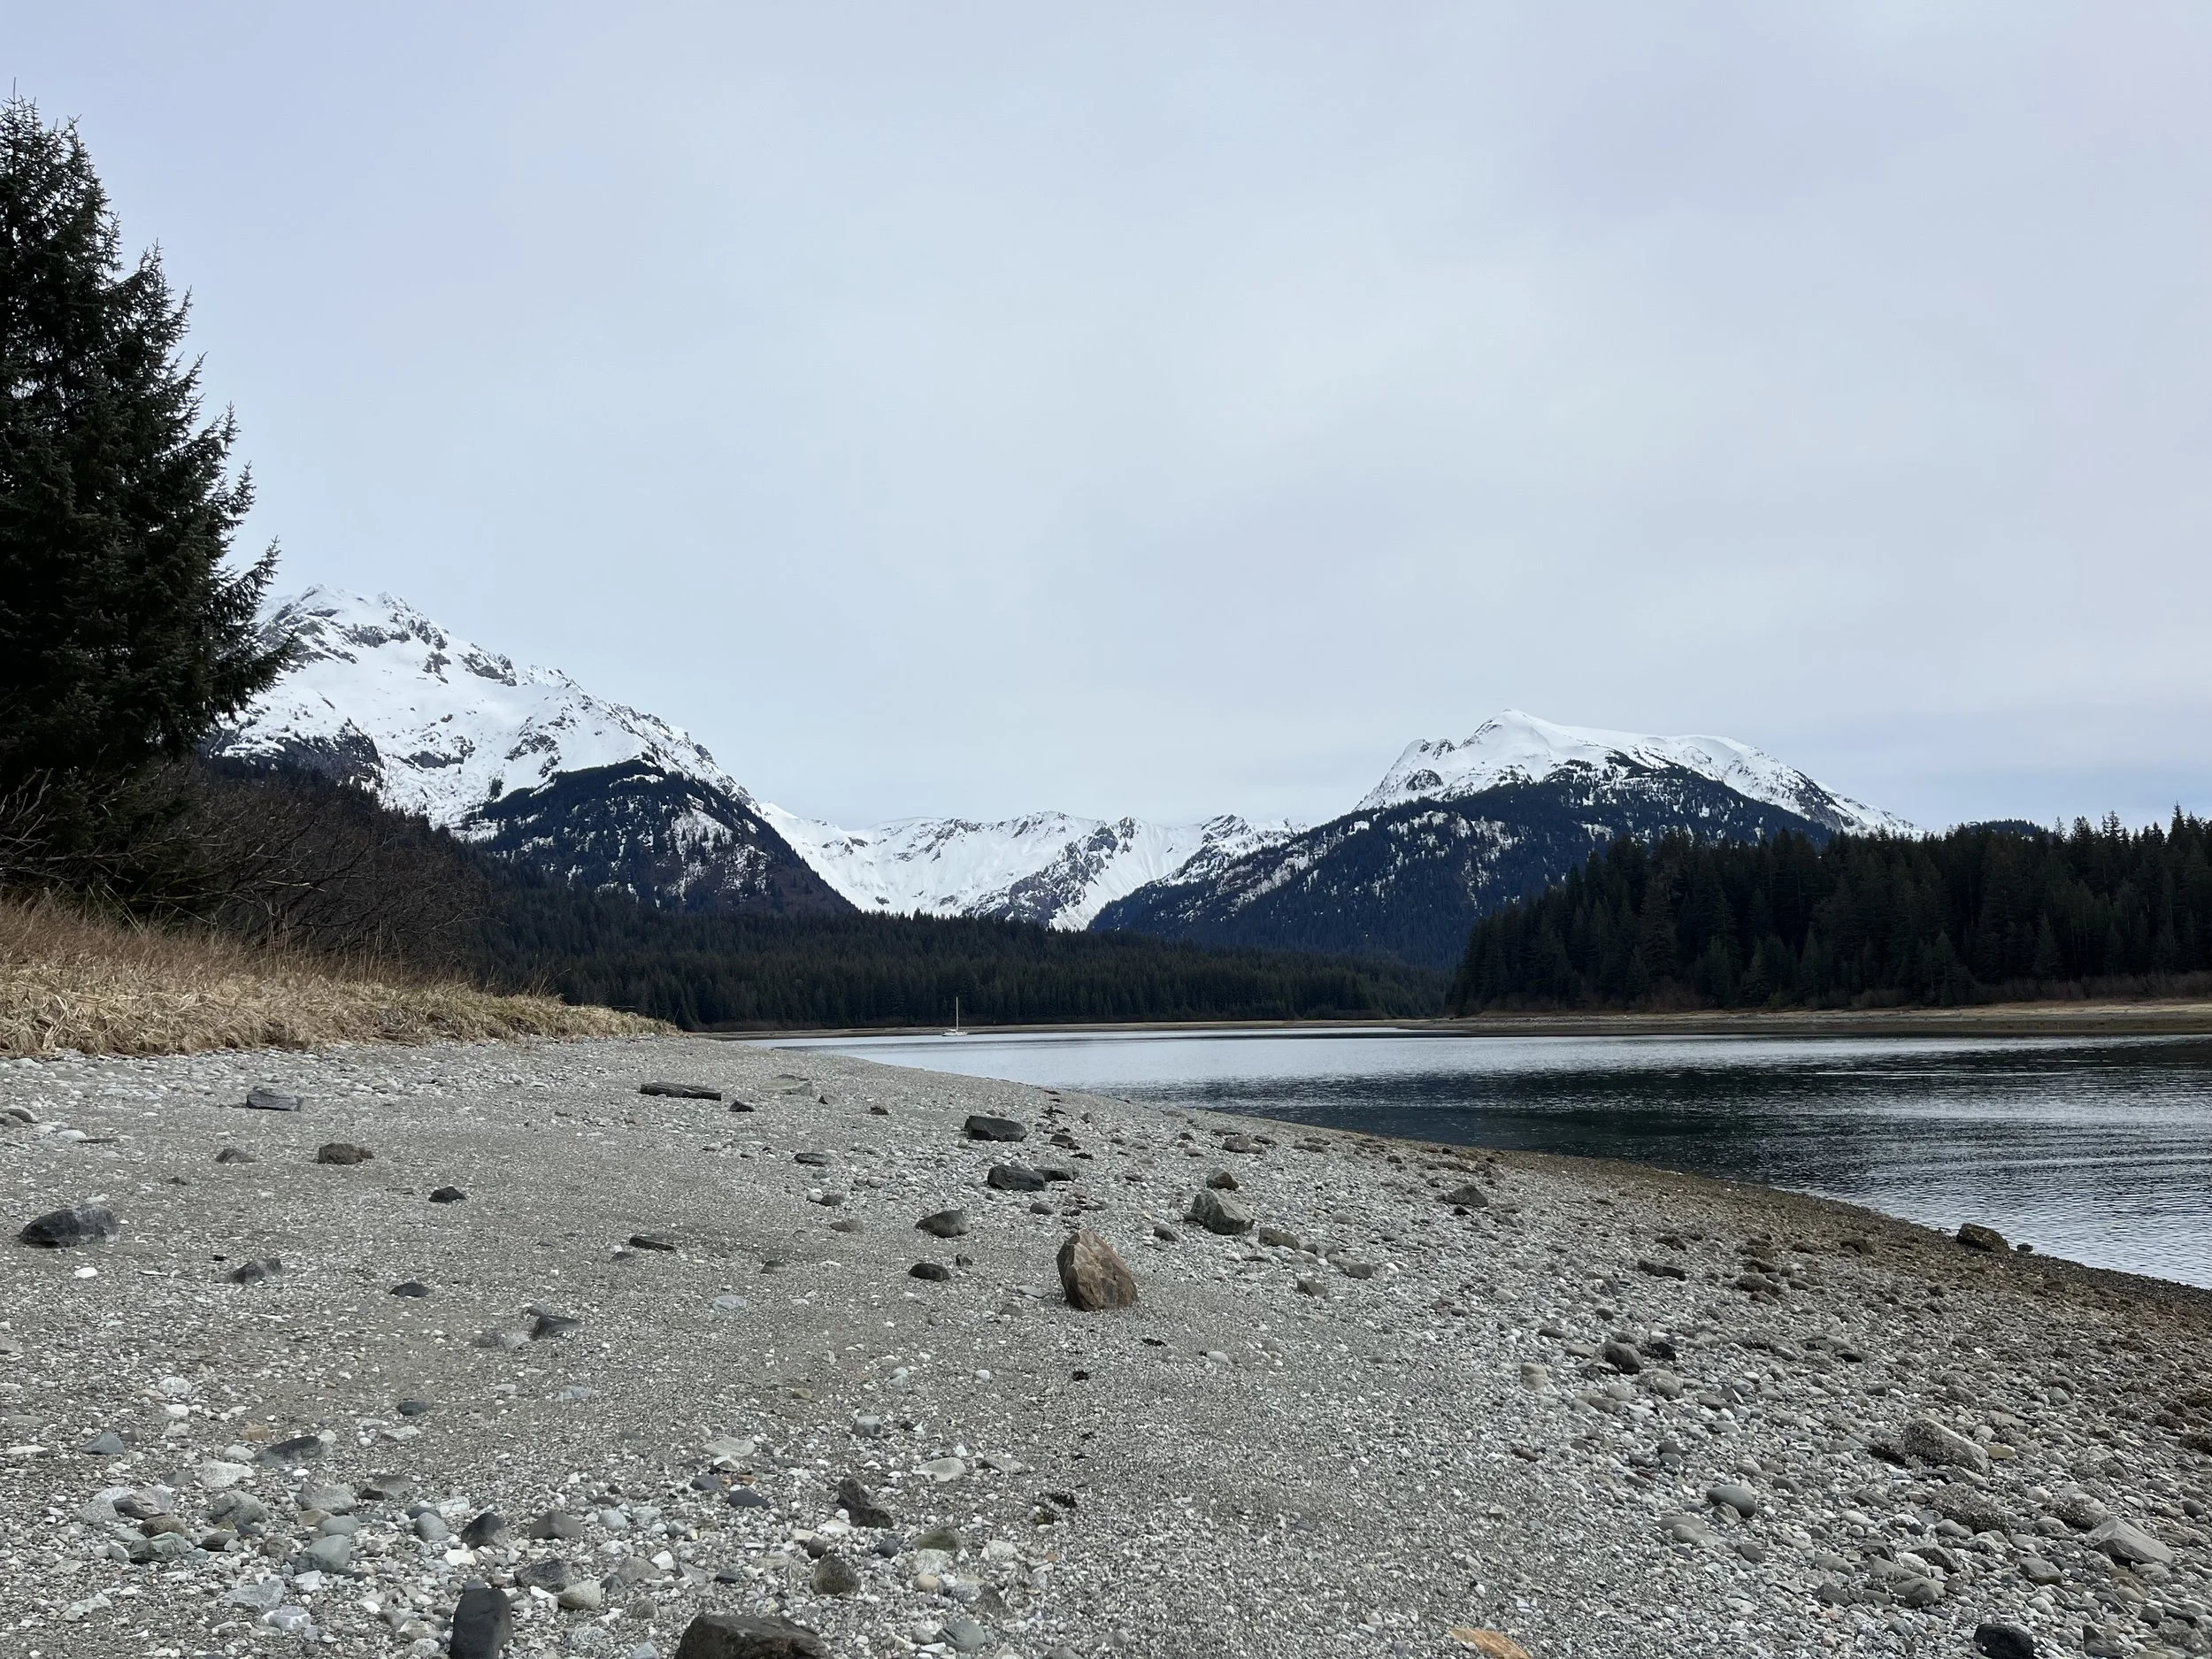
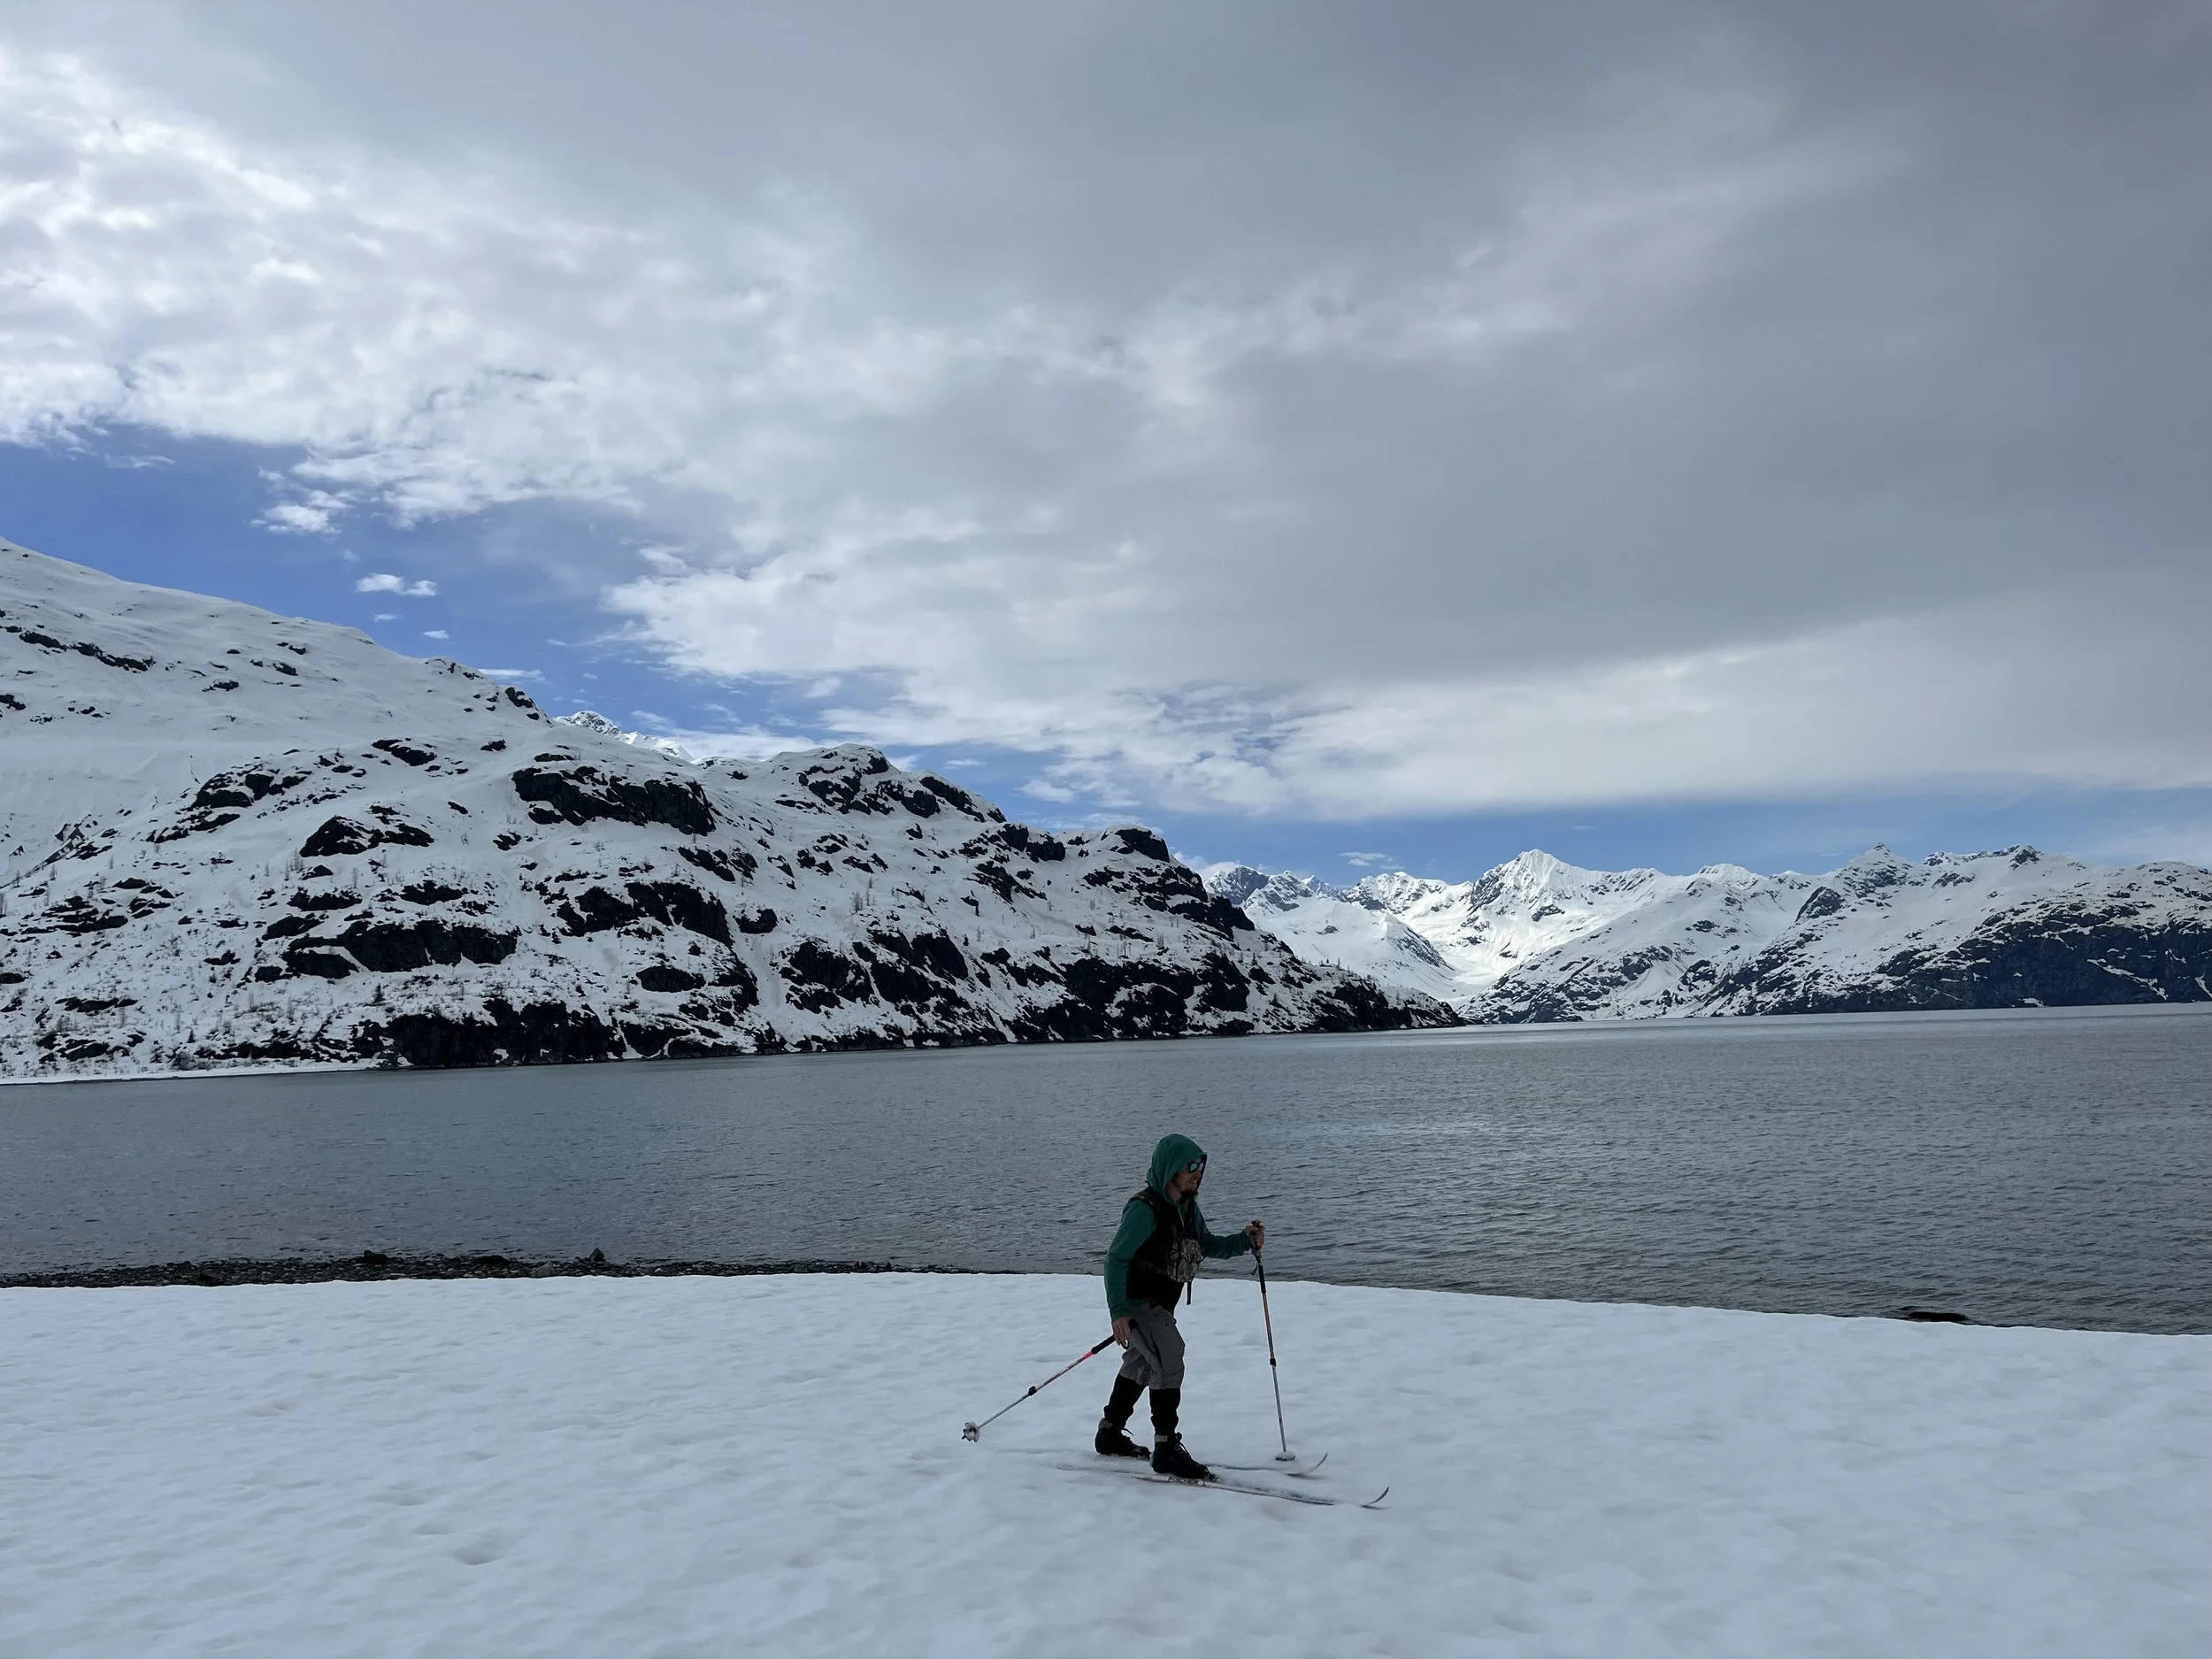
Next, we headed to Reid Inlet — our favorite spot in GLBA so far. Reid felt like stepping back into winter. It was May 3rd and there was six to eight feet of snow right at water level. I was genuinely bummed I didn’t bring my snowboard. We cross‑country skied all over and soaked up the sun. This is where the boiler was finally commissioned, about a week after our last shower. Hot water at last.

From there we ventured out to see the famous Margerie Glacier and the Grand Pacific. The weather was perfect, and we spent the morning weaving through scattered icebergs — blue‑white chunks drifting everywhere — while the sun bounced off the water so brightly it felt like we were sailing through a field of mirrors.
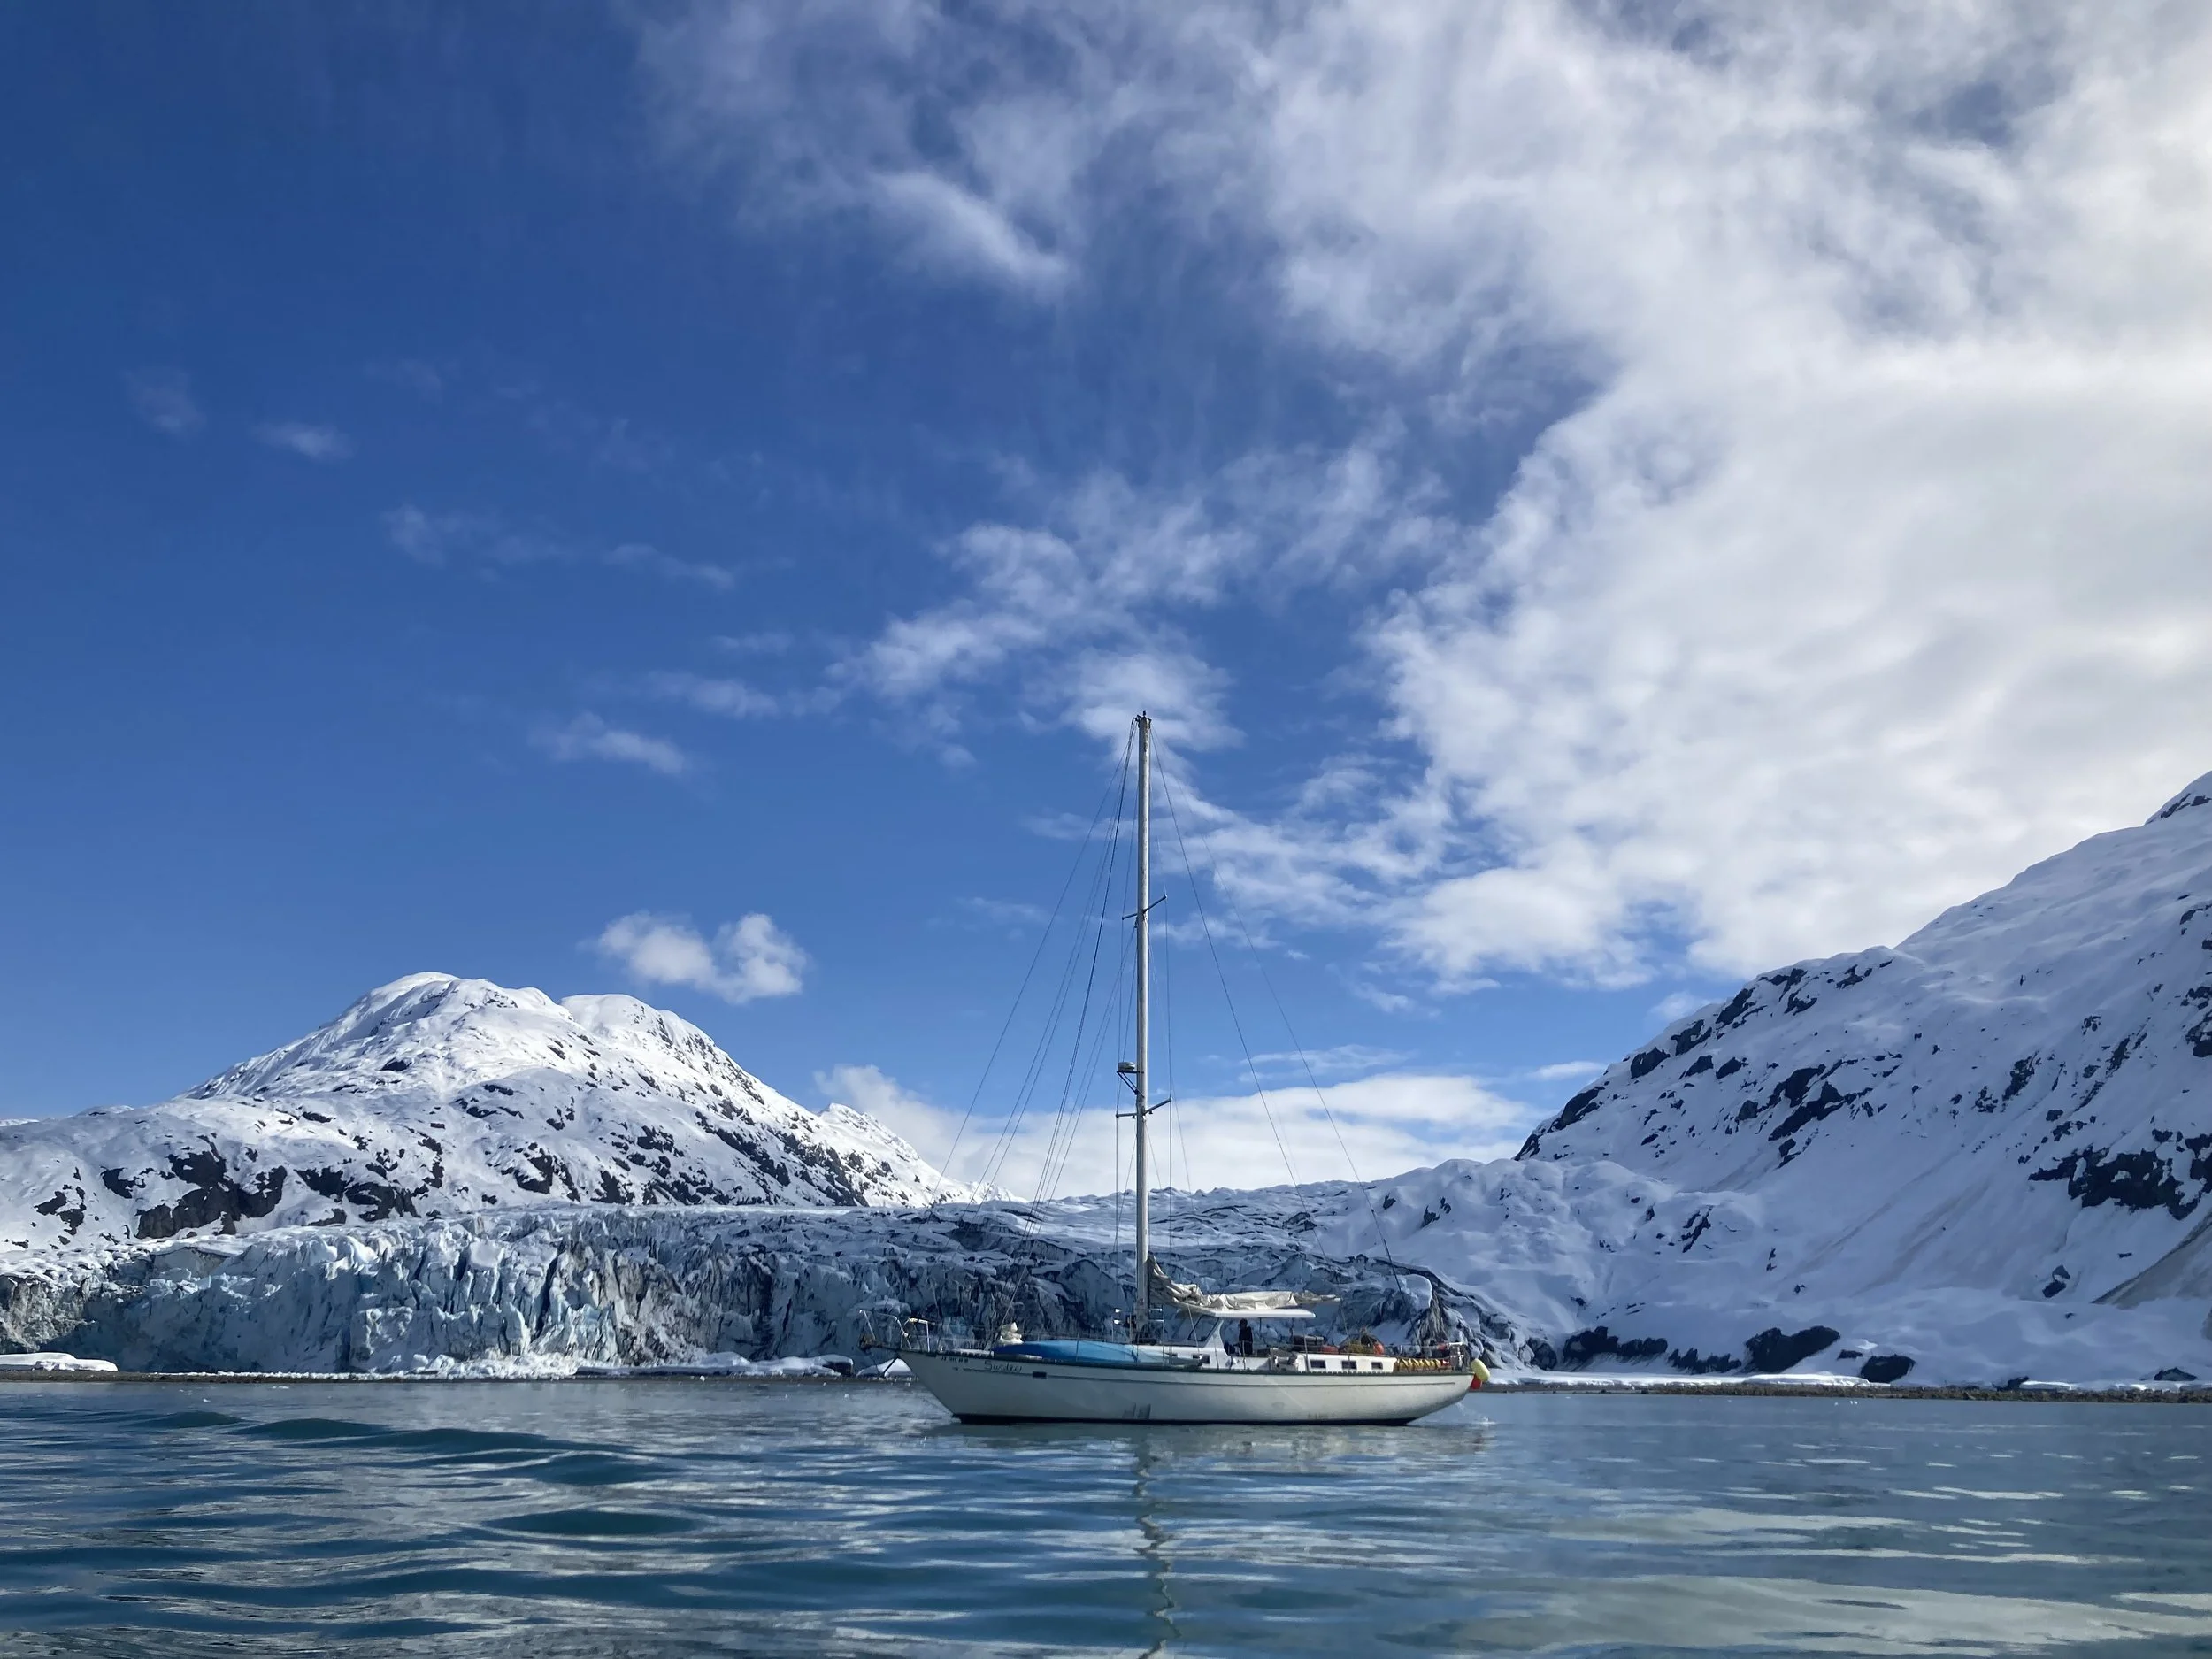
We hung back until a cruise ship cleared out, and once it had bulldozed a path through the bigger bergs, we eased in behind it to get closer to the face. The bay was calm and bright, and we watched in the sunshine as massive slabs of ice tore off the glacier and crashed into the water while hearing grinding and clinking of bergy bits rubbing against each other all around us

We ventured in front of Lamplugh Glacier and took some awesome photos, then peeked around the corner into the most magnificent ice‑filled fjord with Johns Hopkins Glacier spilling into it. If you catch the right angle and get clear weather, you’re looking straight up into the Fairweather Mountains — a full panorama of jagged peaks rising above the ice. It’s one of those views that doesn’t look real. Snow, ice, and rock forever.
Our last stop was Sandy Cove for a few days, where we saw a wolf and had a close encounter with a coyote on the beach. We watched whales feeding, bears swimming, and more puffins and gulls than we’d ever seen. The amount of life Glacier Bay holds and protects is incredible.

It’s too bad that “protecting” Glacier Bay originally meant forcibly removing the Indigenous people who lived and subsisted there for thousands of years. Years later, I met an Elder named George who was one of those people. Hearing his stories and seeing the place through his eyes added a weight and perspective that stays with me every time we return to the park.

We headed back to what we now all call Gustavus visited with friends new and old and prepared to head towards the outer coast.
Comment

Honnah Haulout 2023

Comment

Honnah Haulout 2023

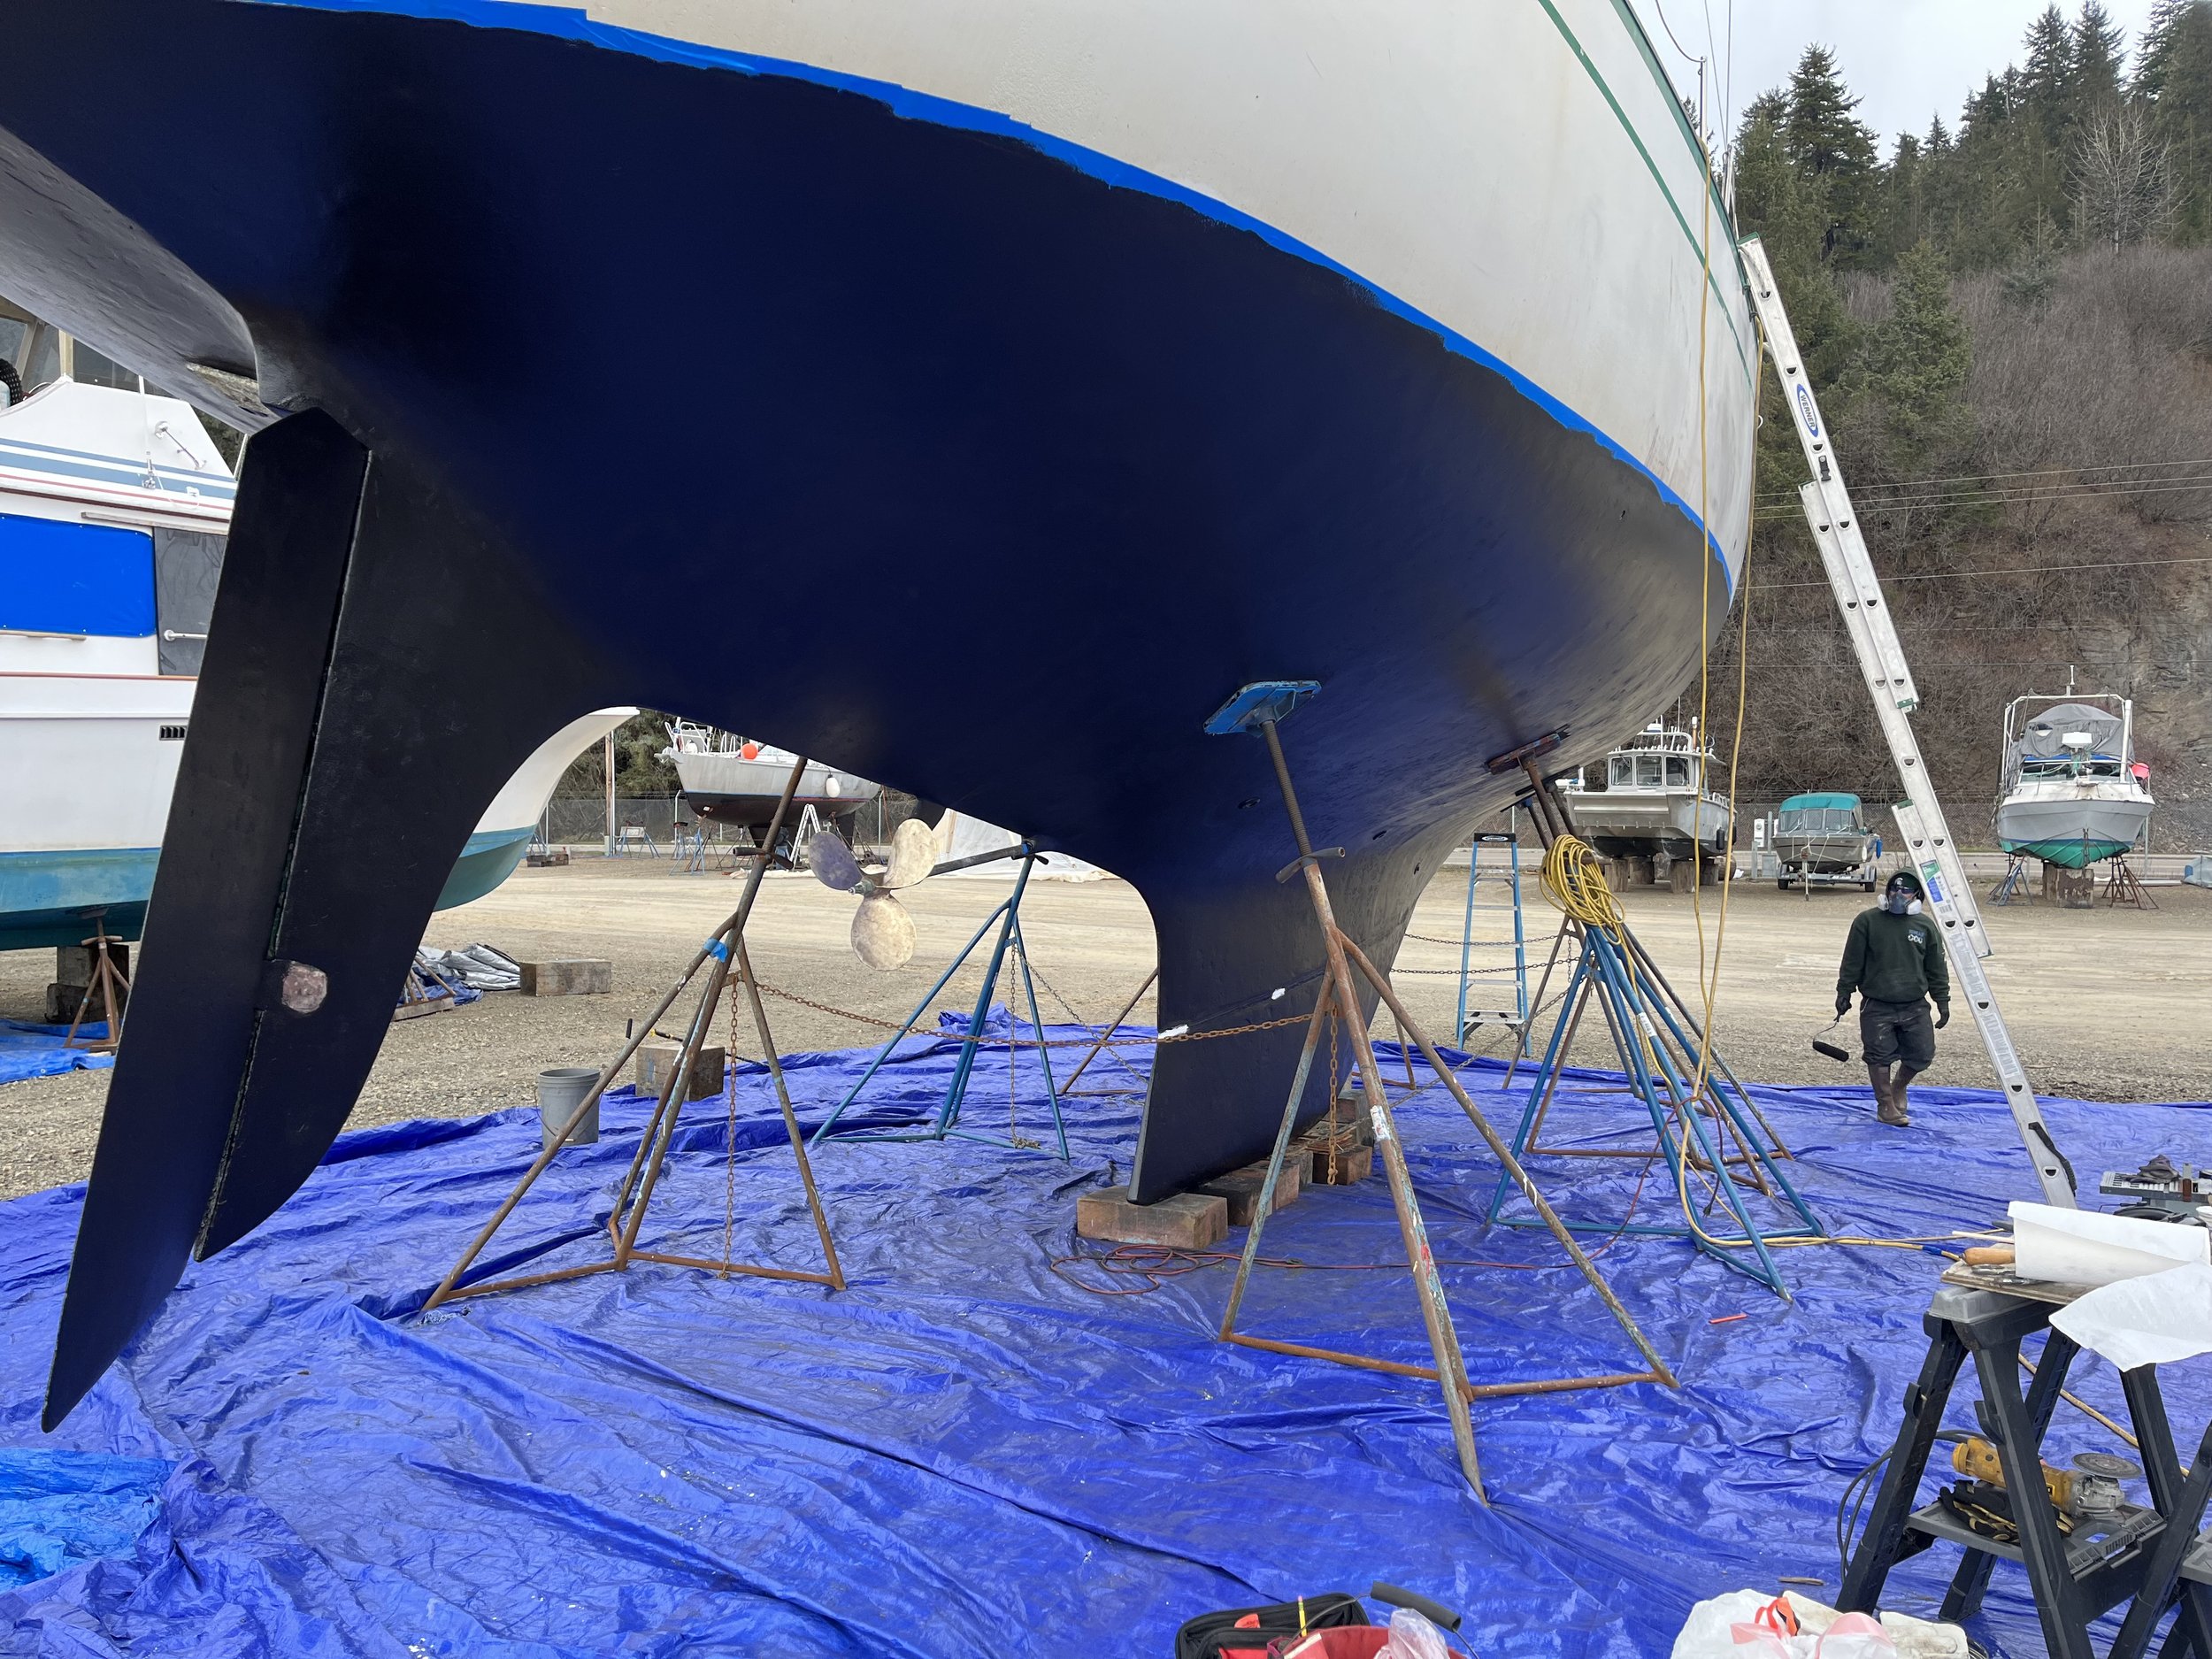
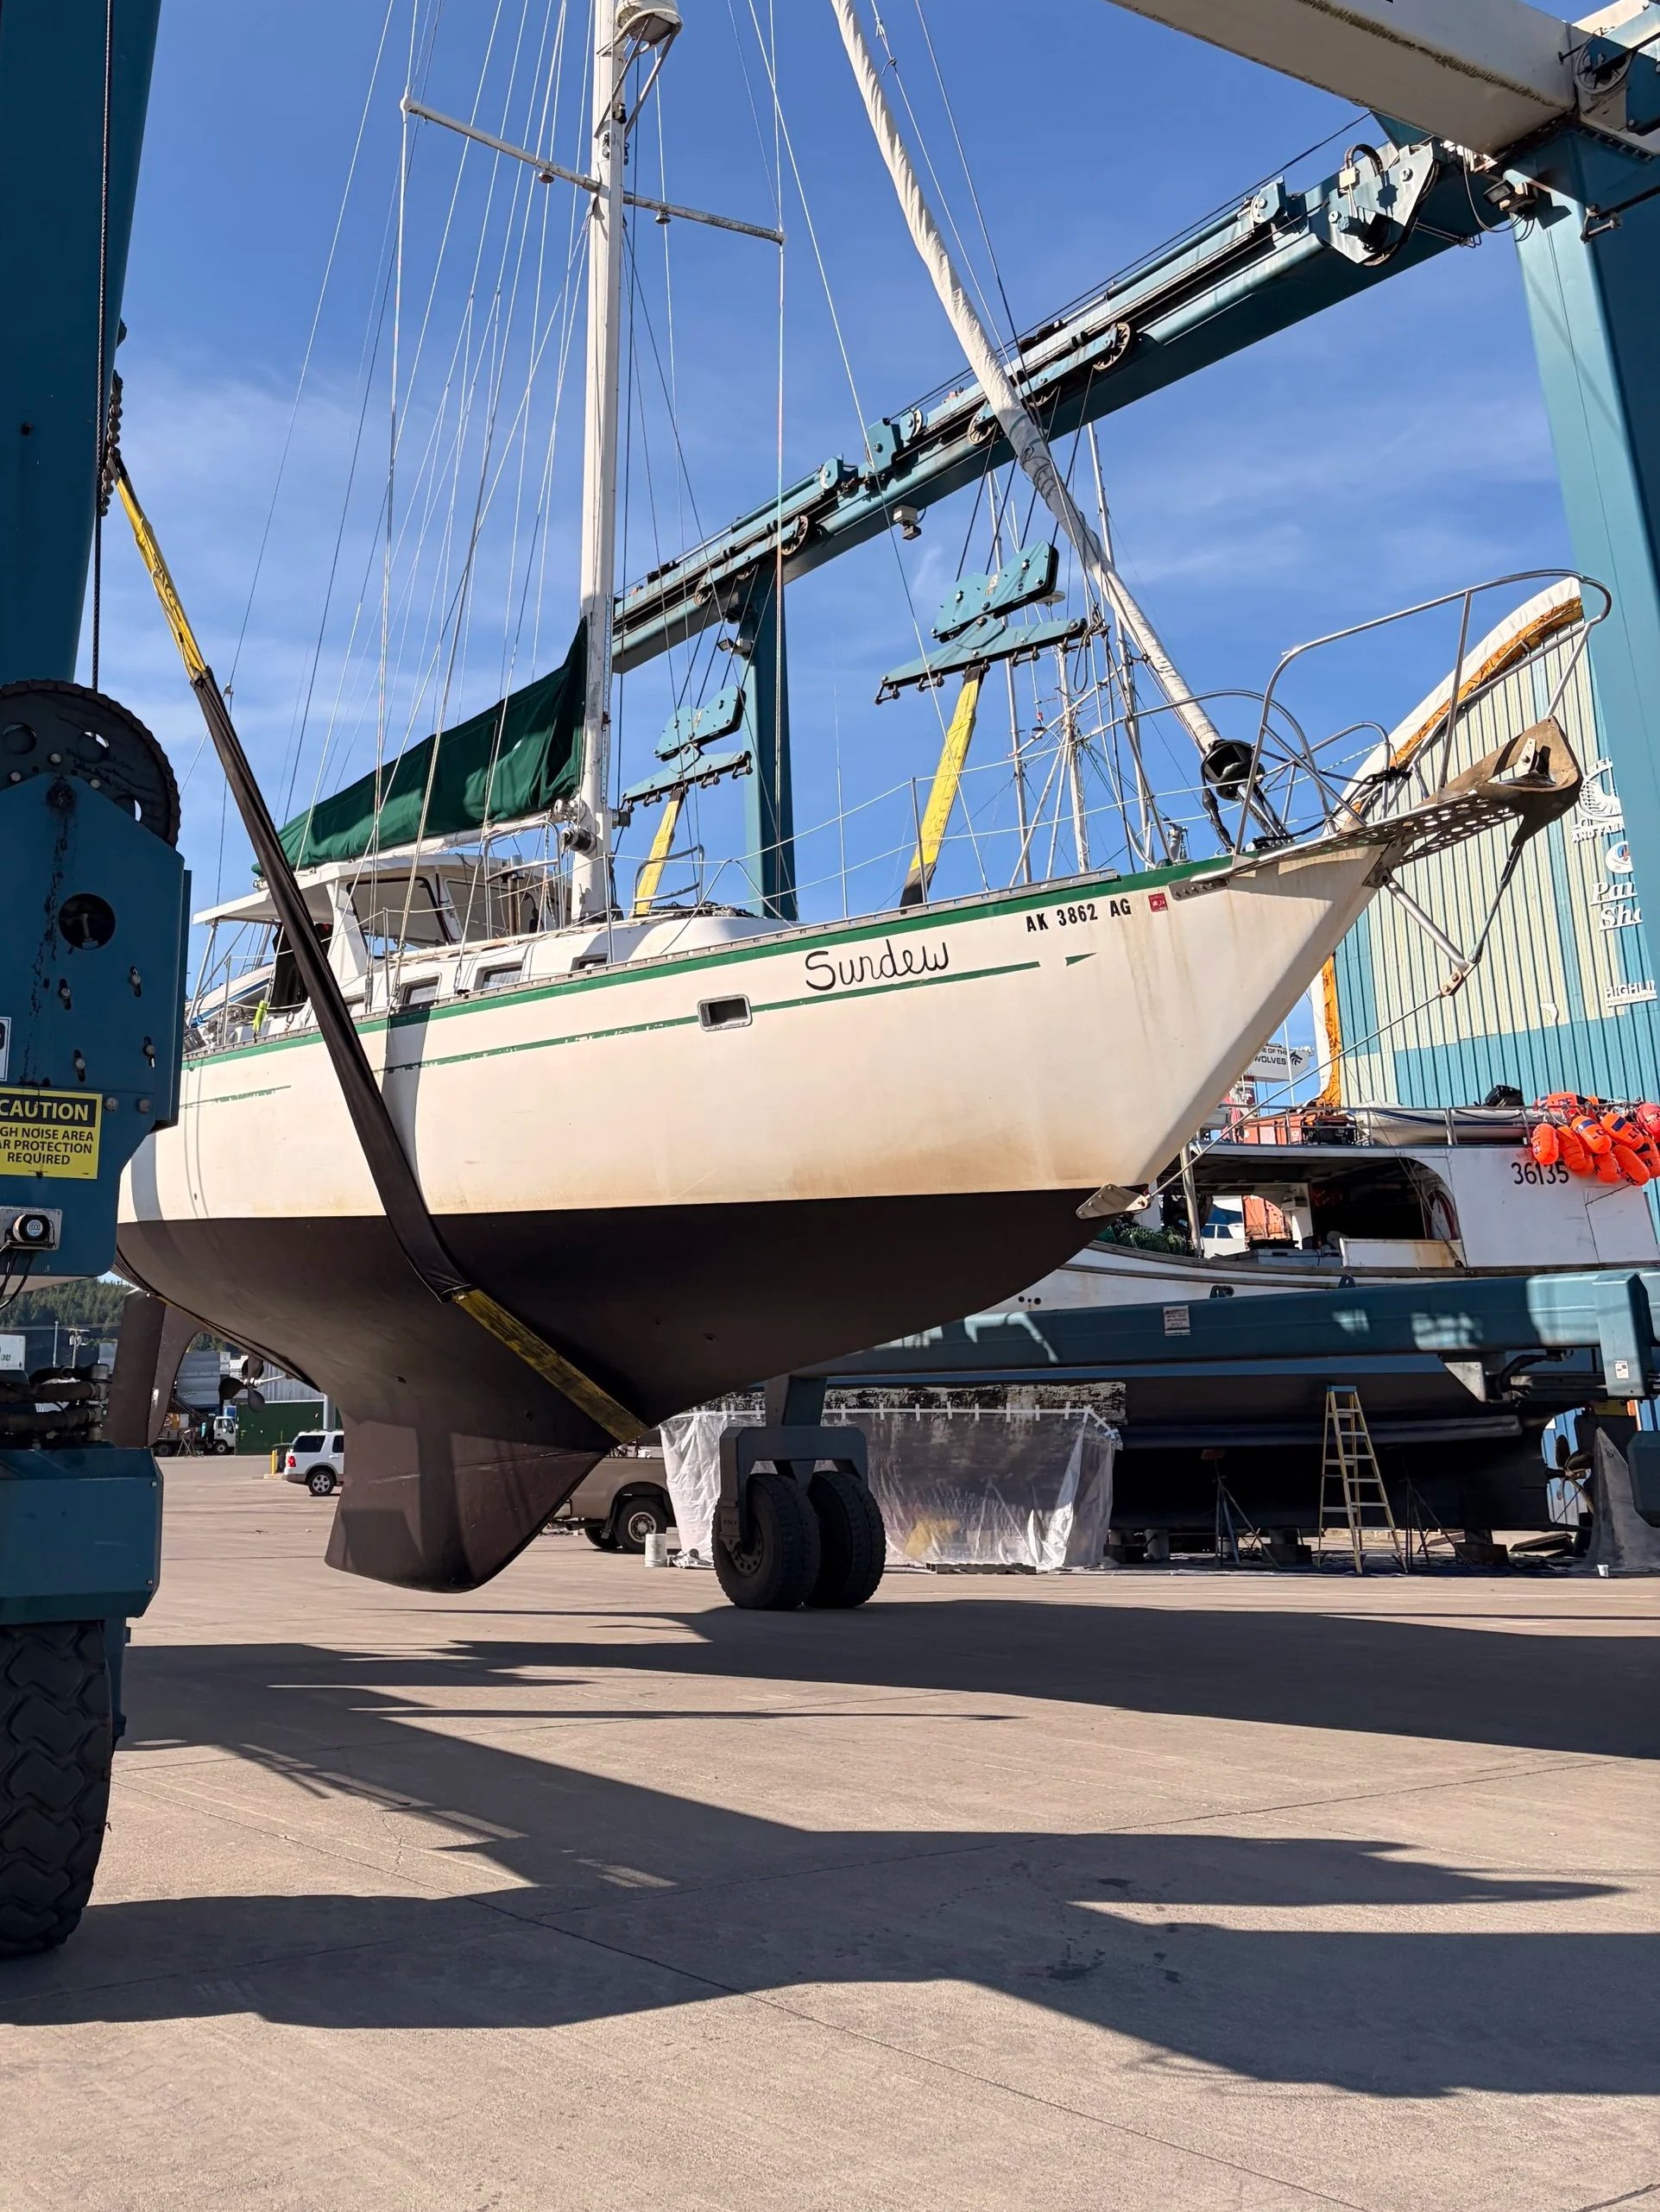
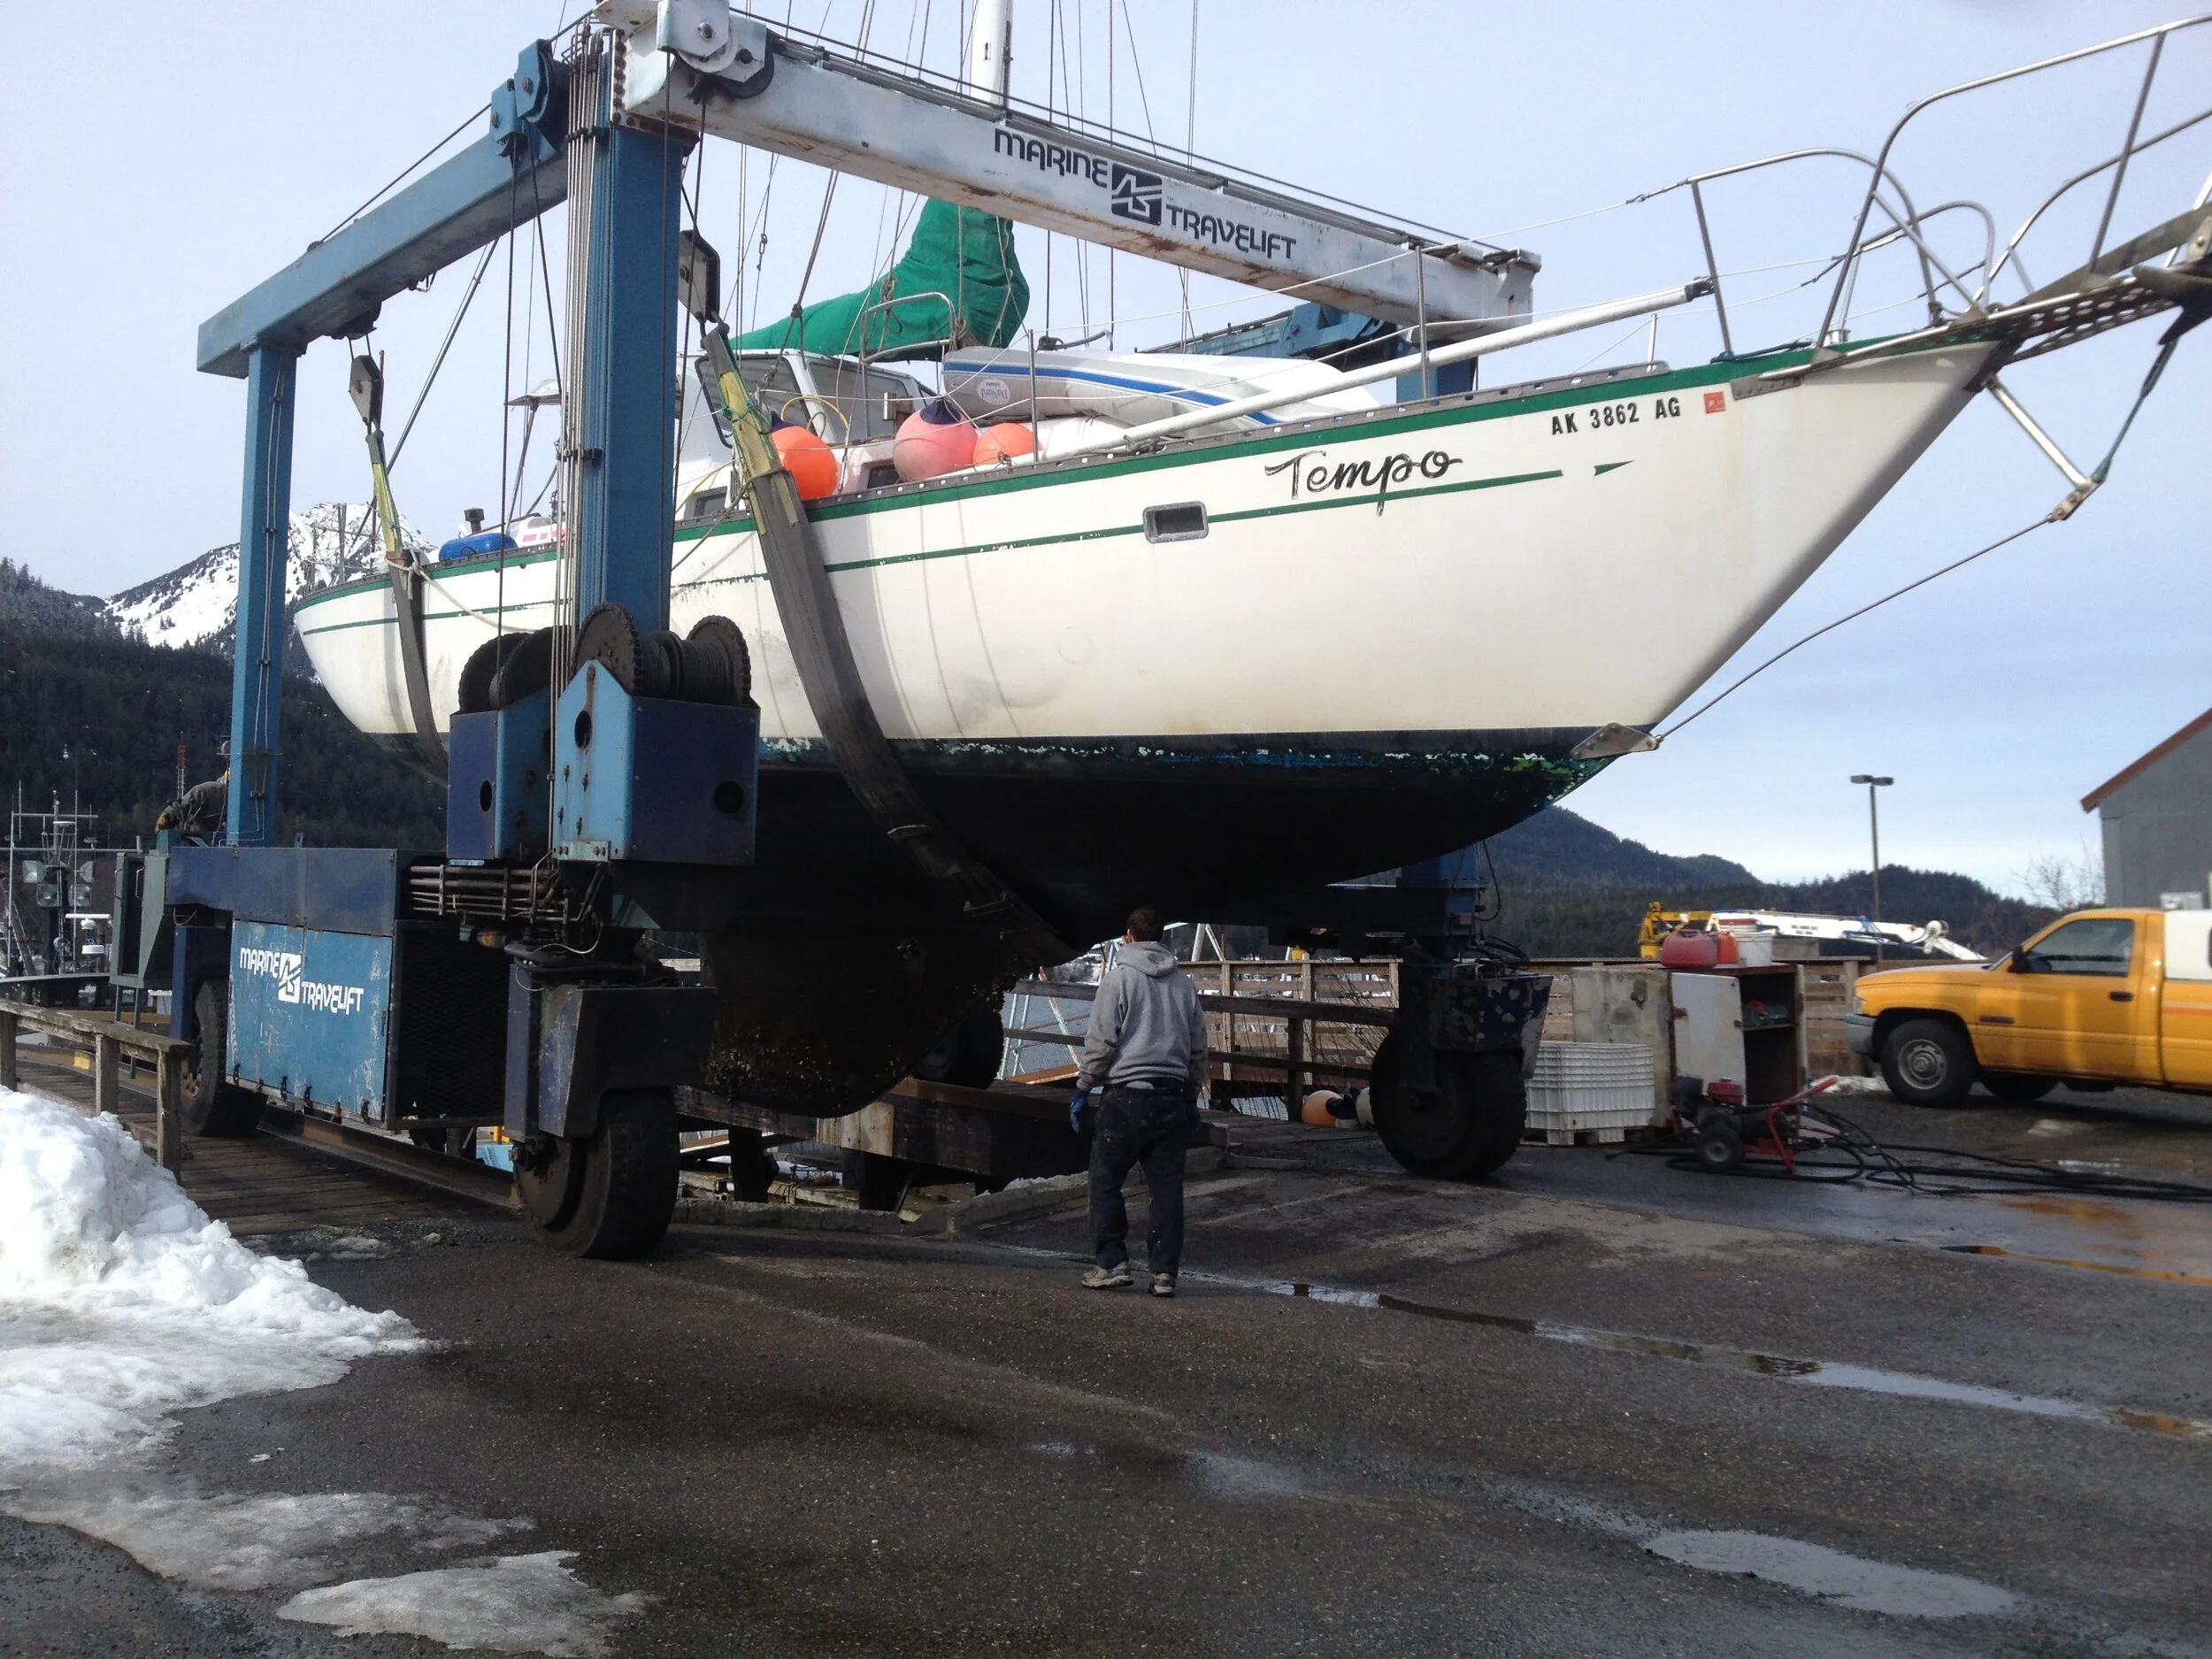
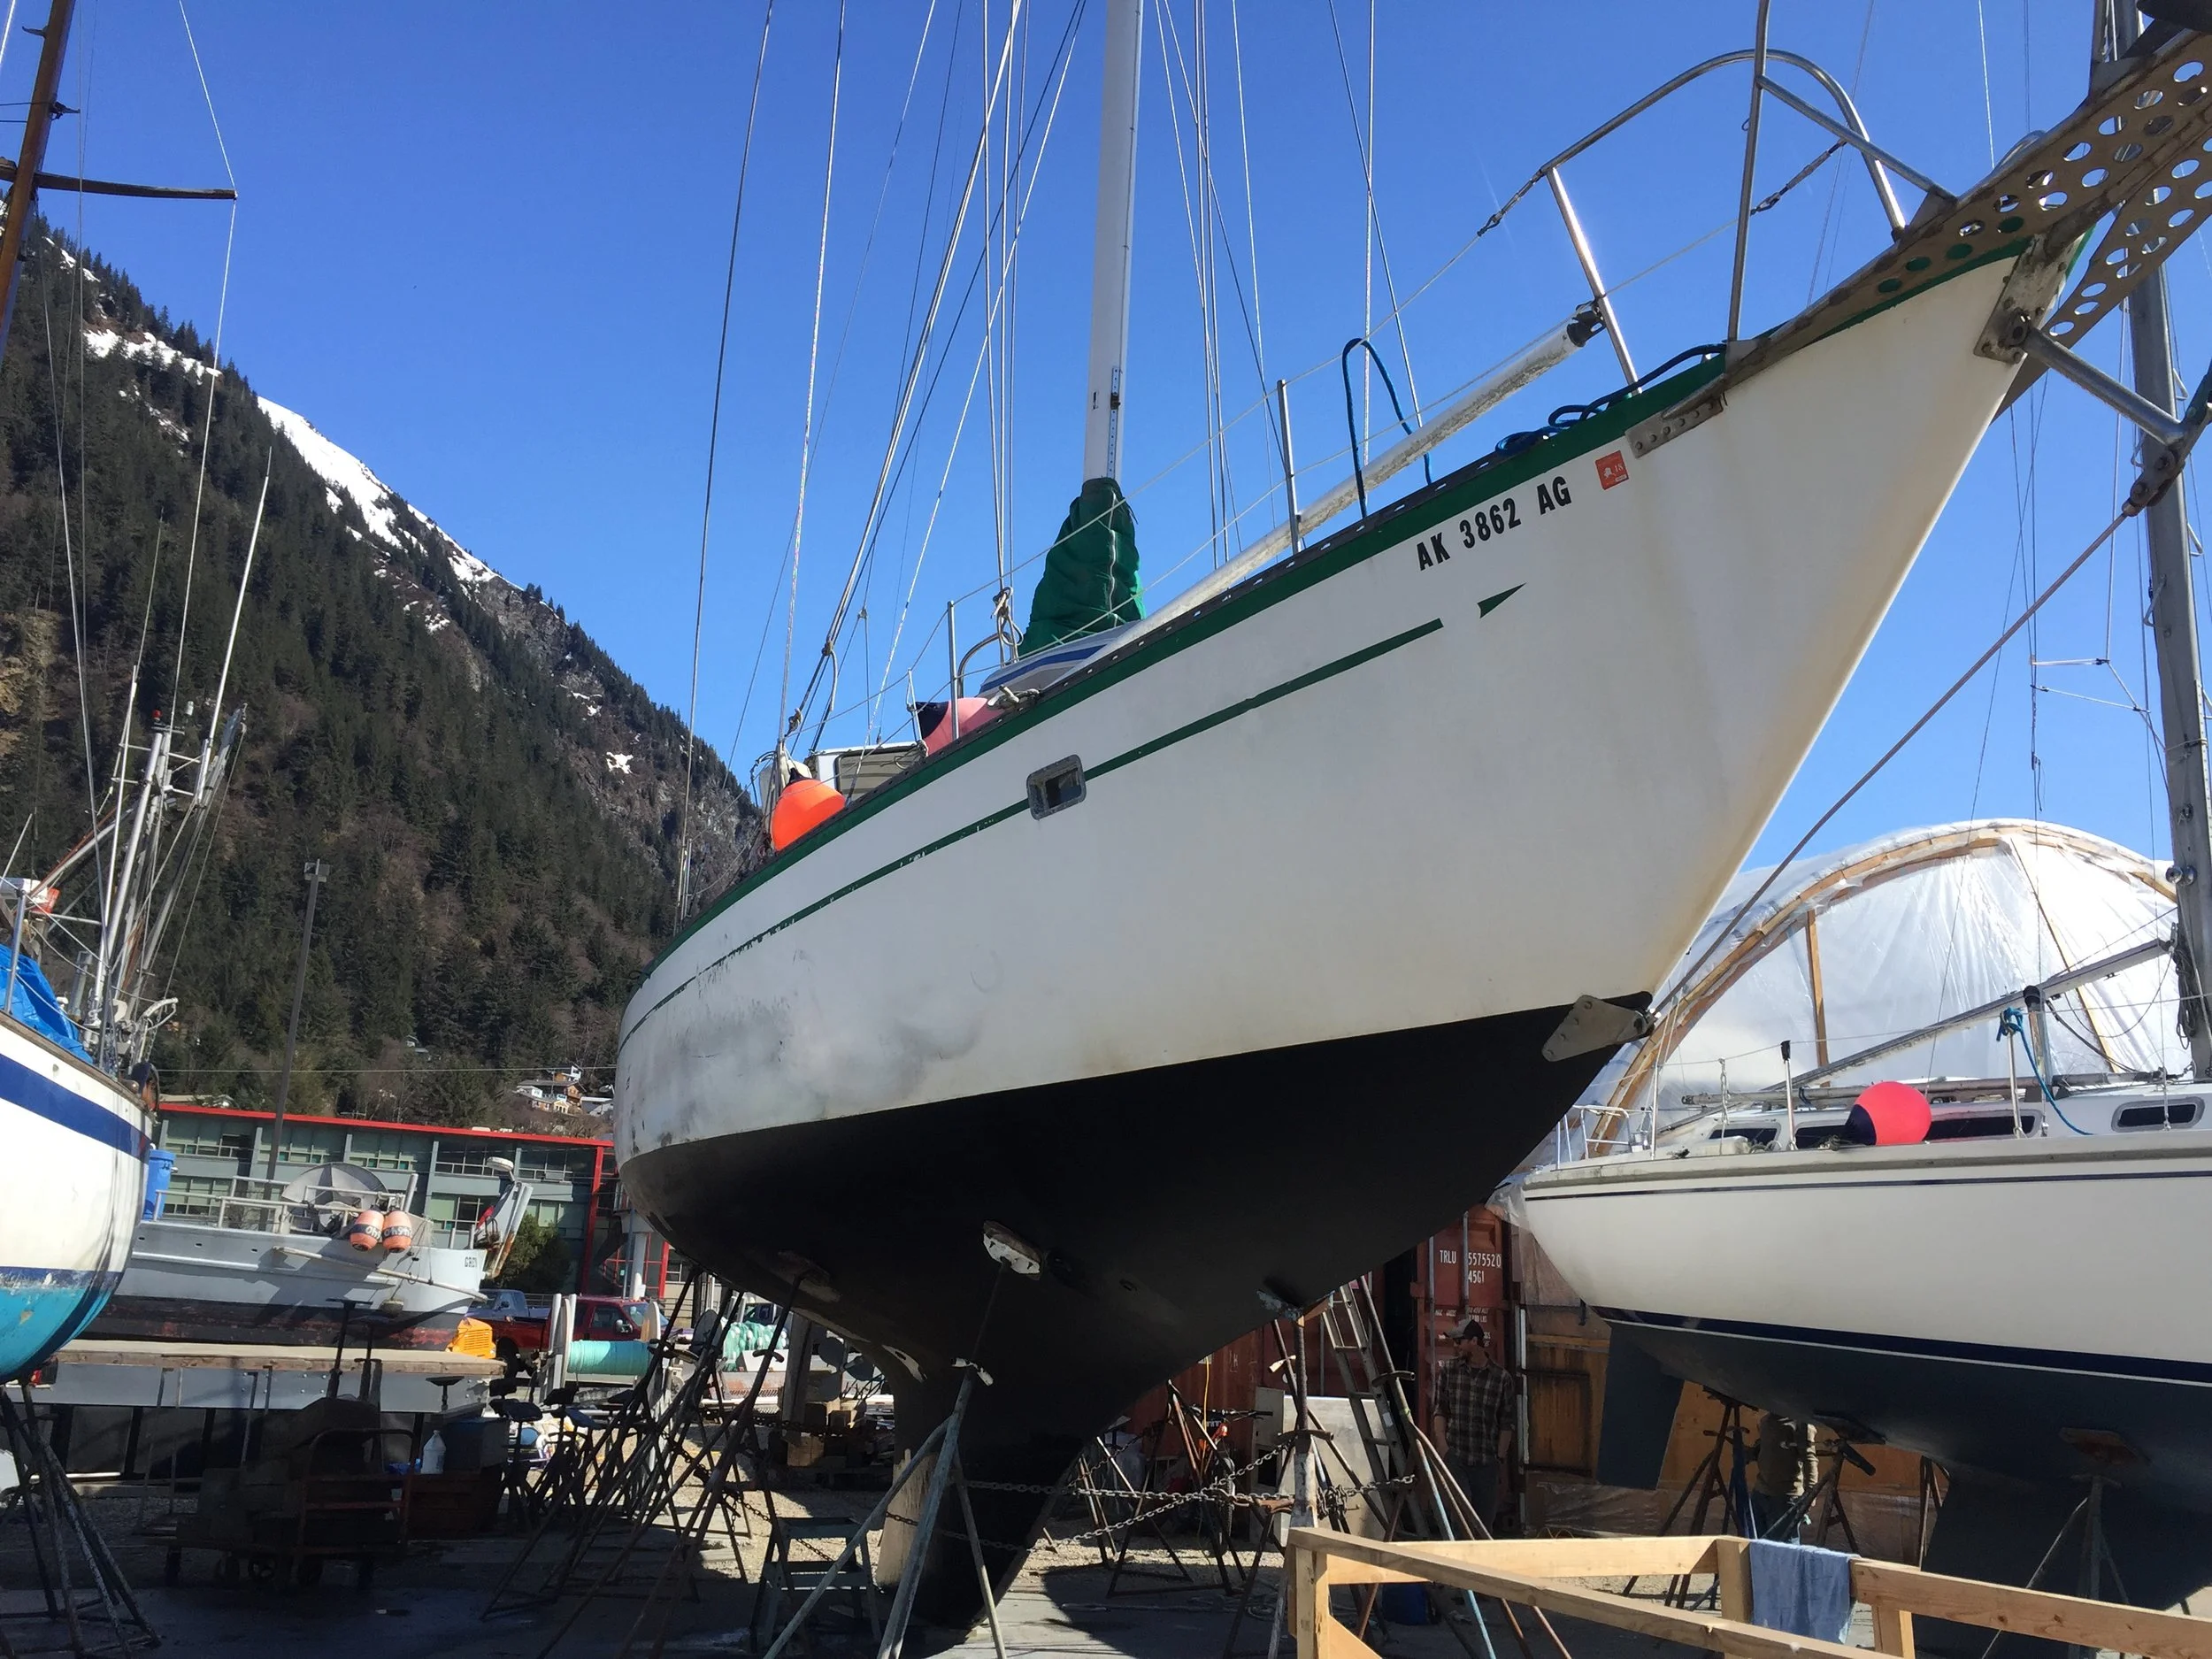
We left Juneau early spring 2023 and headed for Hoonah for a haul‑out. We needed bottom paint and new zincs, and since this was our second time hauling out there, we knew the drill and brought almost everything we needed. We had tarps, ladders, tools — the whole setup. We didn’t buy paint ahead of time, but picked it up from Greg, one of our favorite Hoonah people. This haulout was the start of our first proper cruising summer. A momentous event after years of working on Sundew.

The projects were straightforward. We sanded the entire bottom, repaired a few small fiberglass cracks and topside damage, and fixed a handful of blisters. It was a short five‑day haul‑out, just enough time to get the boat cleaned up, painted, and ready for the season.

As soon as we splashed back in, we headed out cruising. First stop: Glacier Bay National Park.

Comment

Comment

Windlass

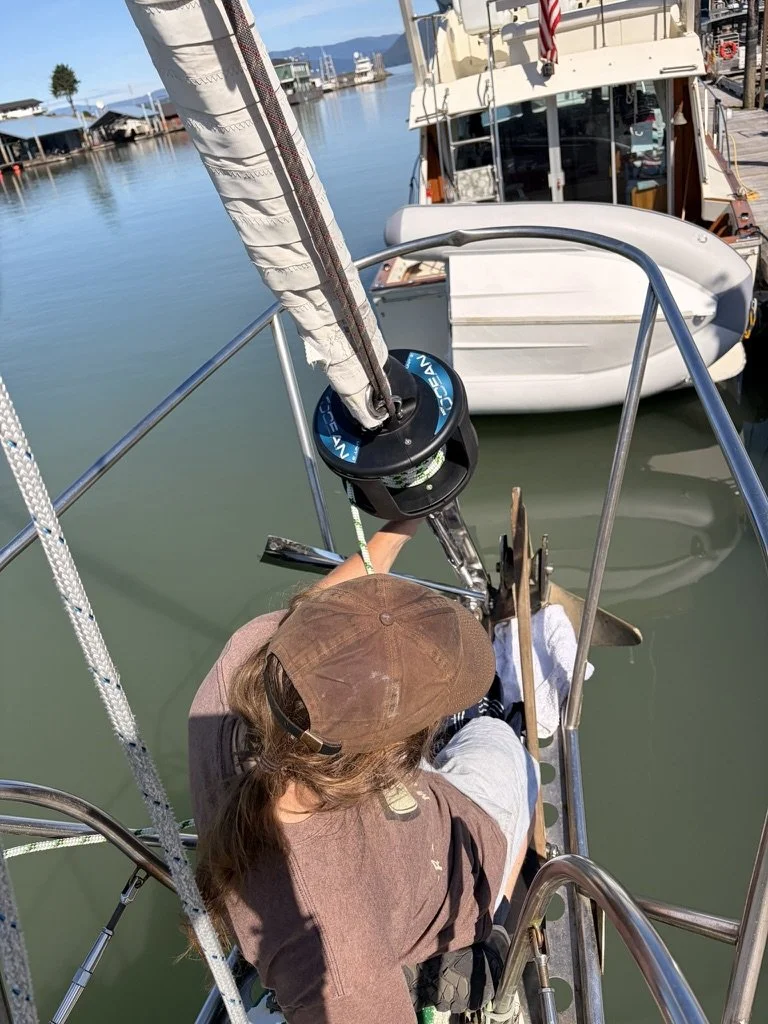
For a long time we hauled our anchor the hard way — long lines, chain hooks, and the sheet winches. Pure muscle. Pure stubbornness.

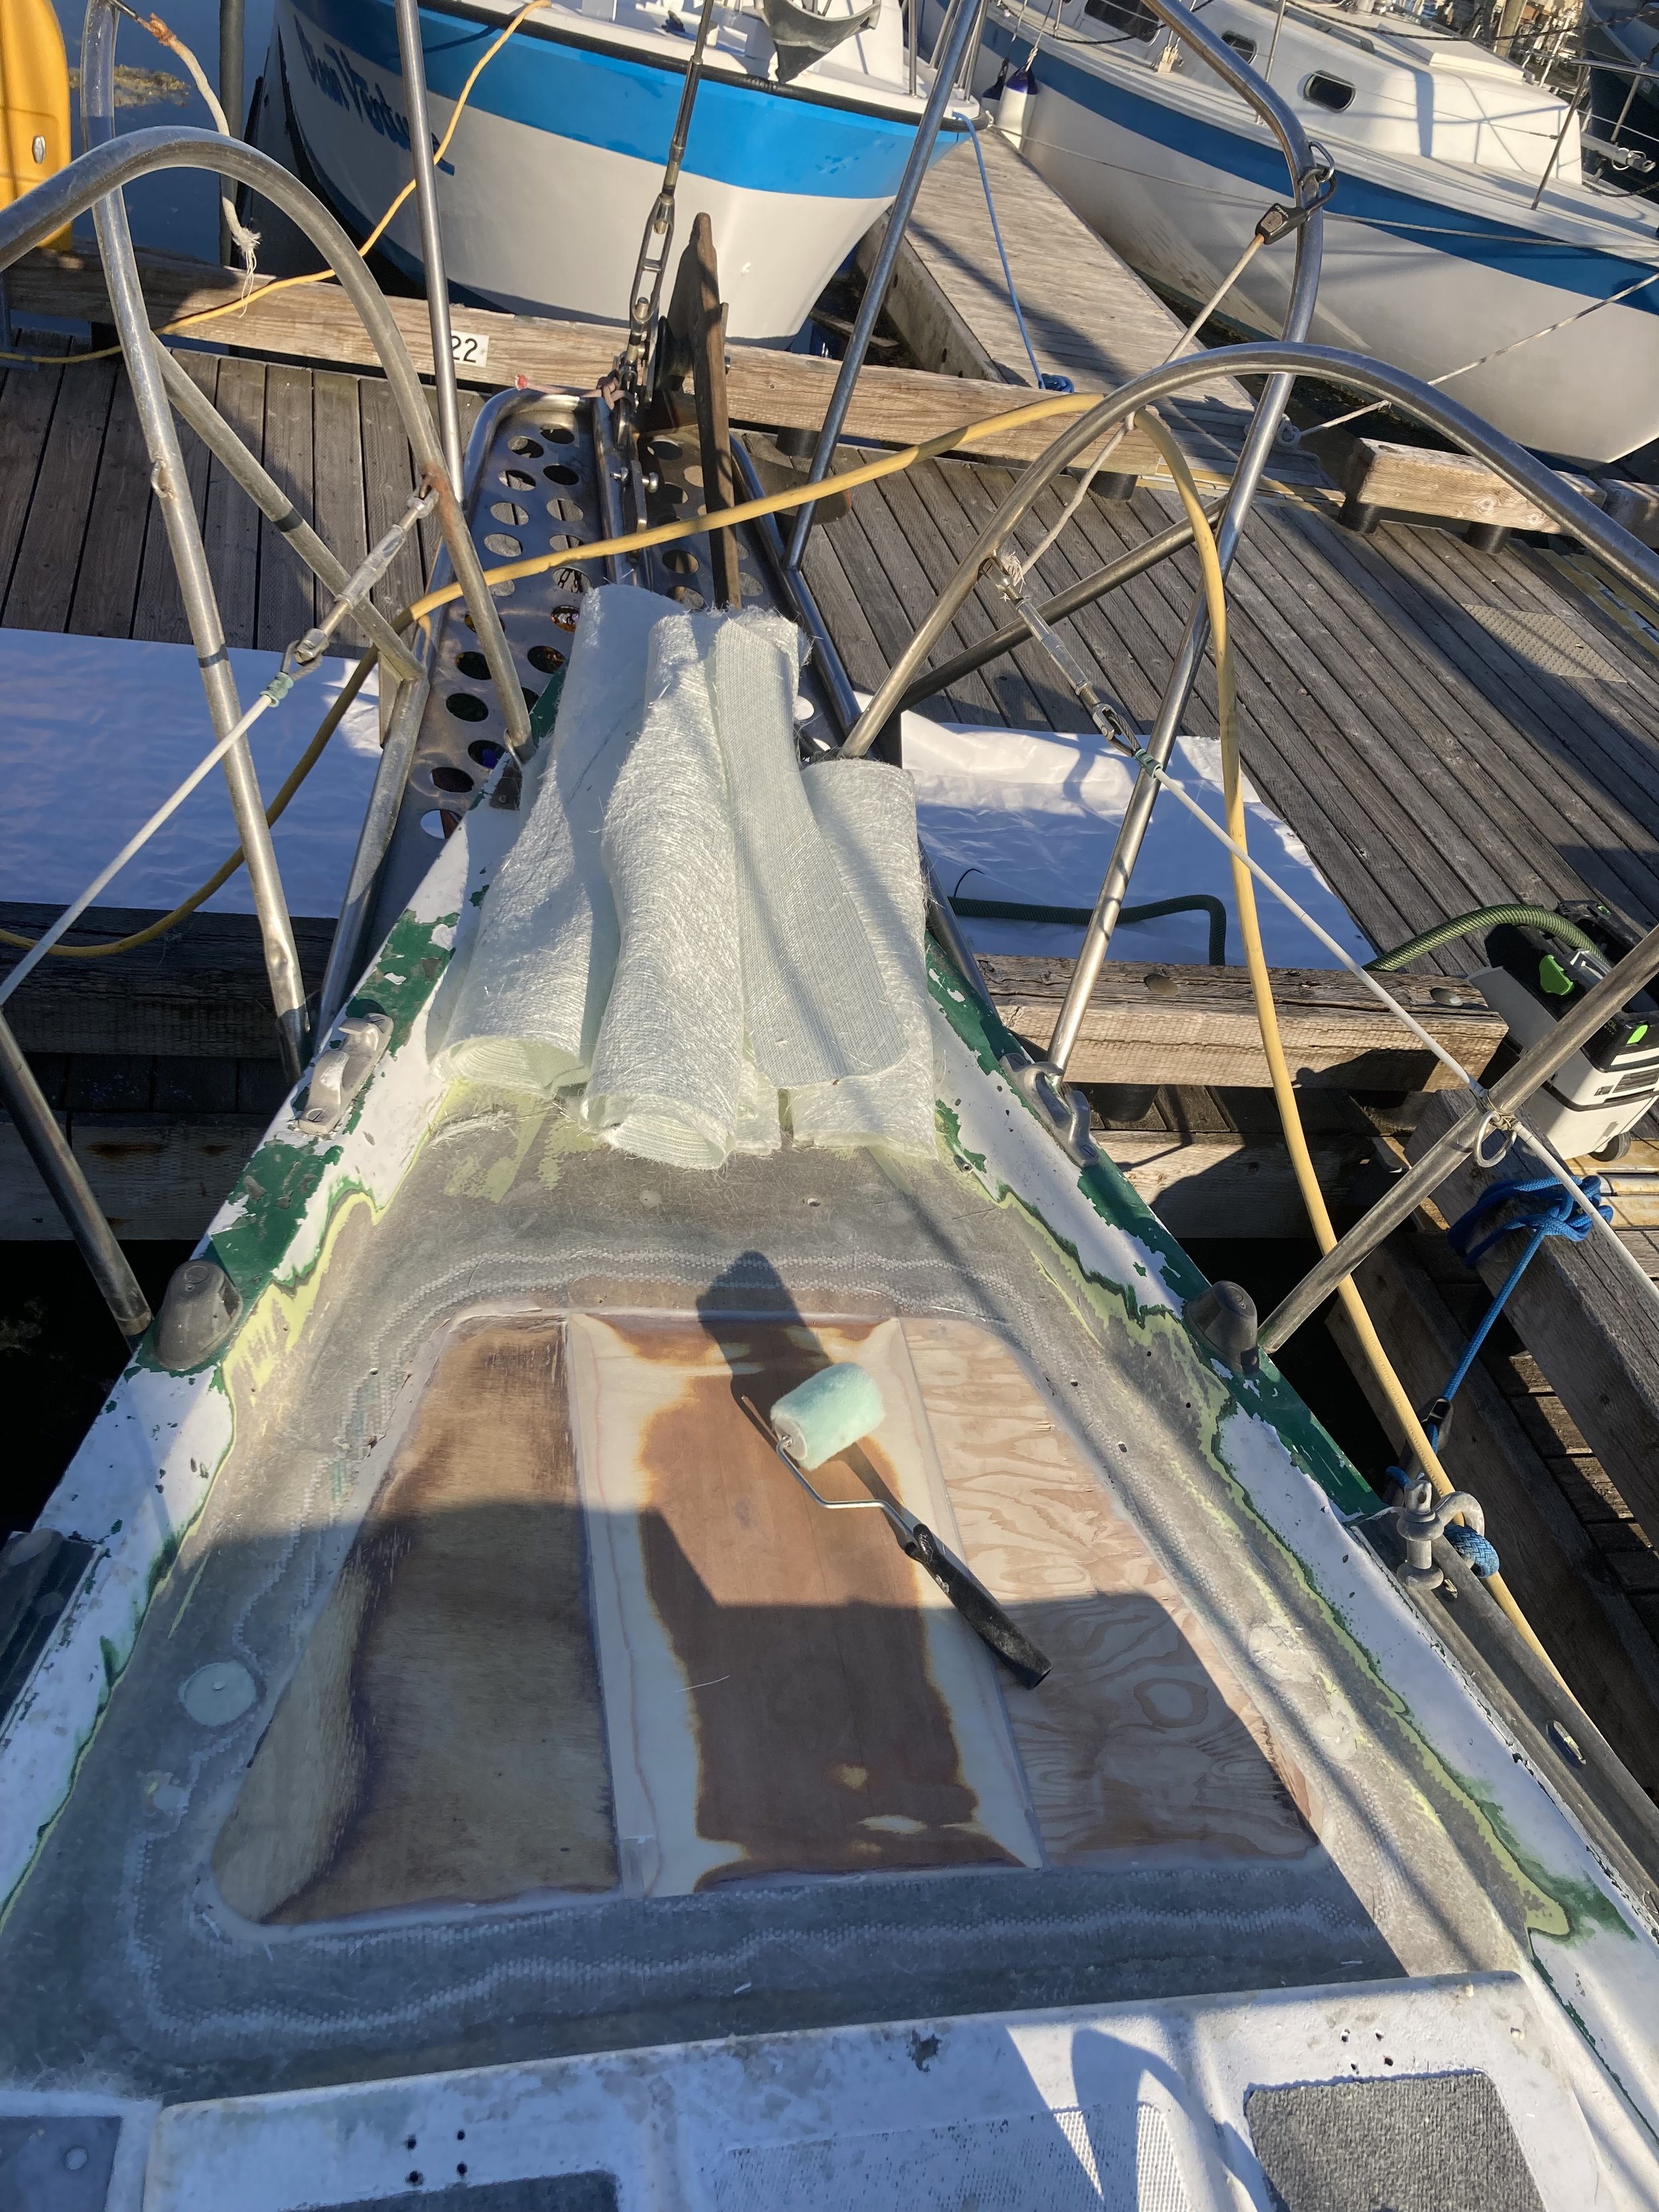
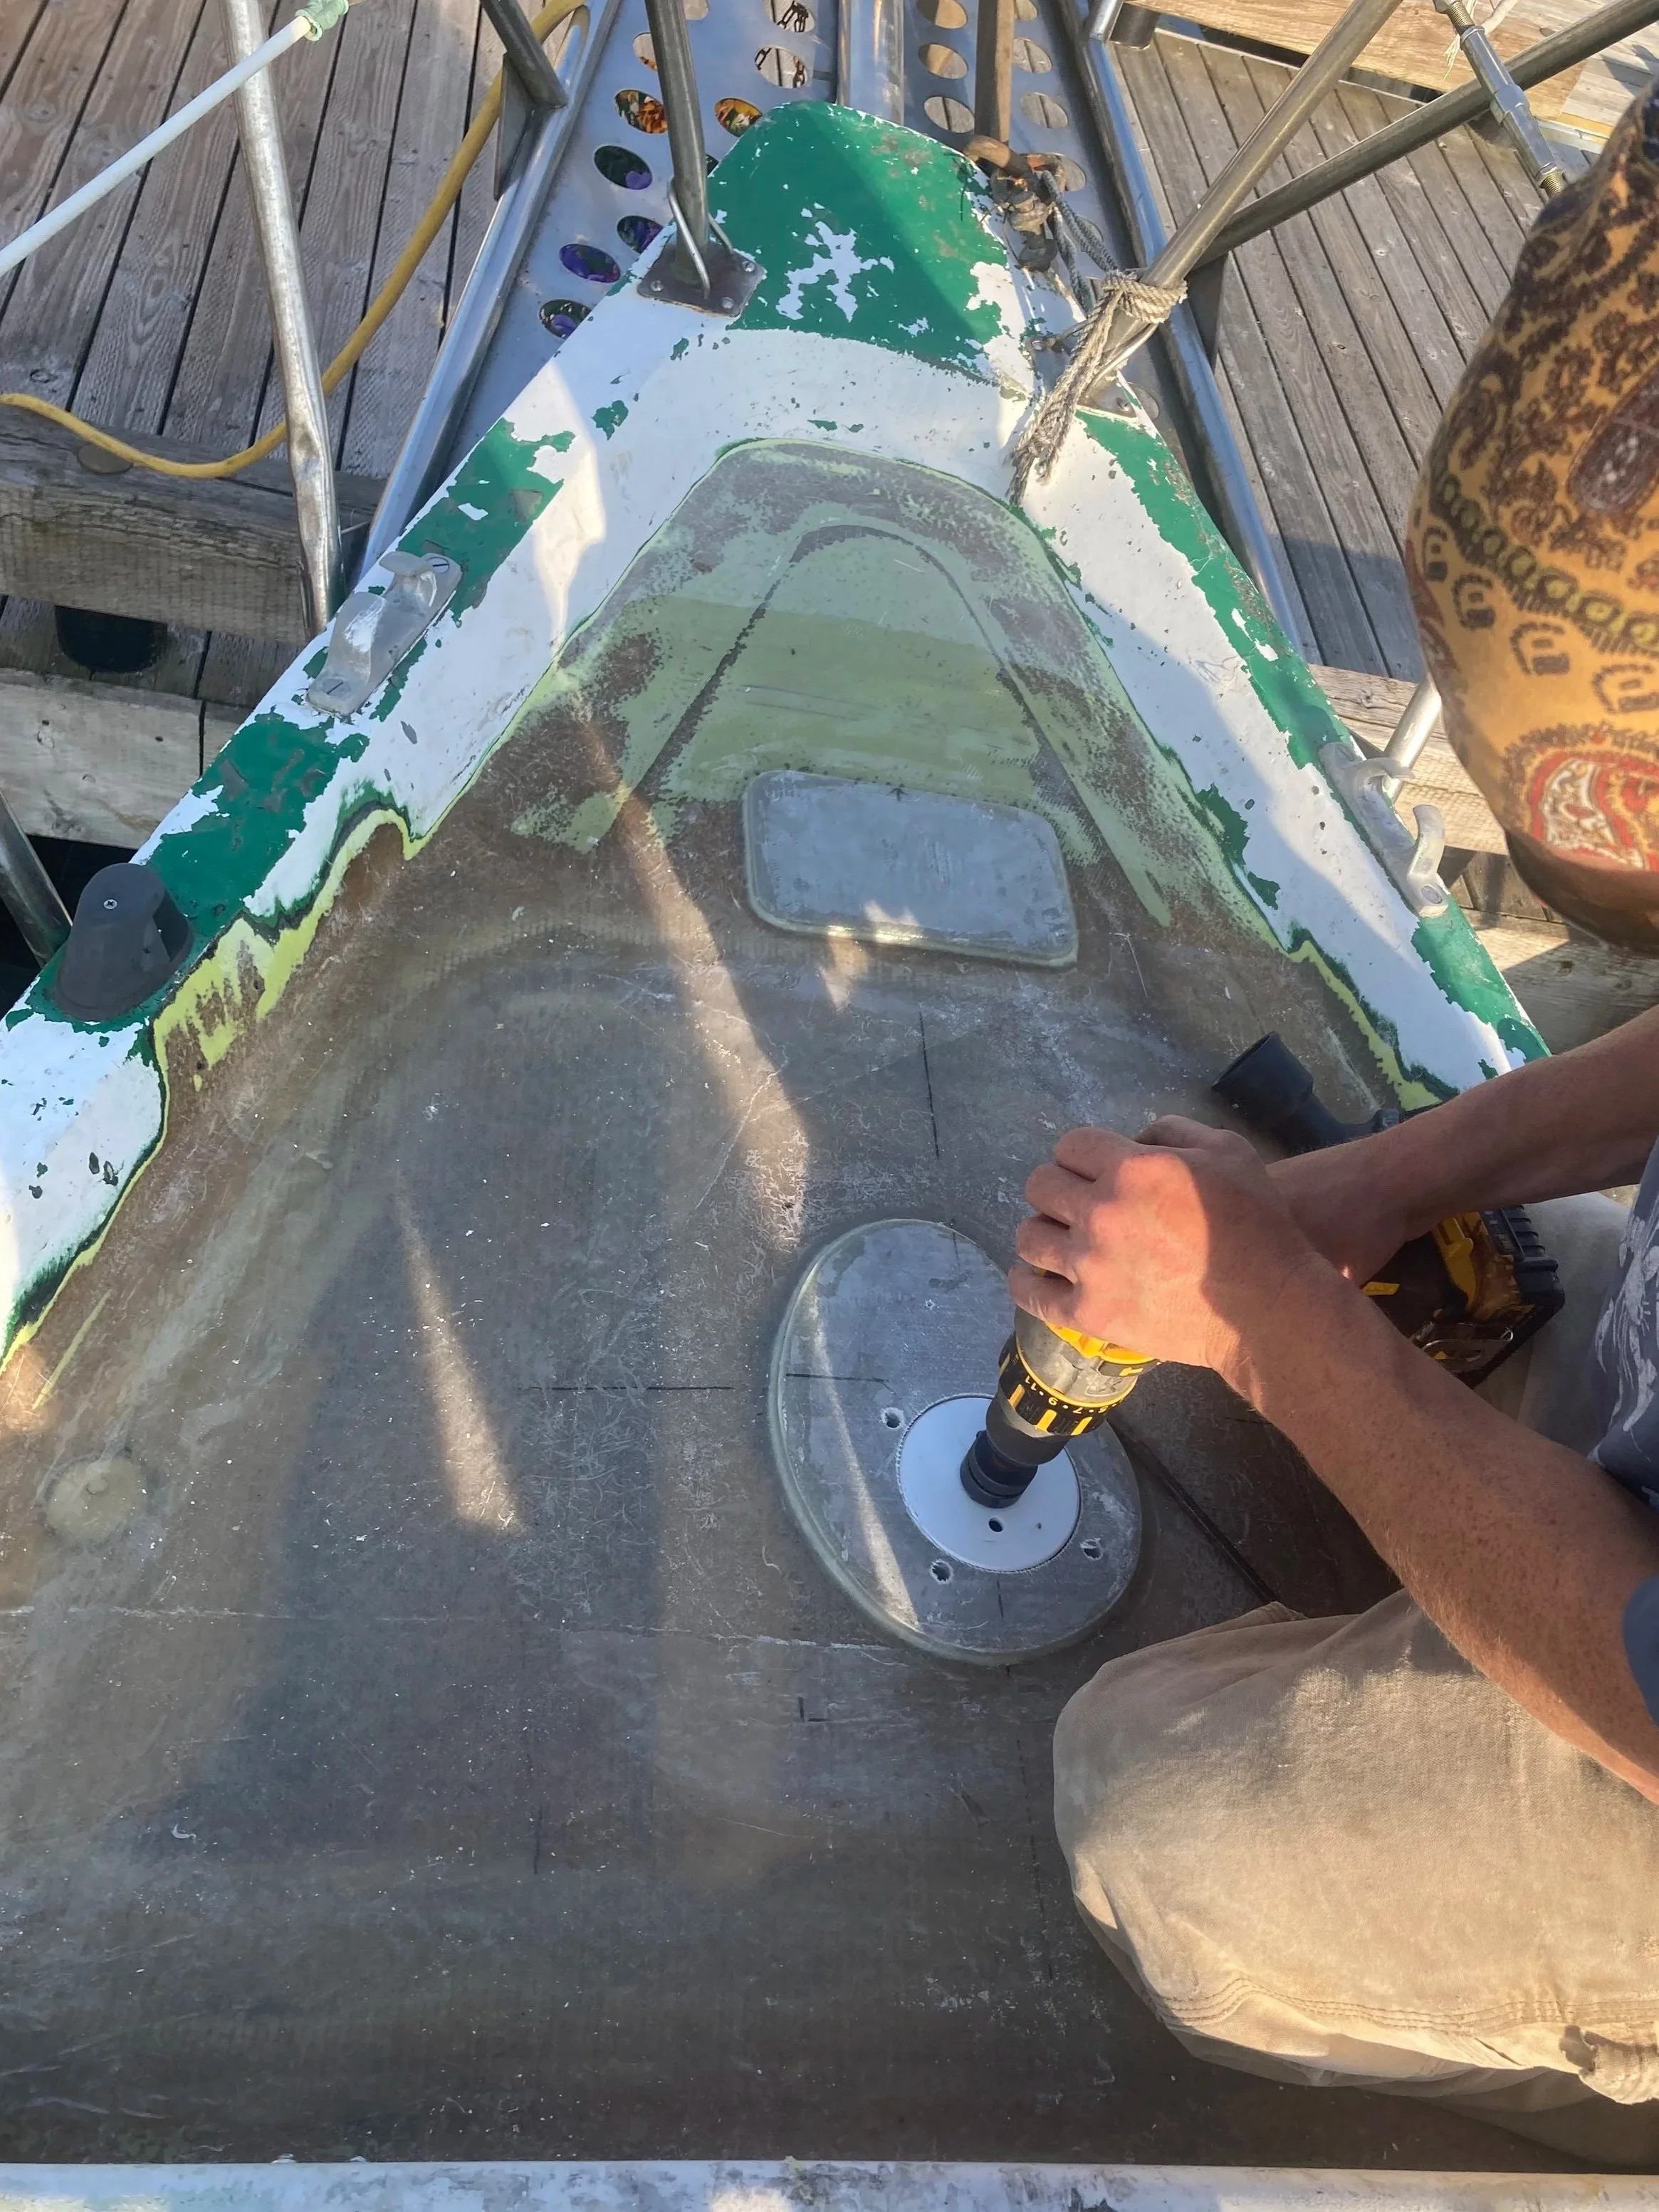
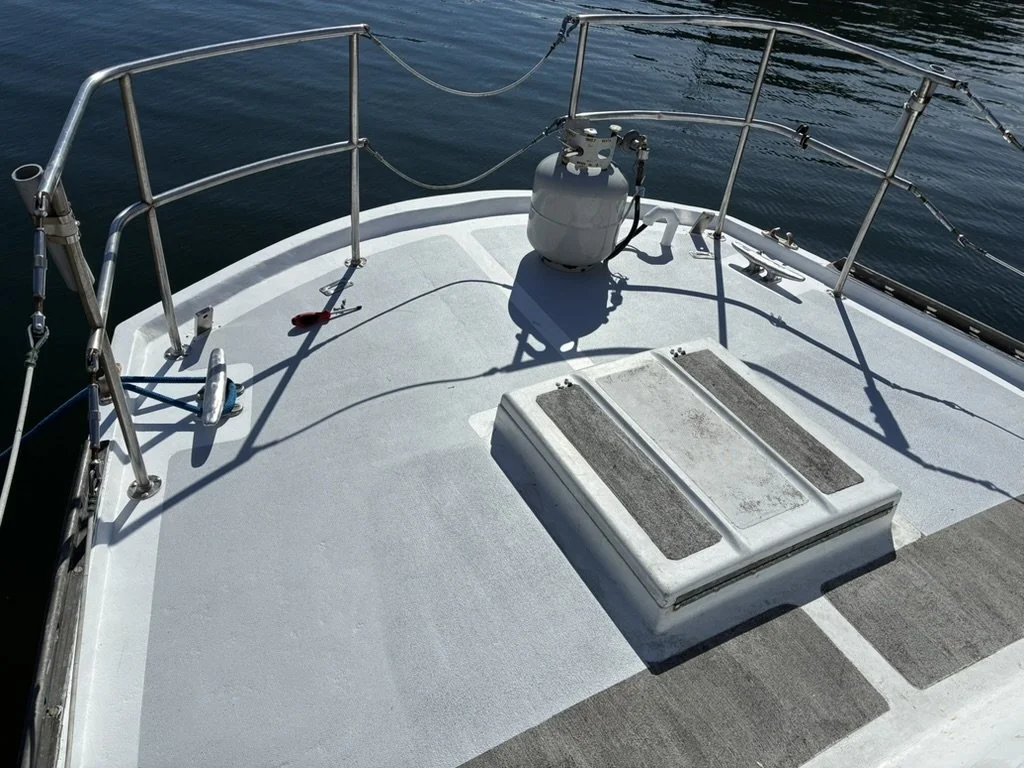
Once our electrical refit reached a good stopping point, we finally upgraded: a Maxwell windlass, 400 feet of 3/8" high‑test galvanized chain, and the very long (and very expensive) battery cables needed to power it. But before we could install any of it, we had to deal with the sneaky mess in the deck.

The balsa core was soaked.

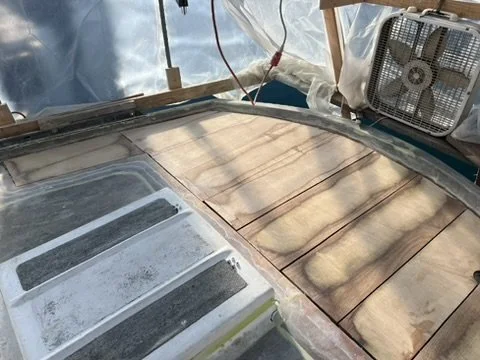
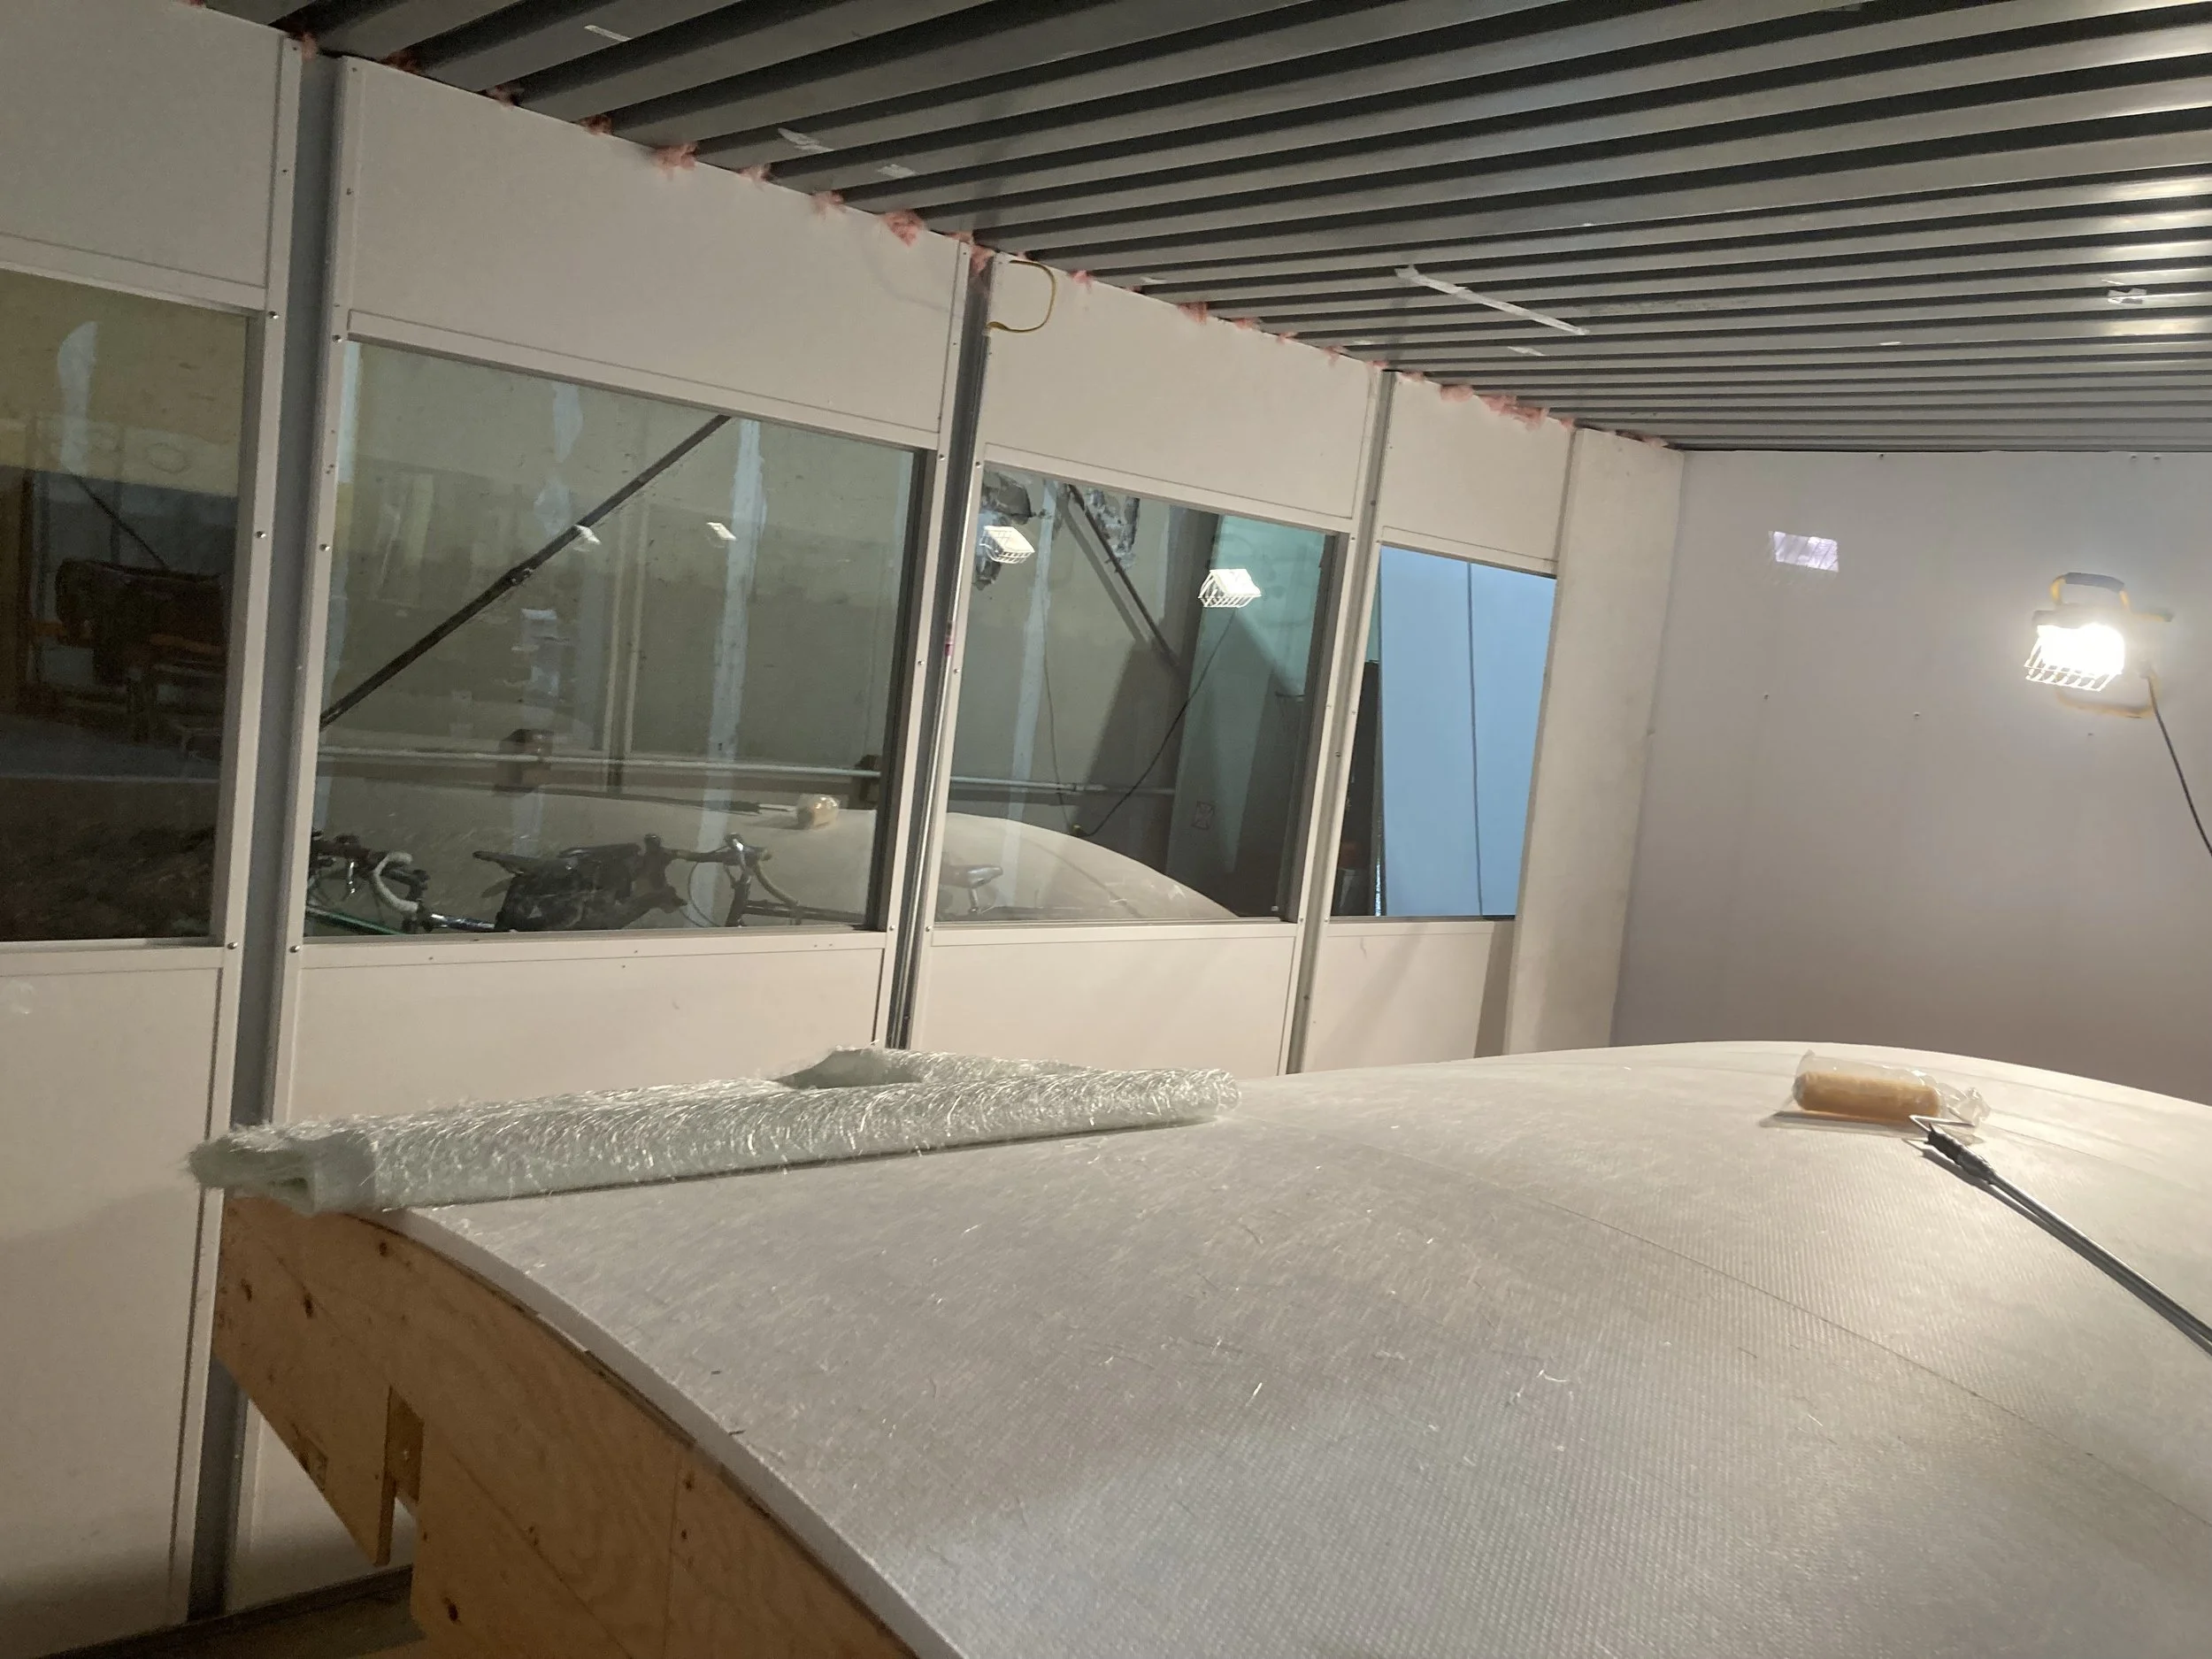
So we tore it open, removed the mushy core, and rebuilt it with marine‑grade plywood fully encapsulated in about 3/8" of fiberglass. Slow, messy work — but the only way to make the deck strong enough to handle a real load.

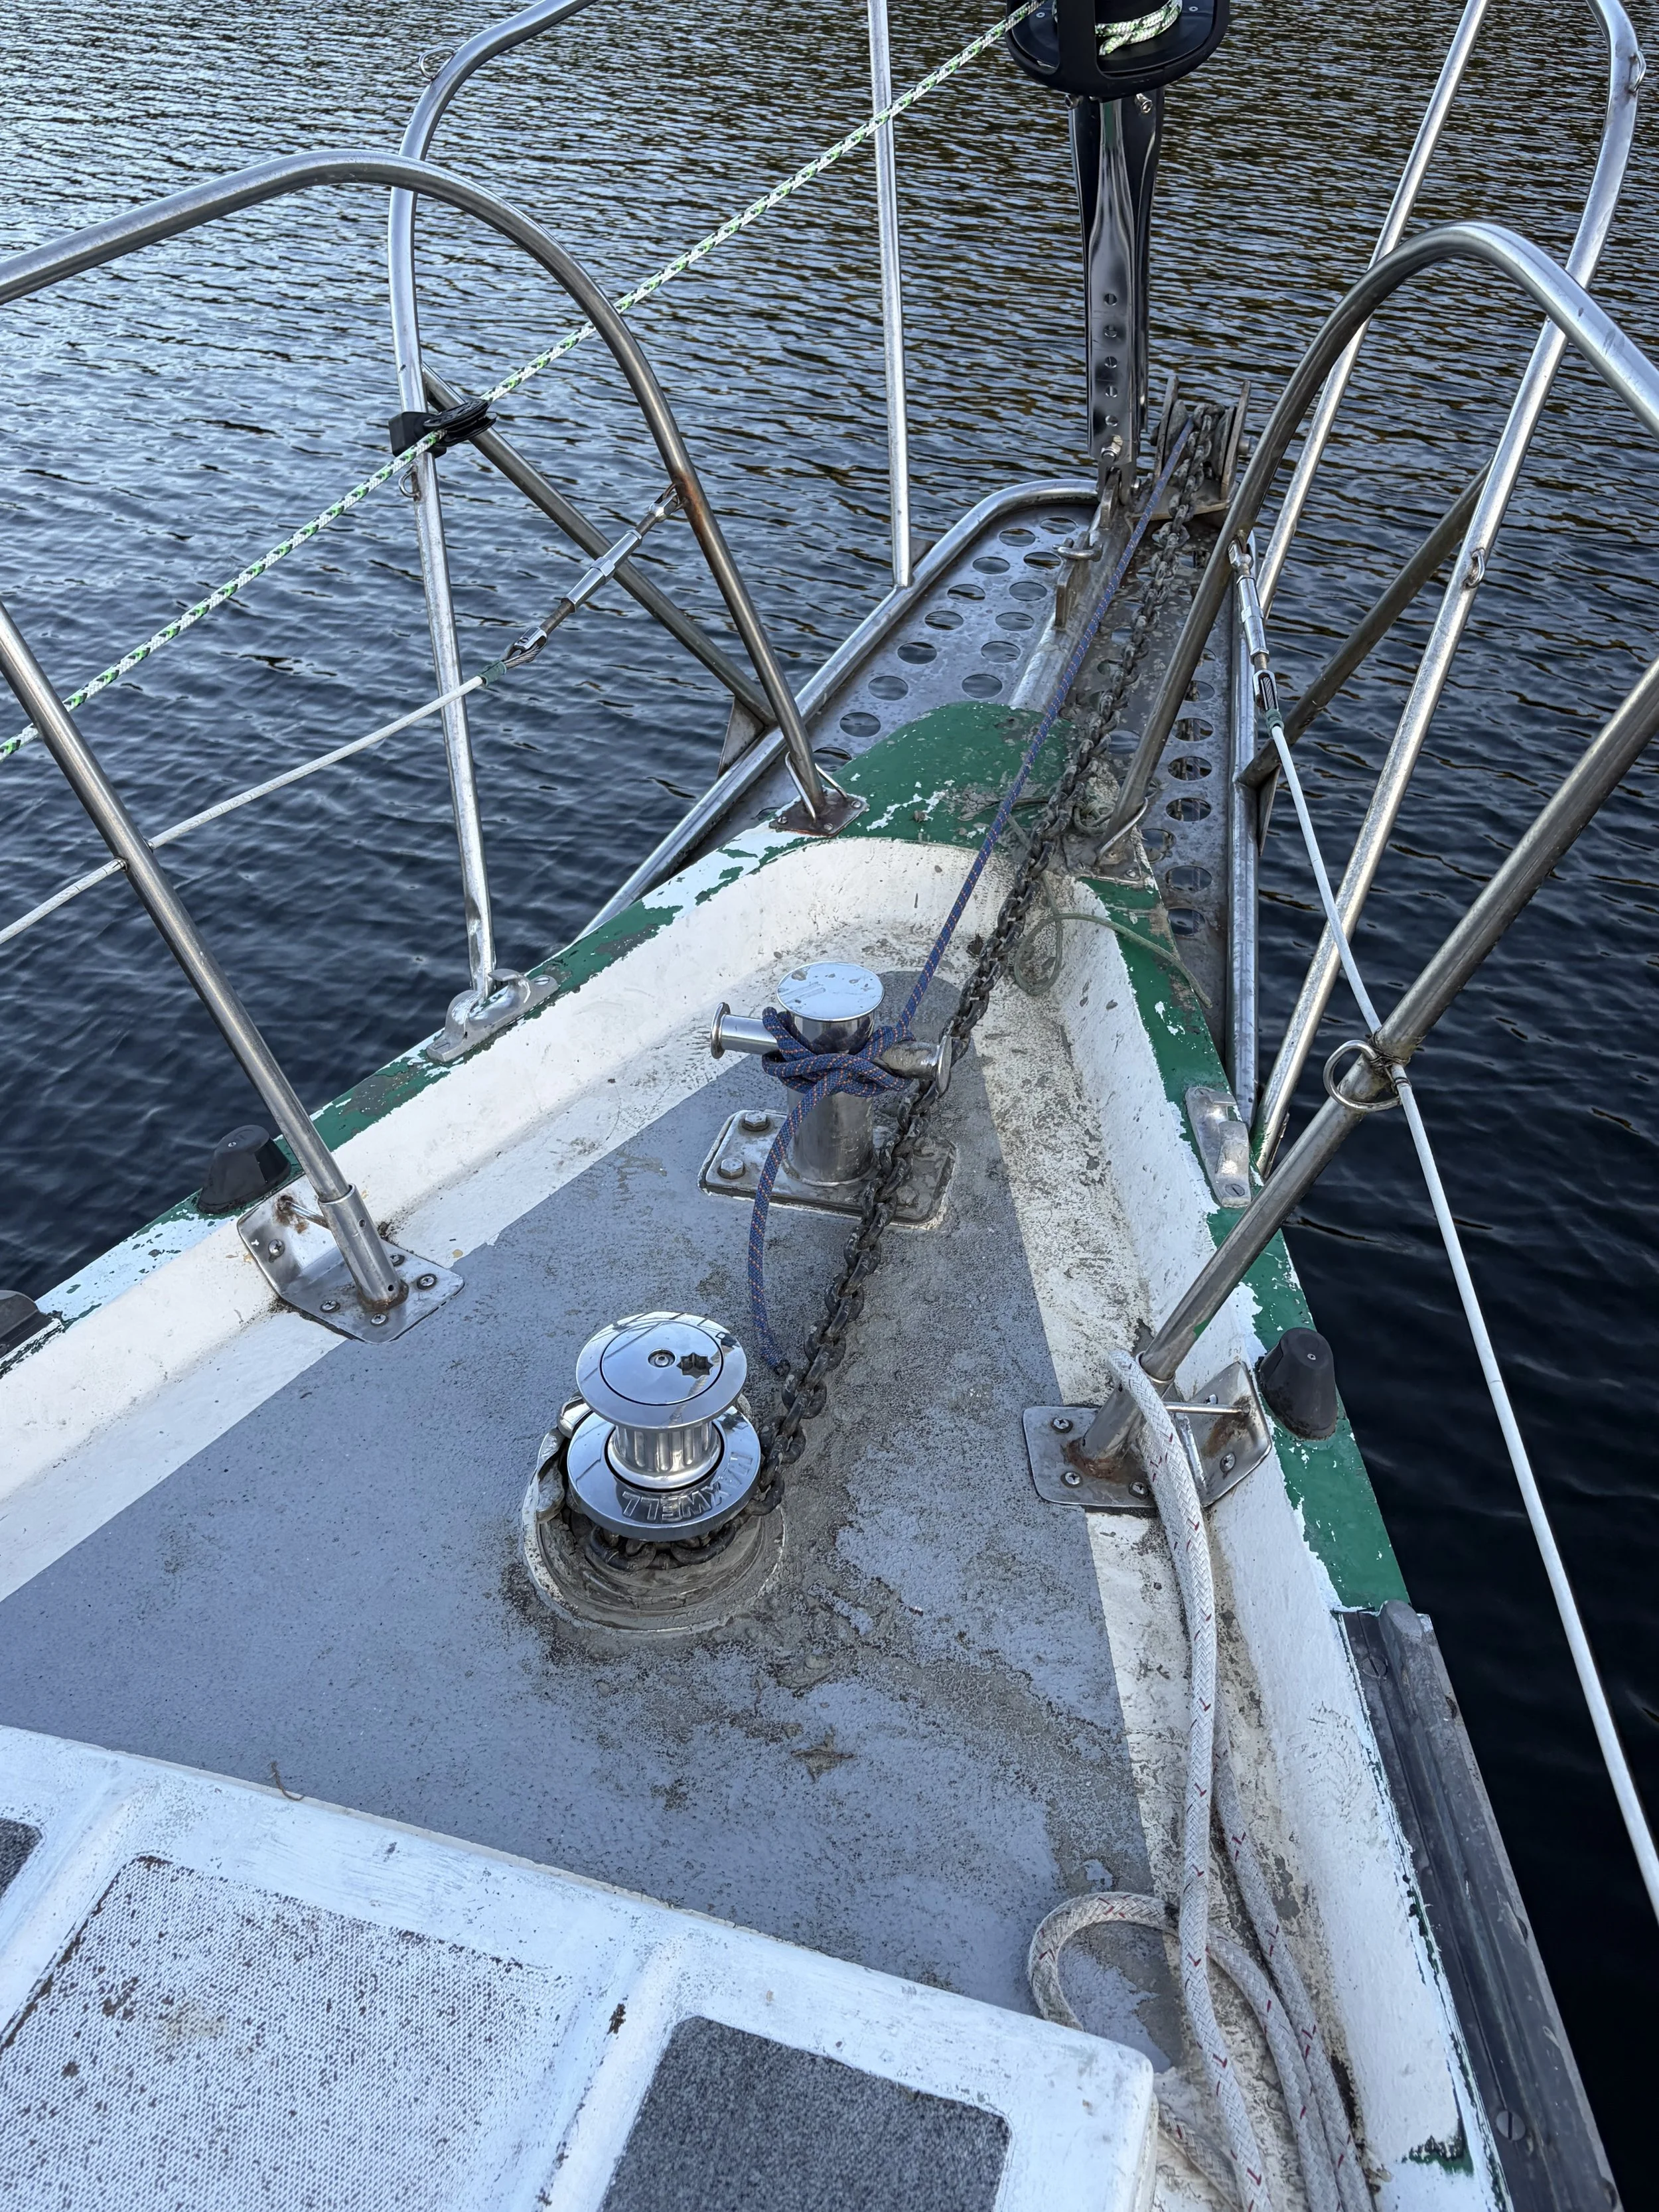
Once the new deck fully cured, we mounted the windlass on a little additional fiberglass pad, ran the cables, and cranked in our fresh new chain!

We went from arduously hand hauling the hook to a solid, modern anchoring system built on a deck we trust. Totally worth the effort.

Much loved and much used now!

Comment

Comment

The Tale of Two Heads

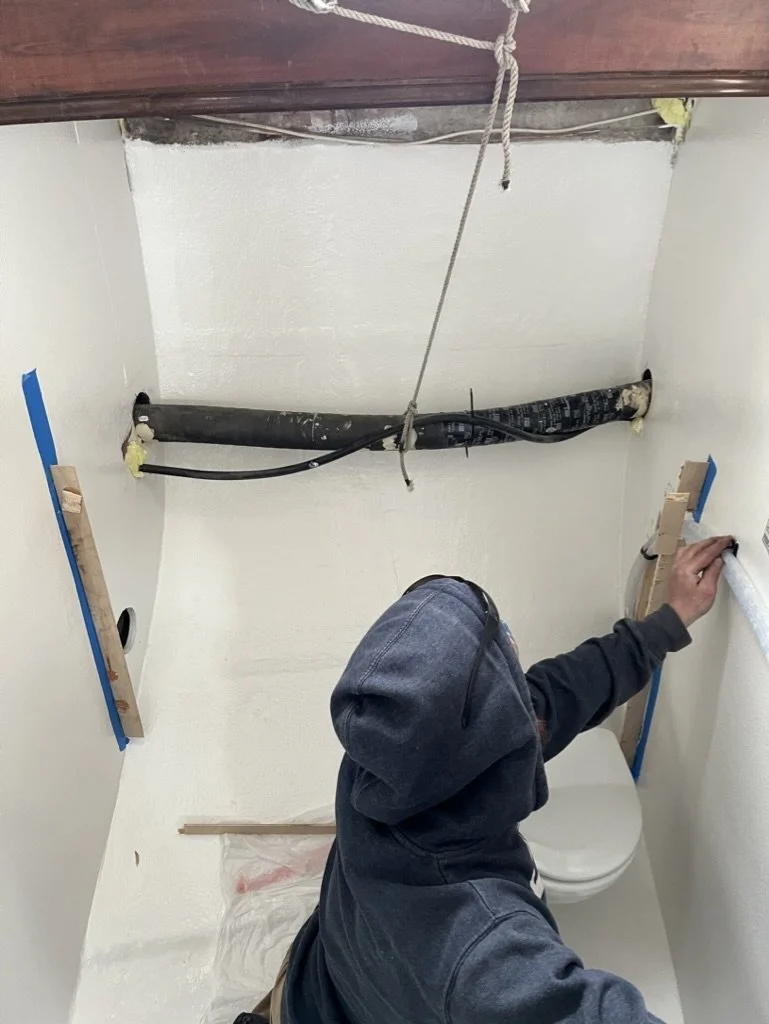
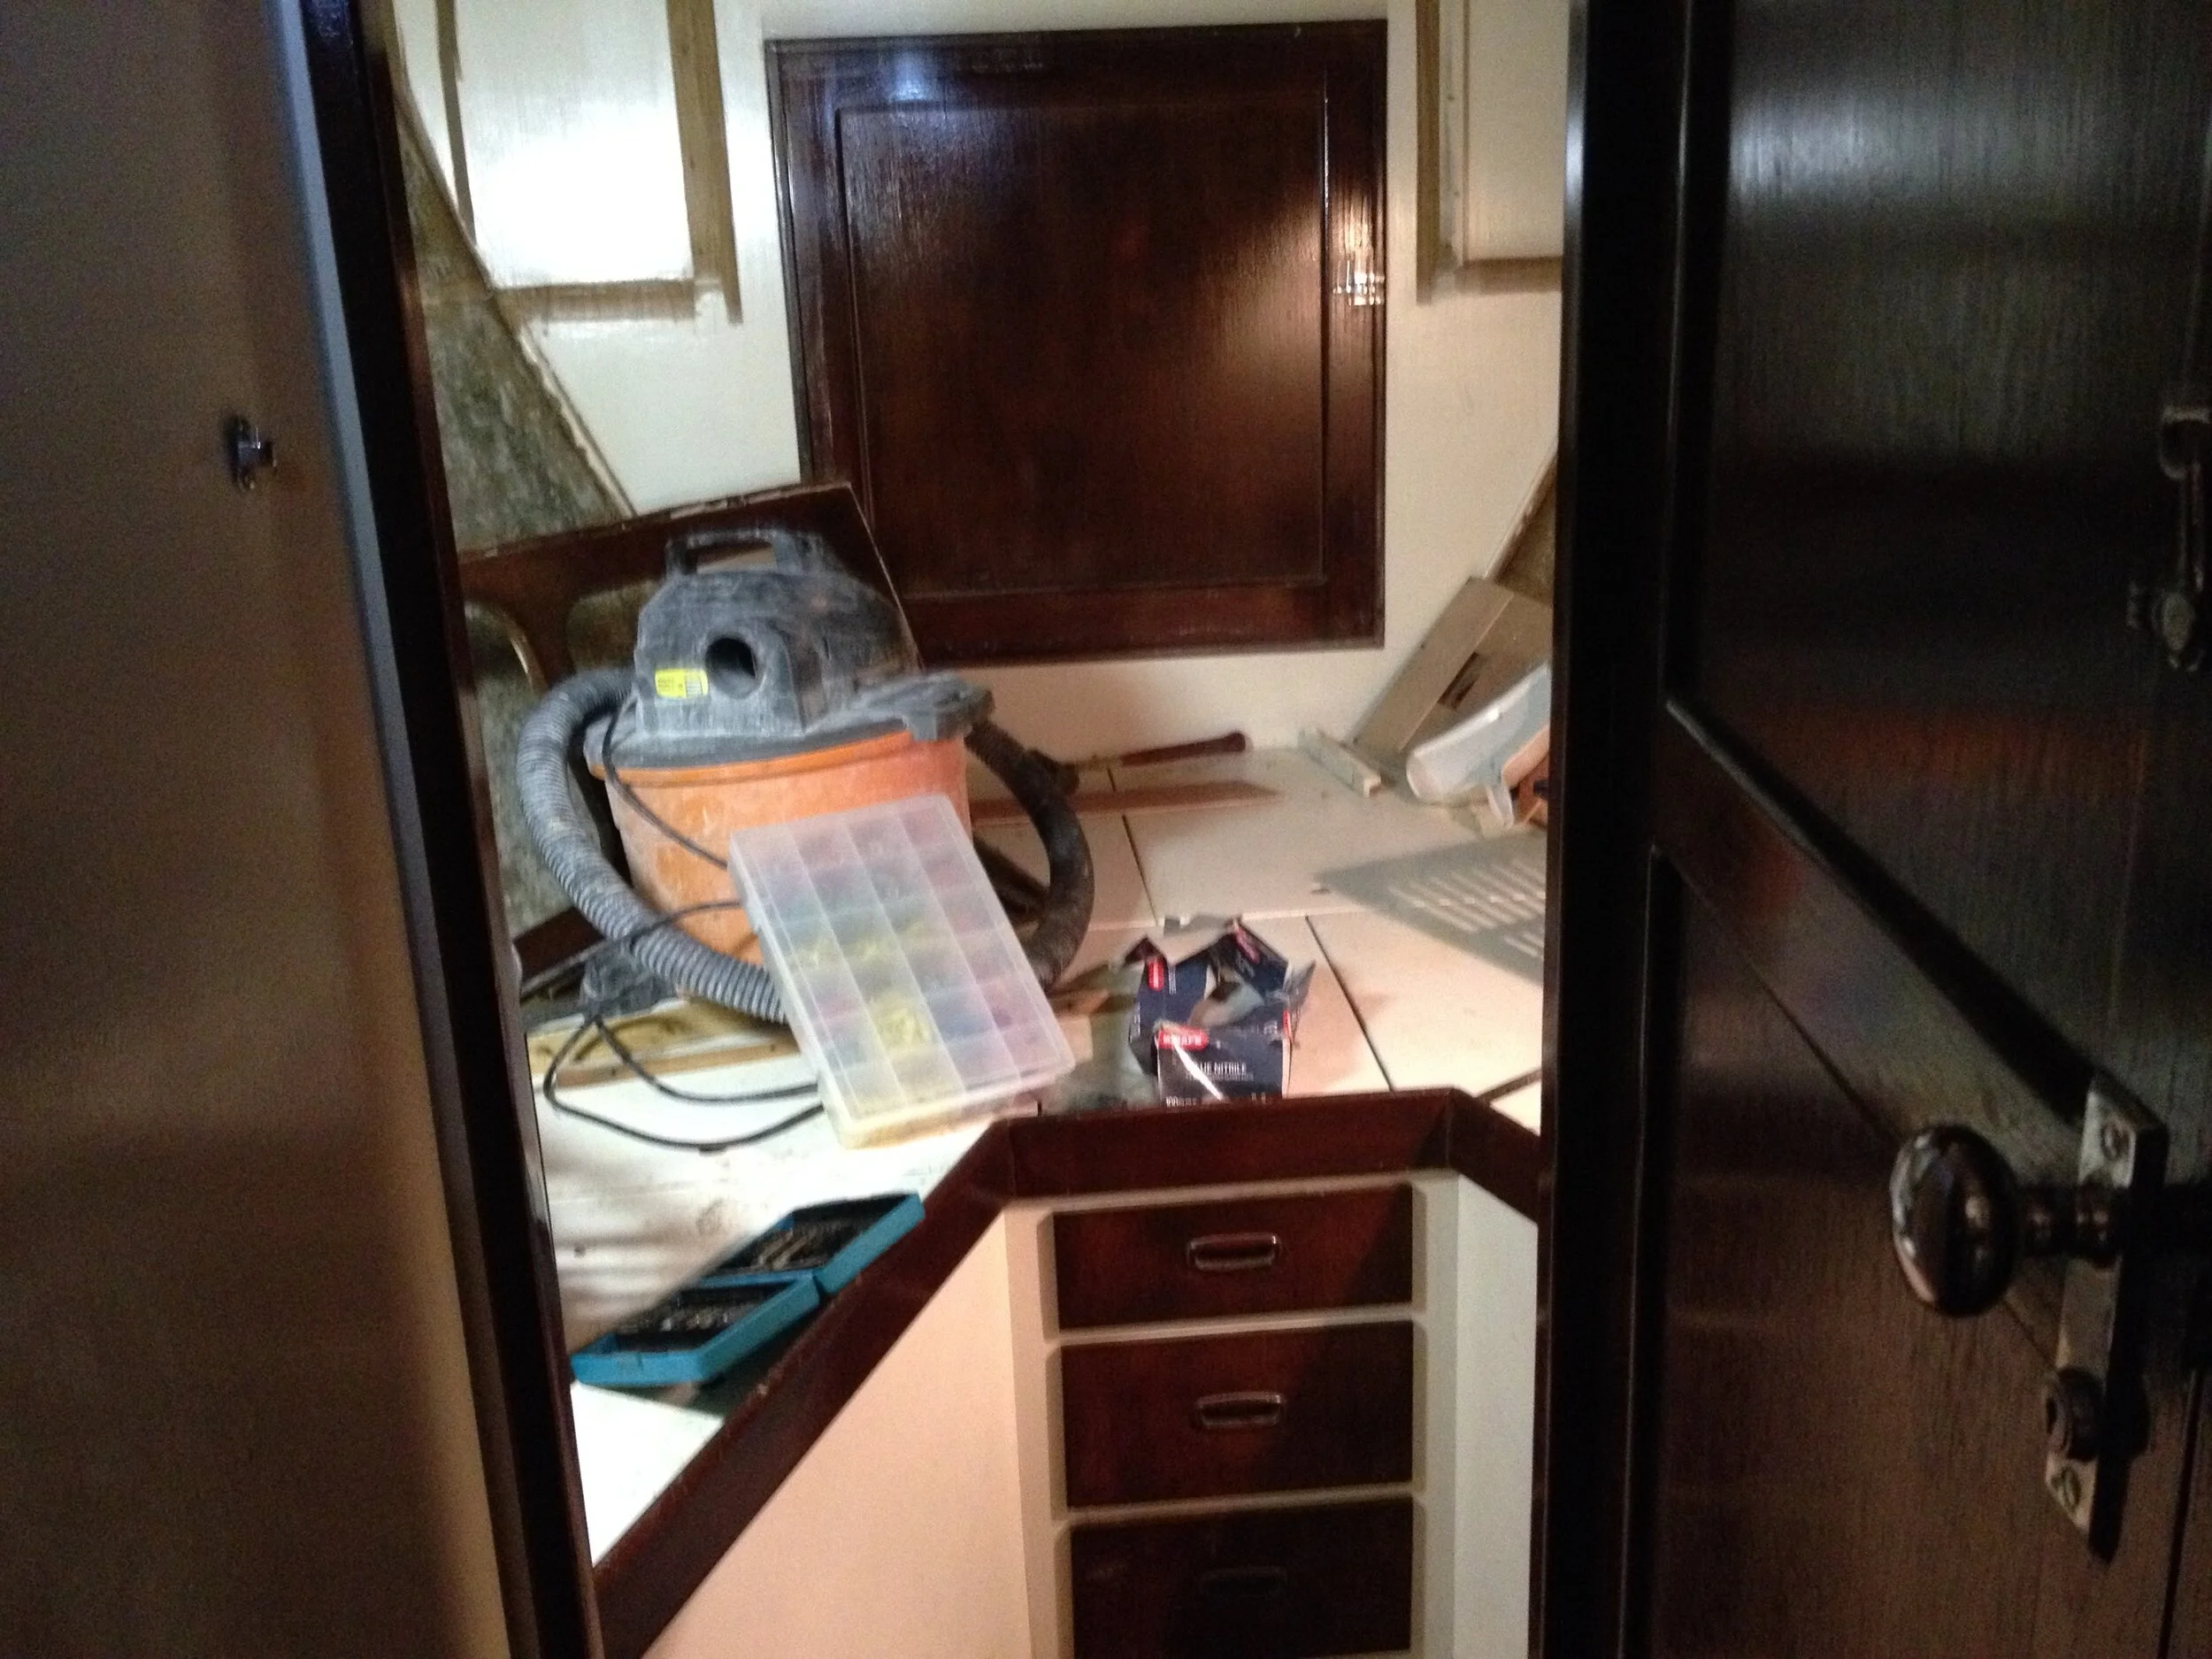
When we first moved onto the boat, we had one good electric‑flush head with the Electroscan poop‑zapper we installed… and then we had the closet. The closet claimed it was once a bathroom, but really it was just a sad hole with a spot where a toilet should be and a rotten, leaky floor that squished if you stepped on it wrong. Classic boat stuff.

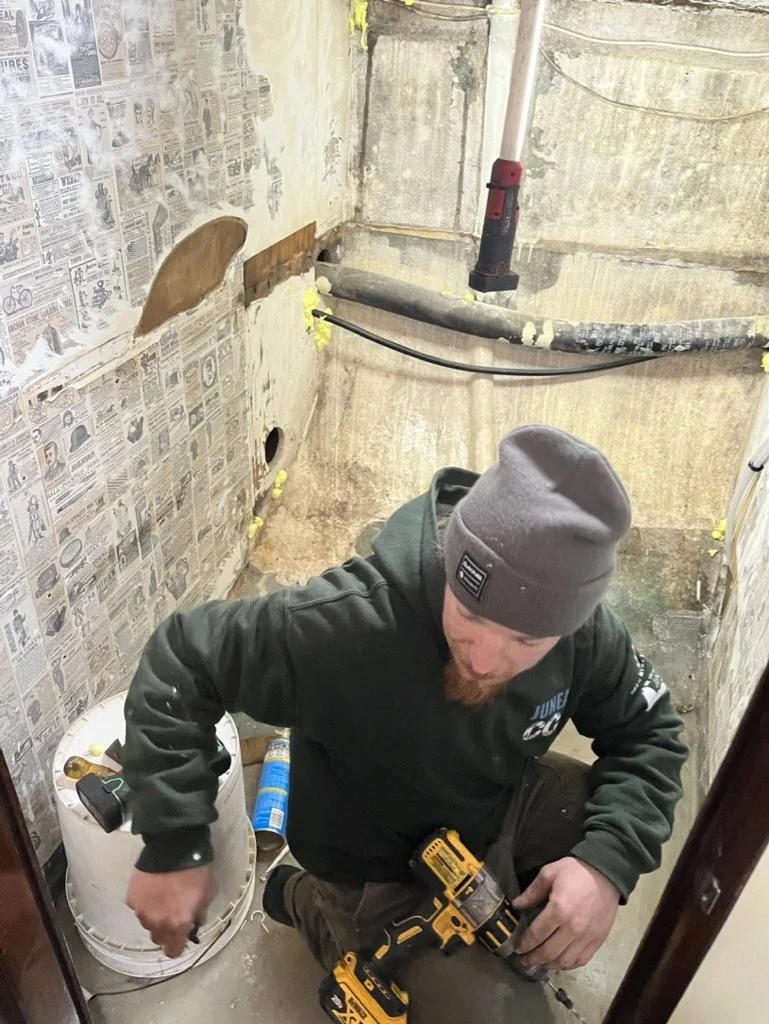
By the time we were wrapping up the boiler install, we finally turned our attention to this disaster. The space was full of boat parts, mold, dust, and whatever else had been shoved in there over the years. We taped off the saloon like we were about to commit a crime scene cleanup and went nuts.

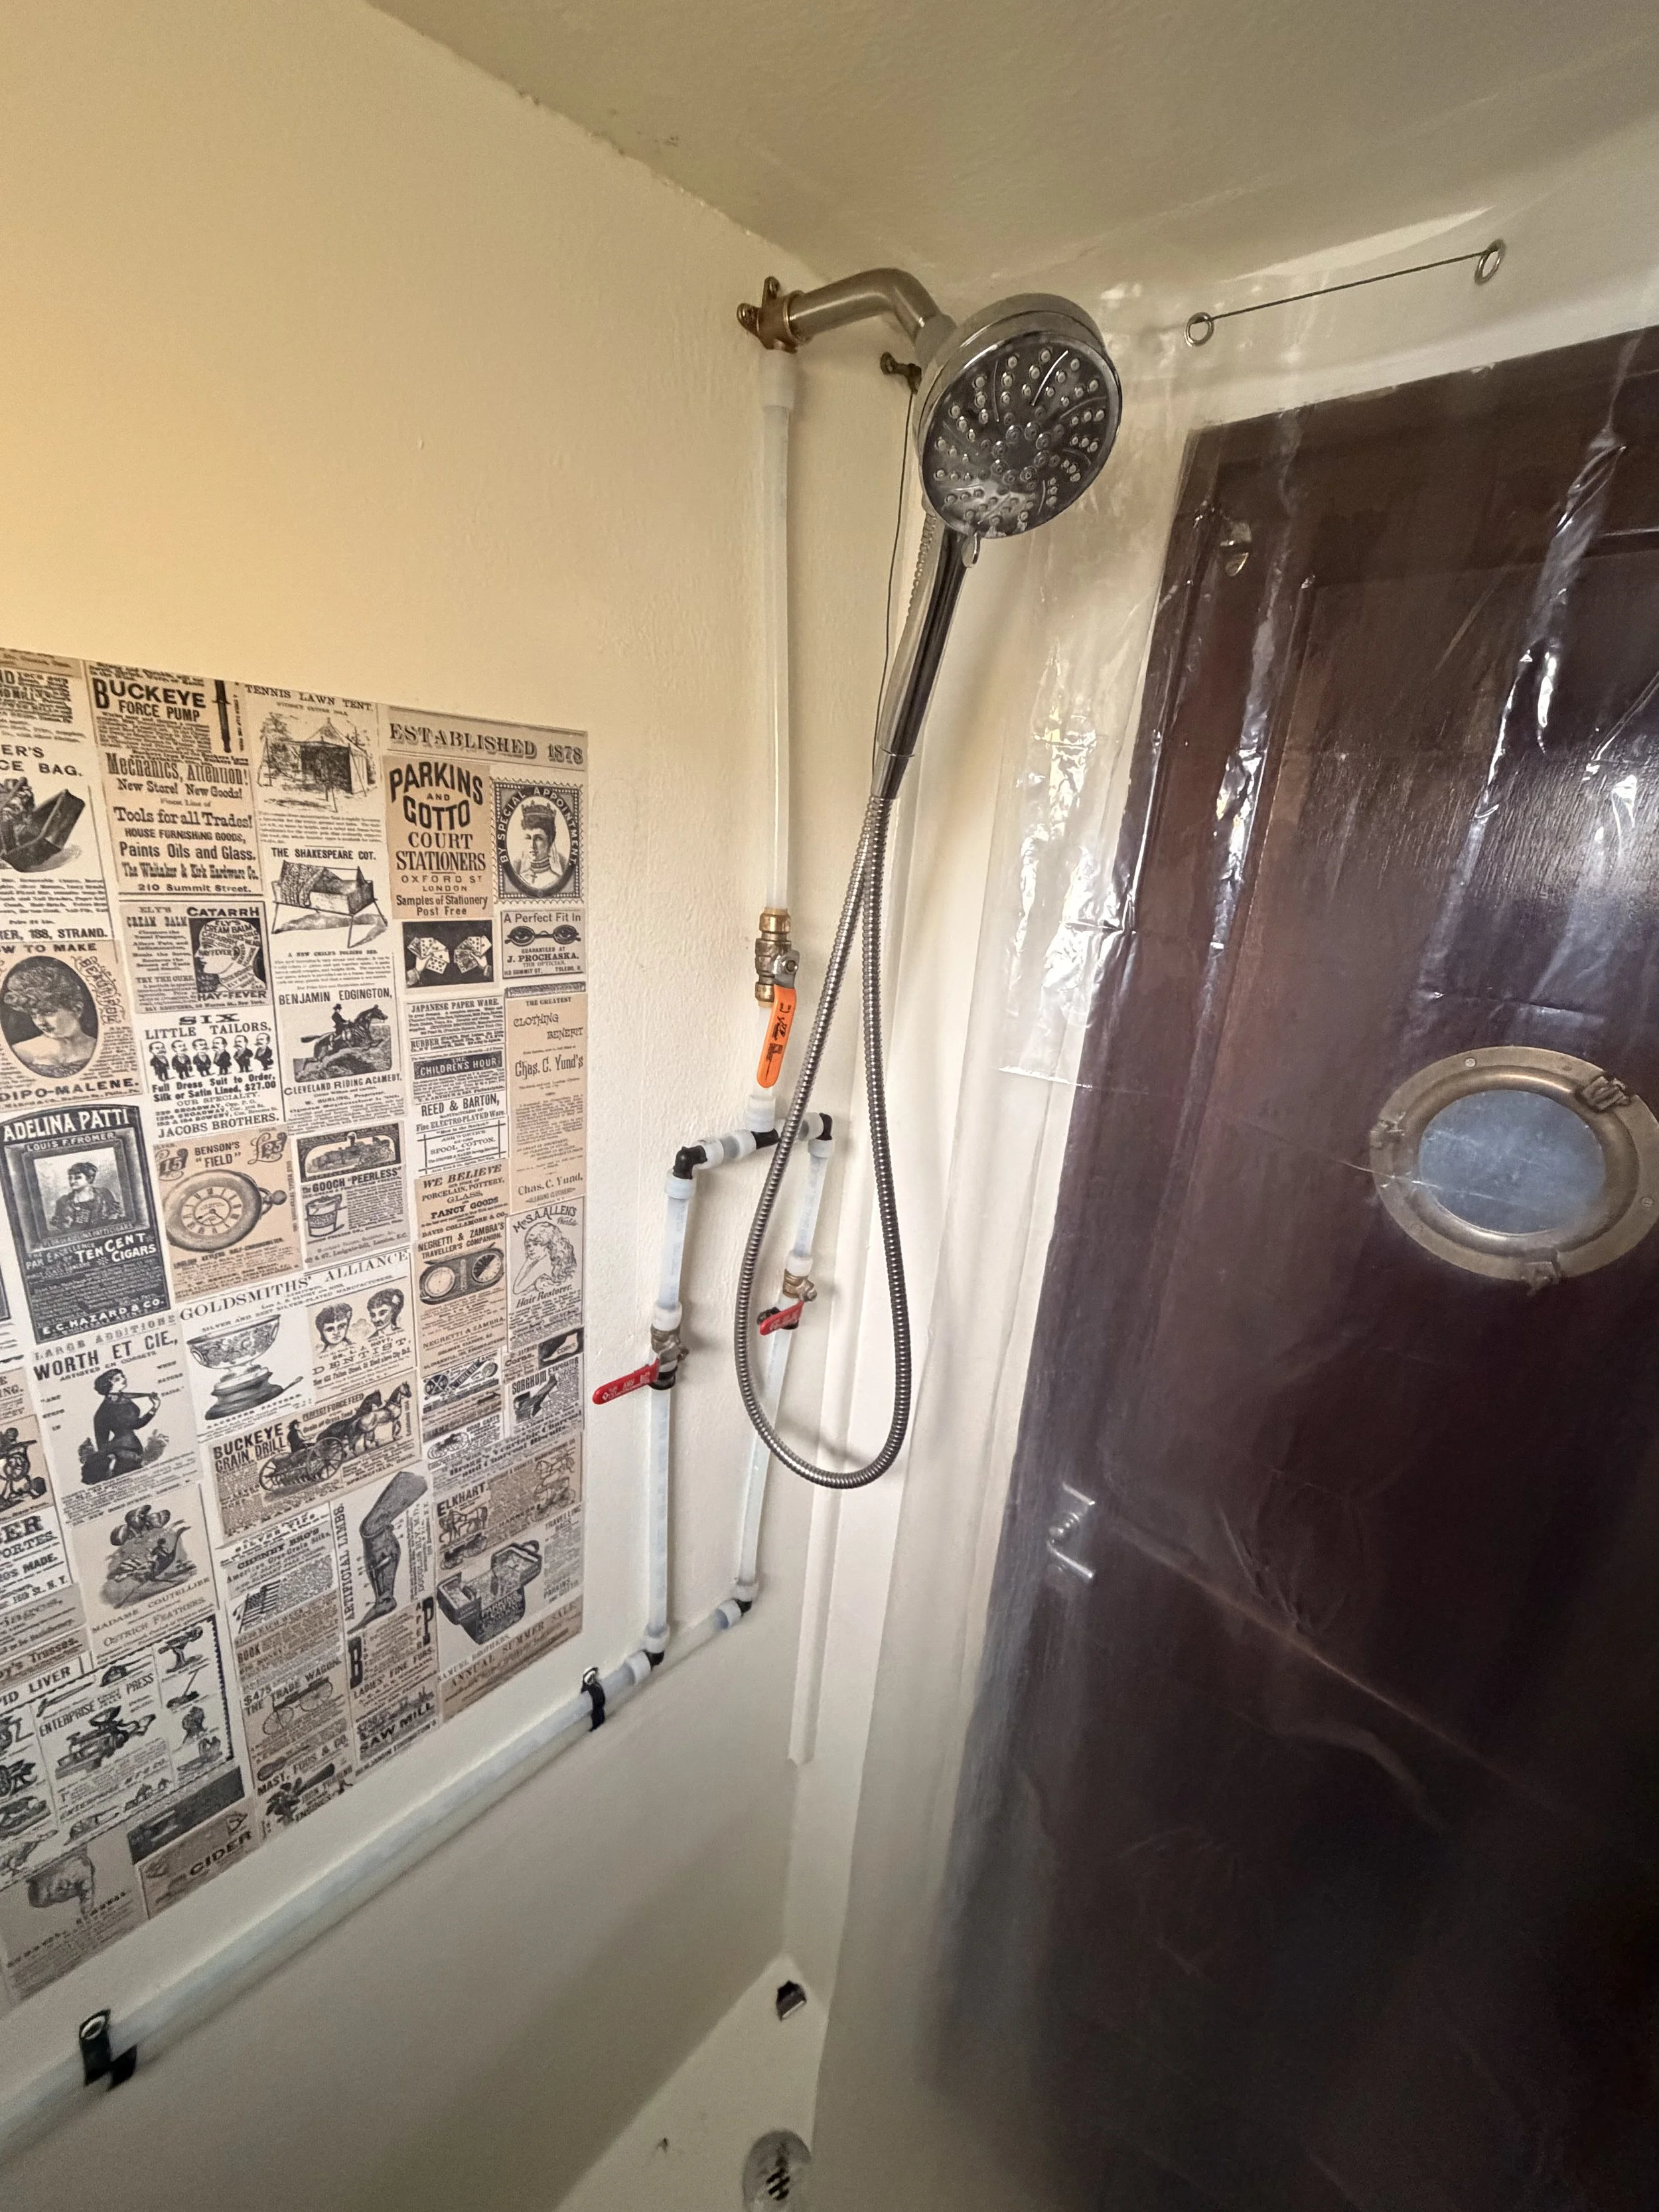
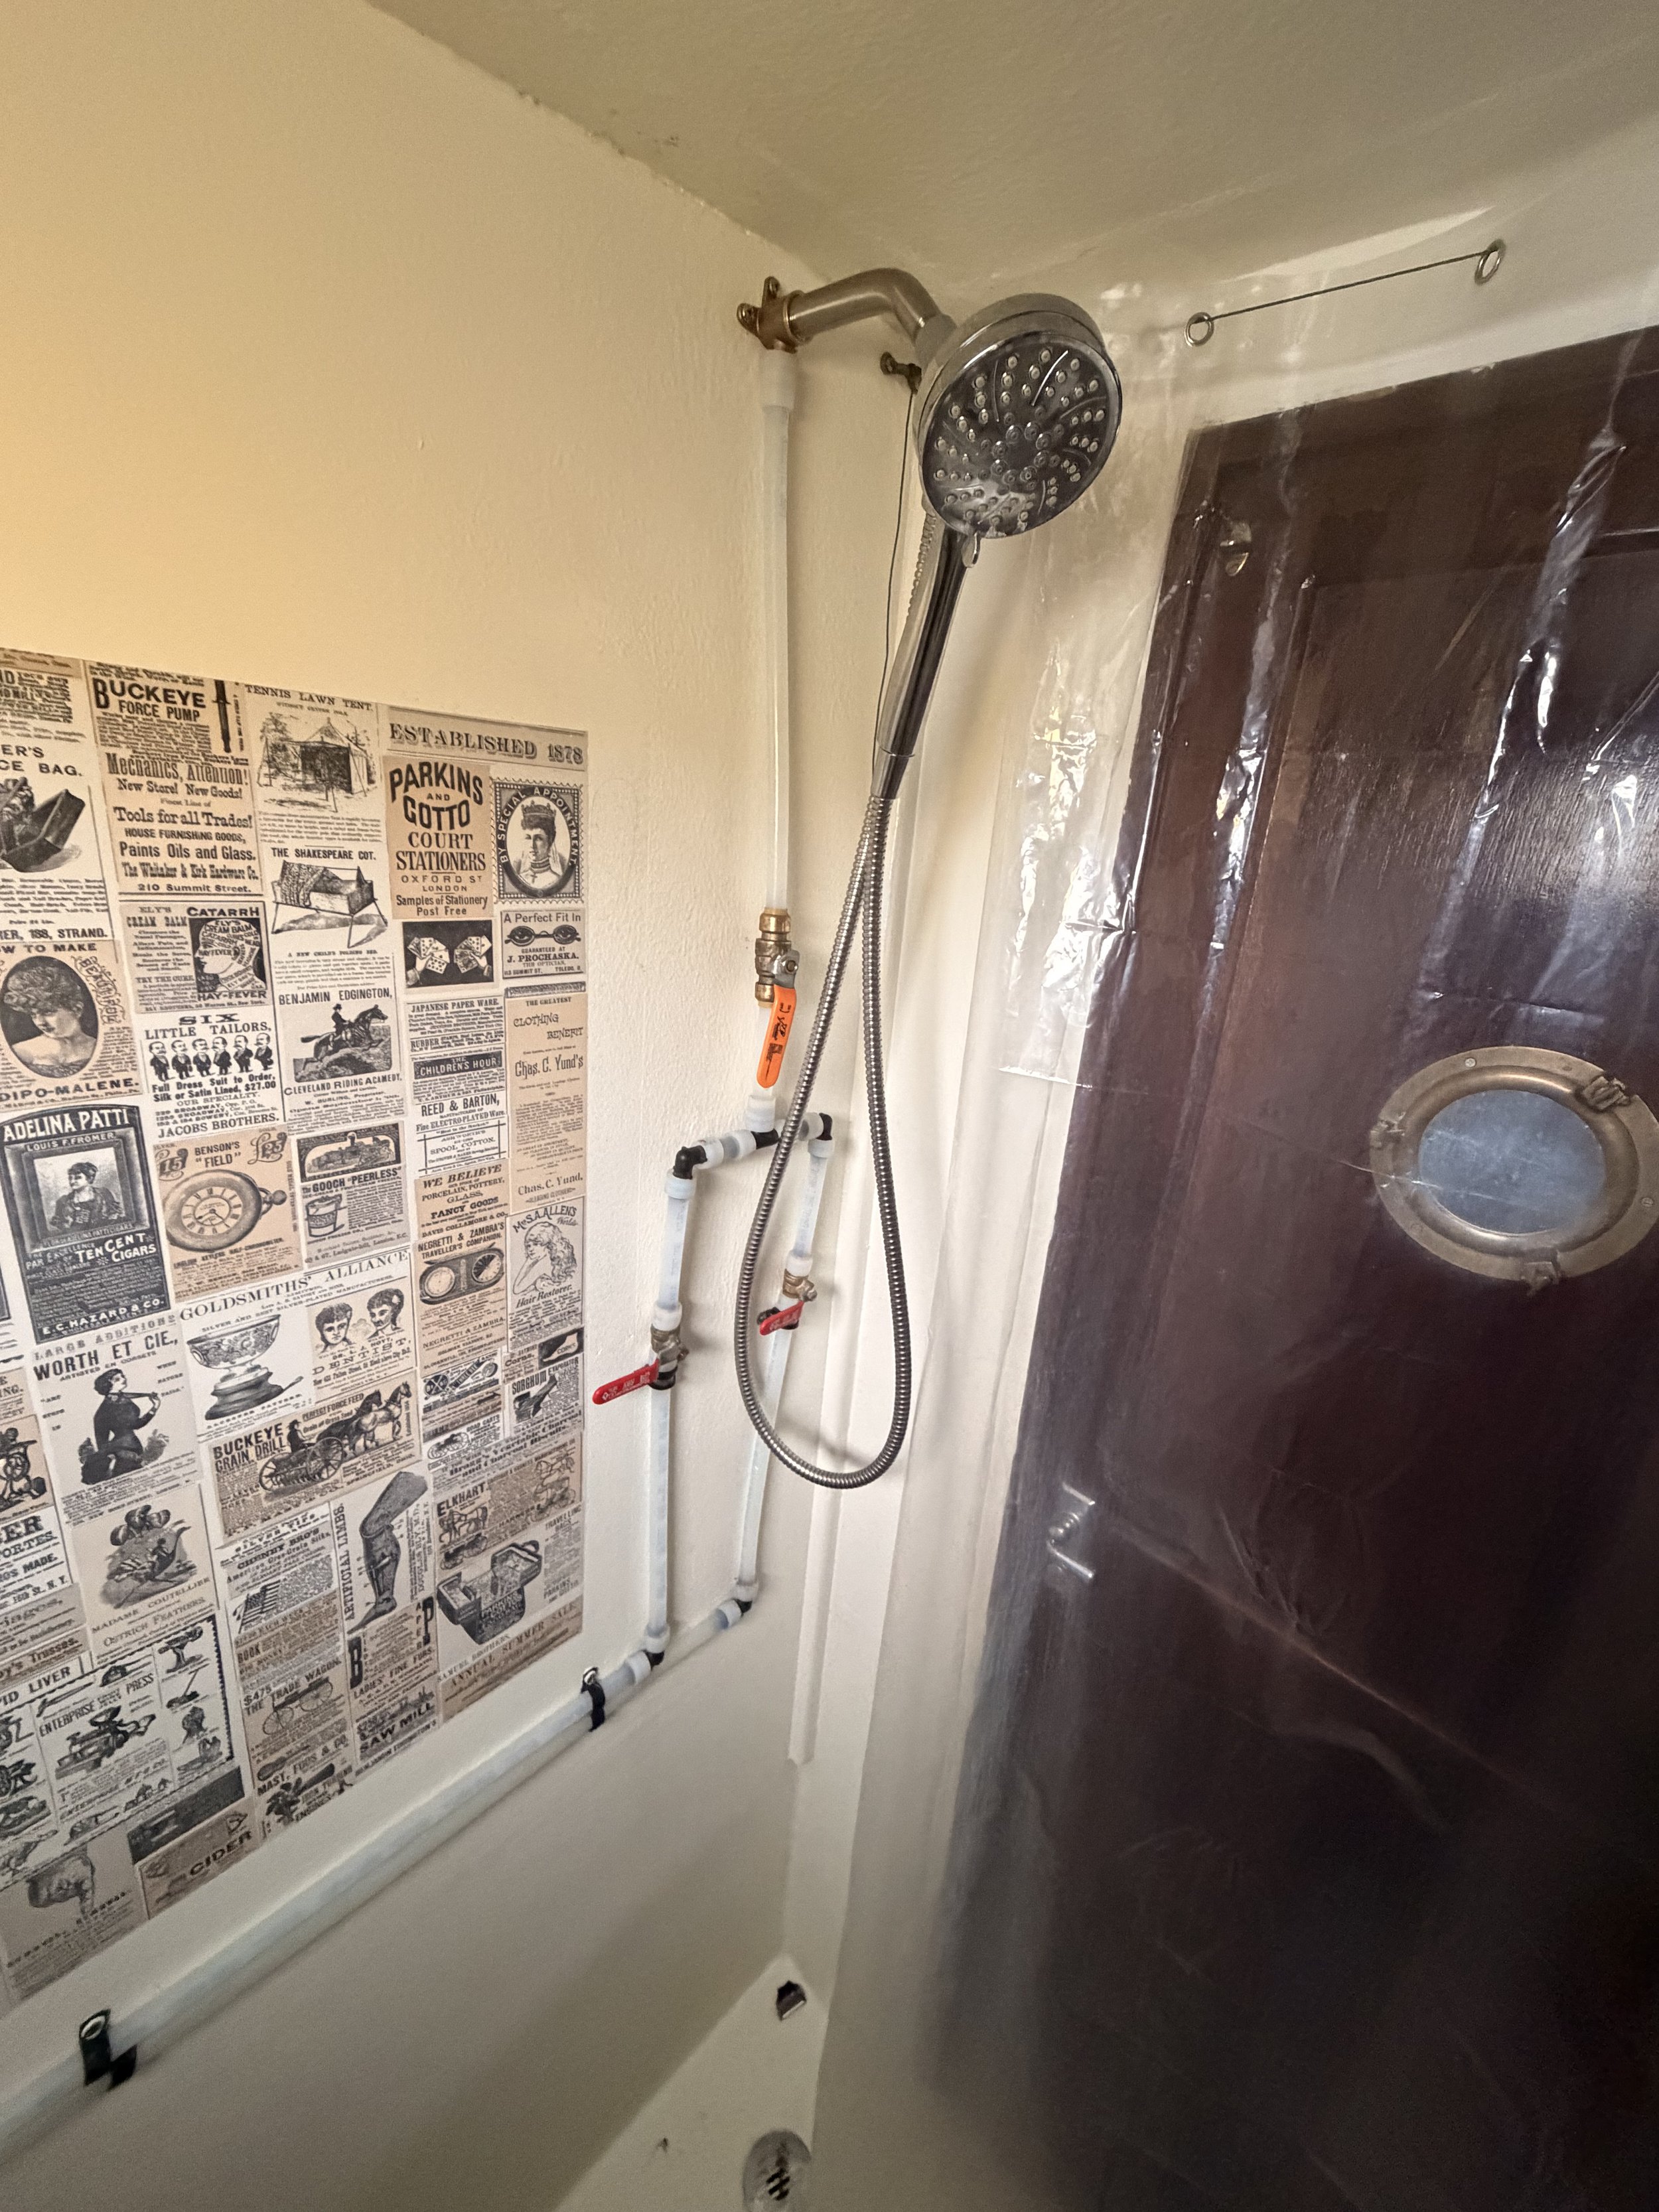
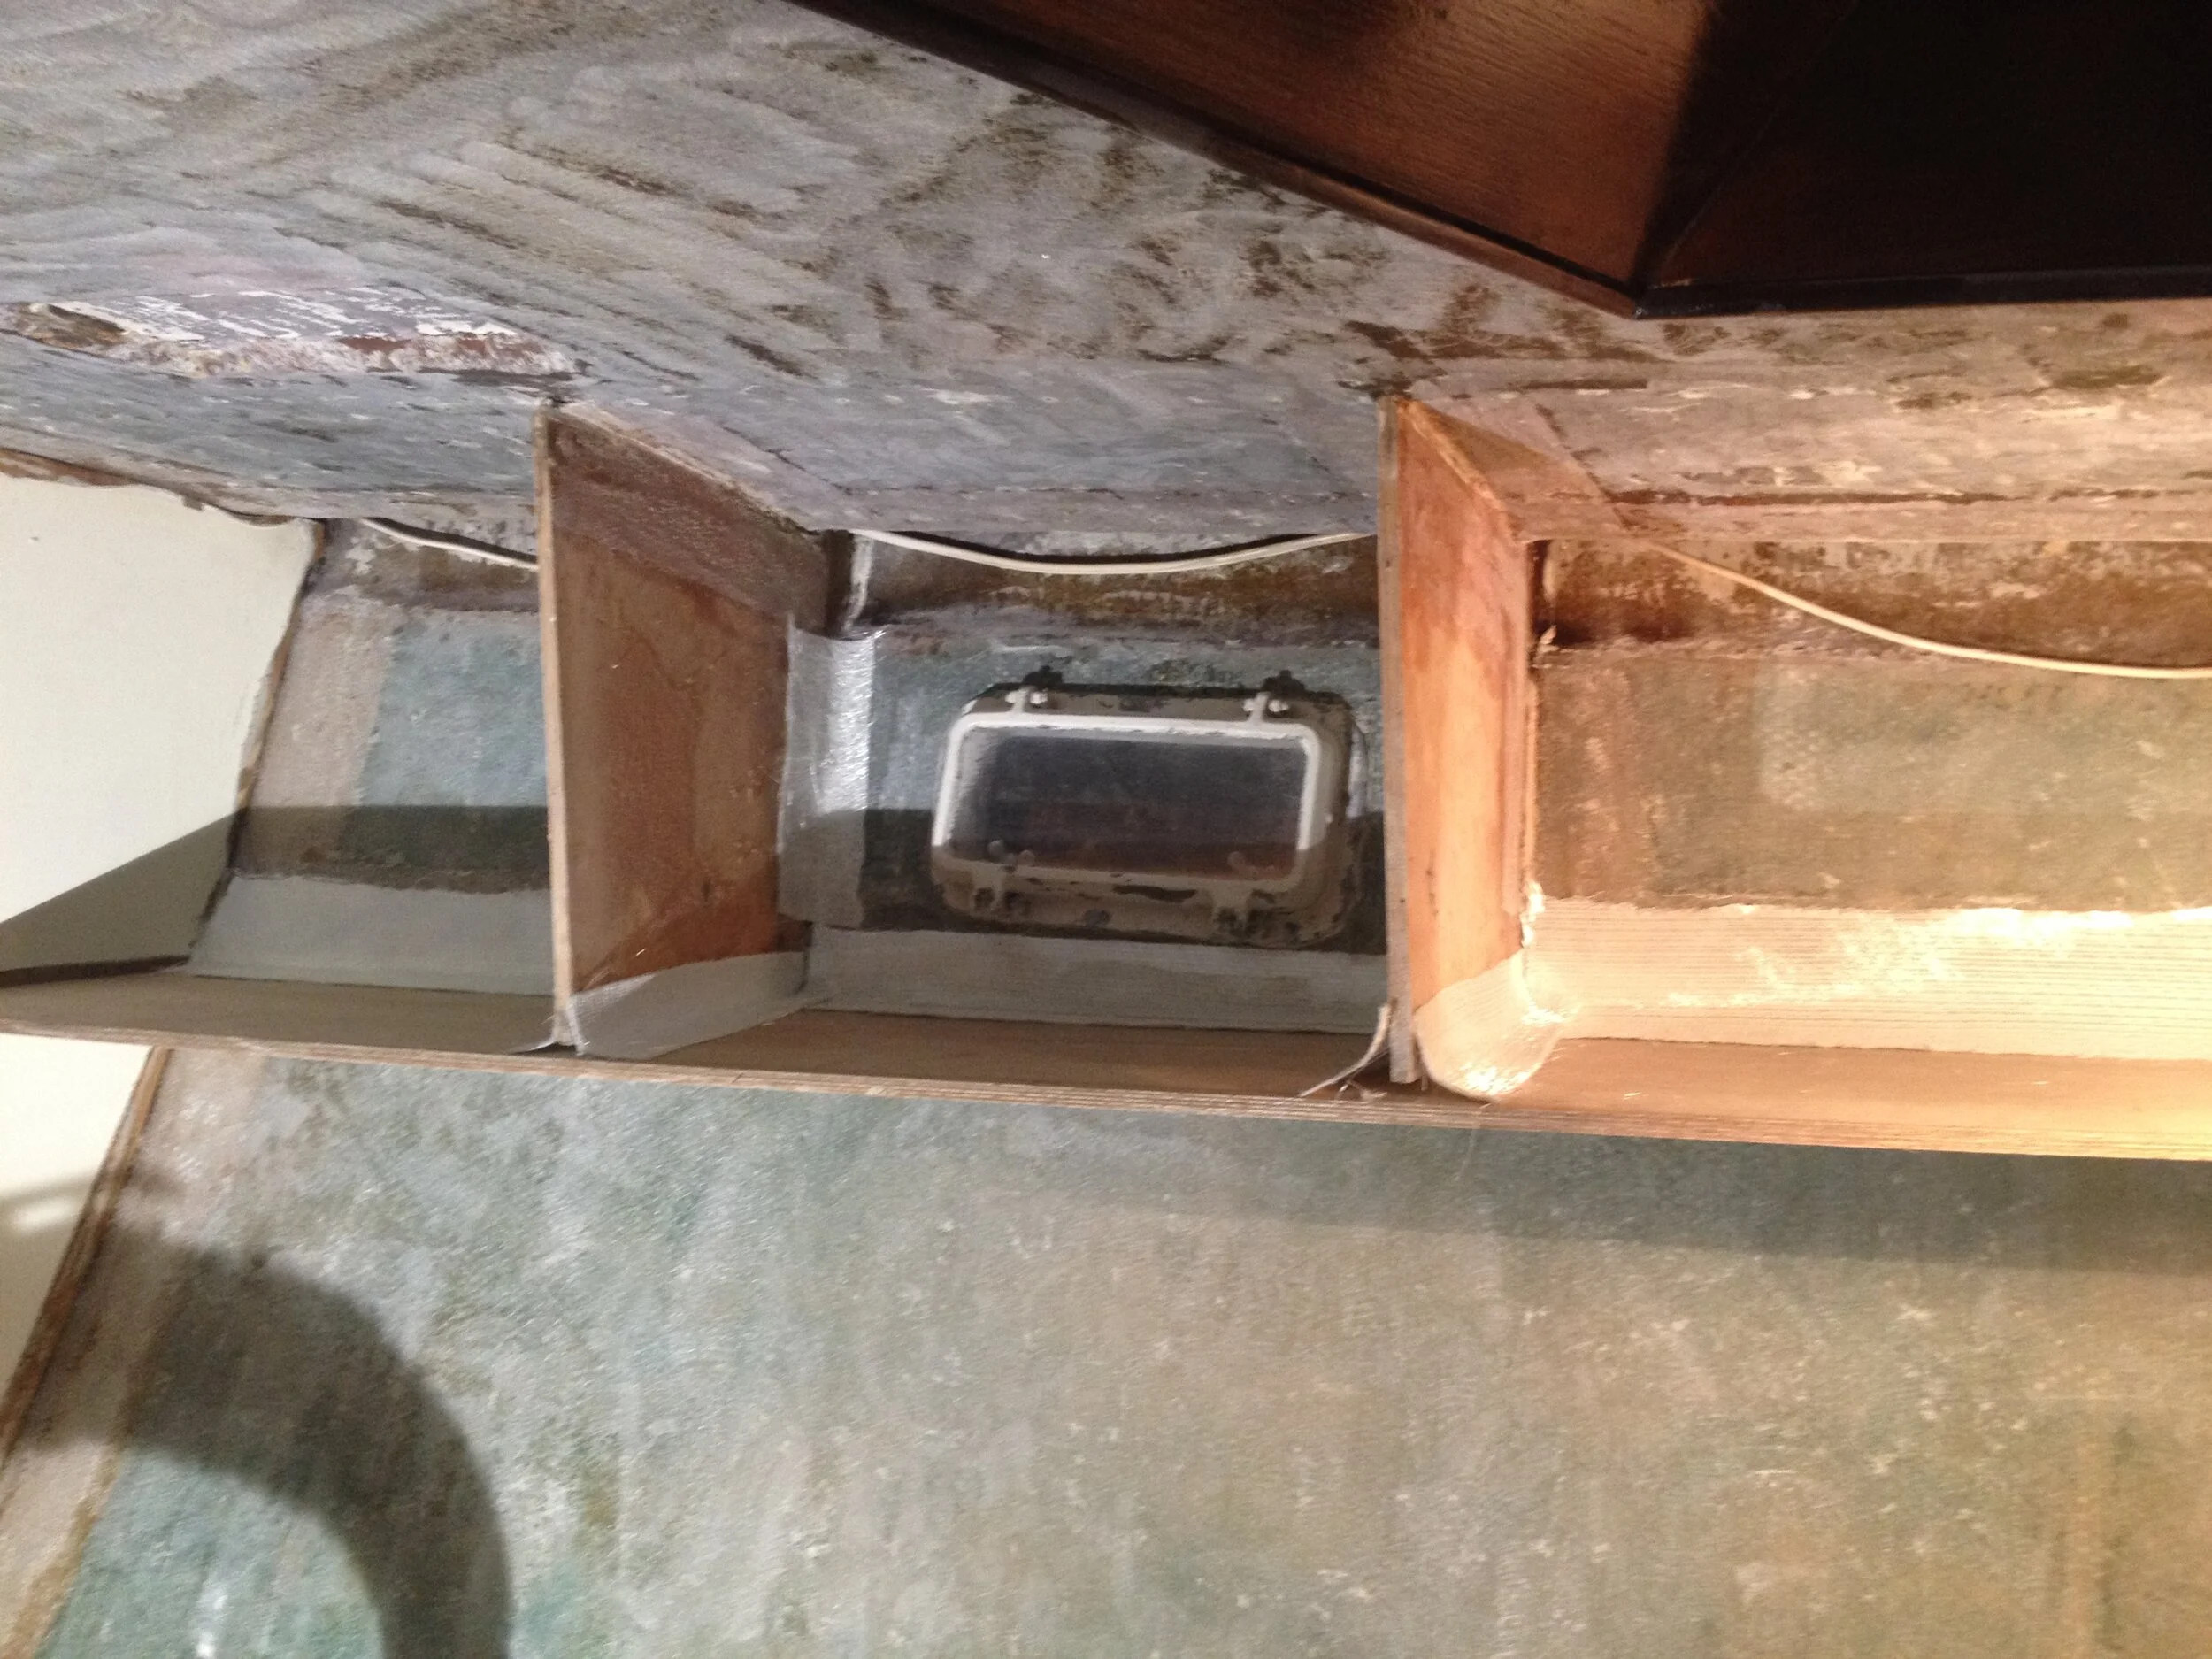
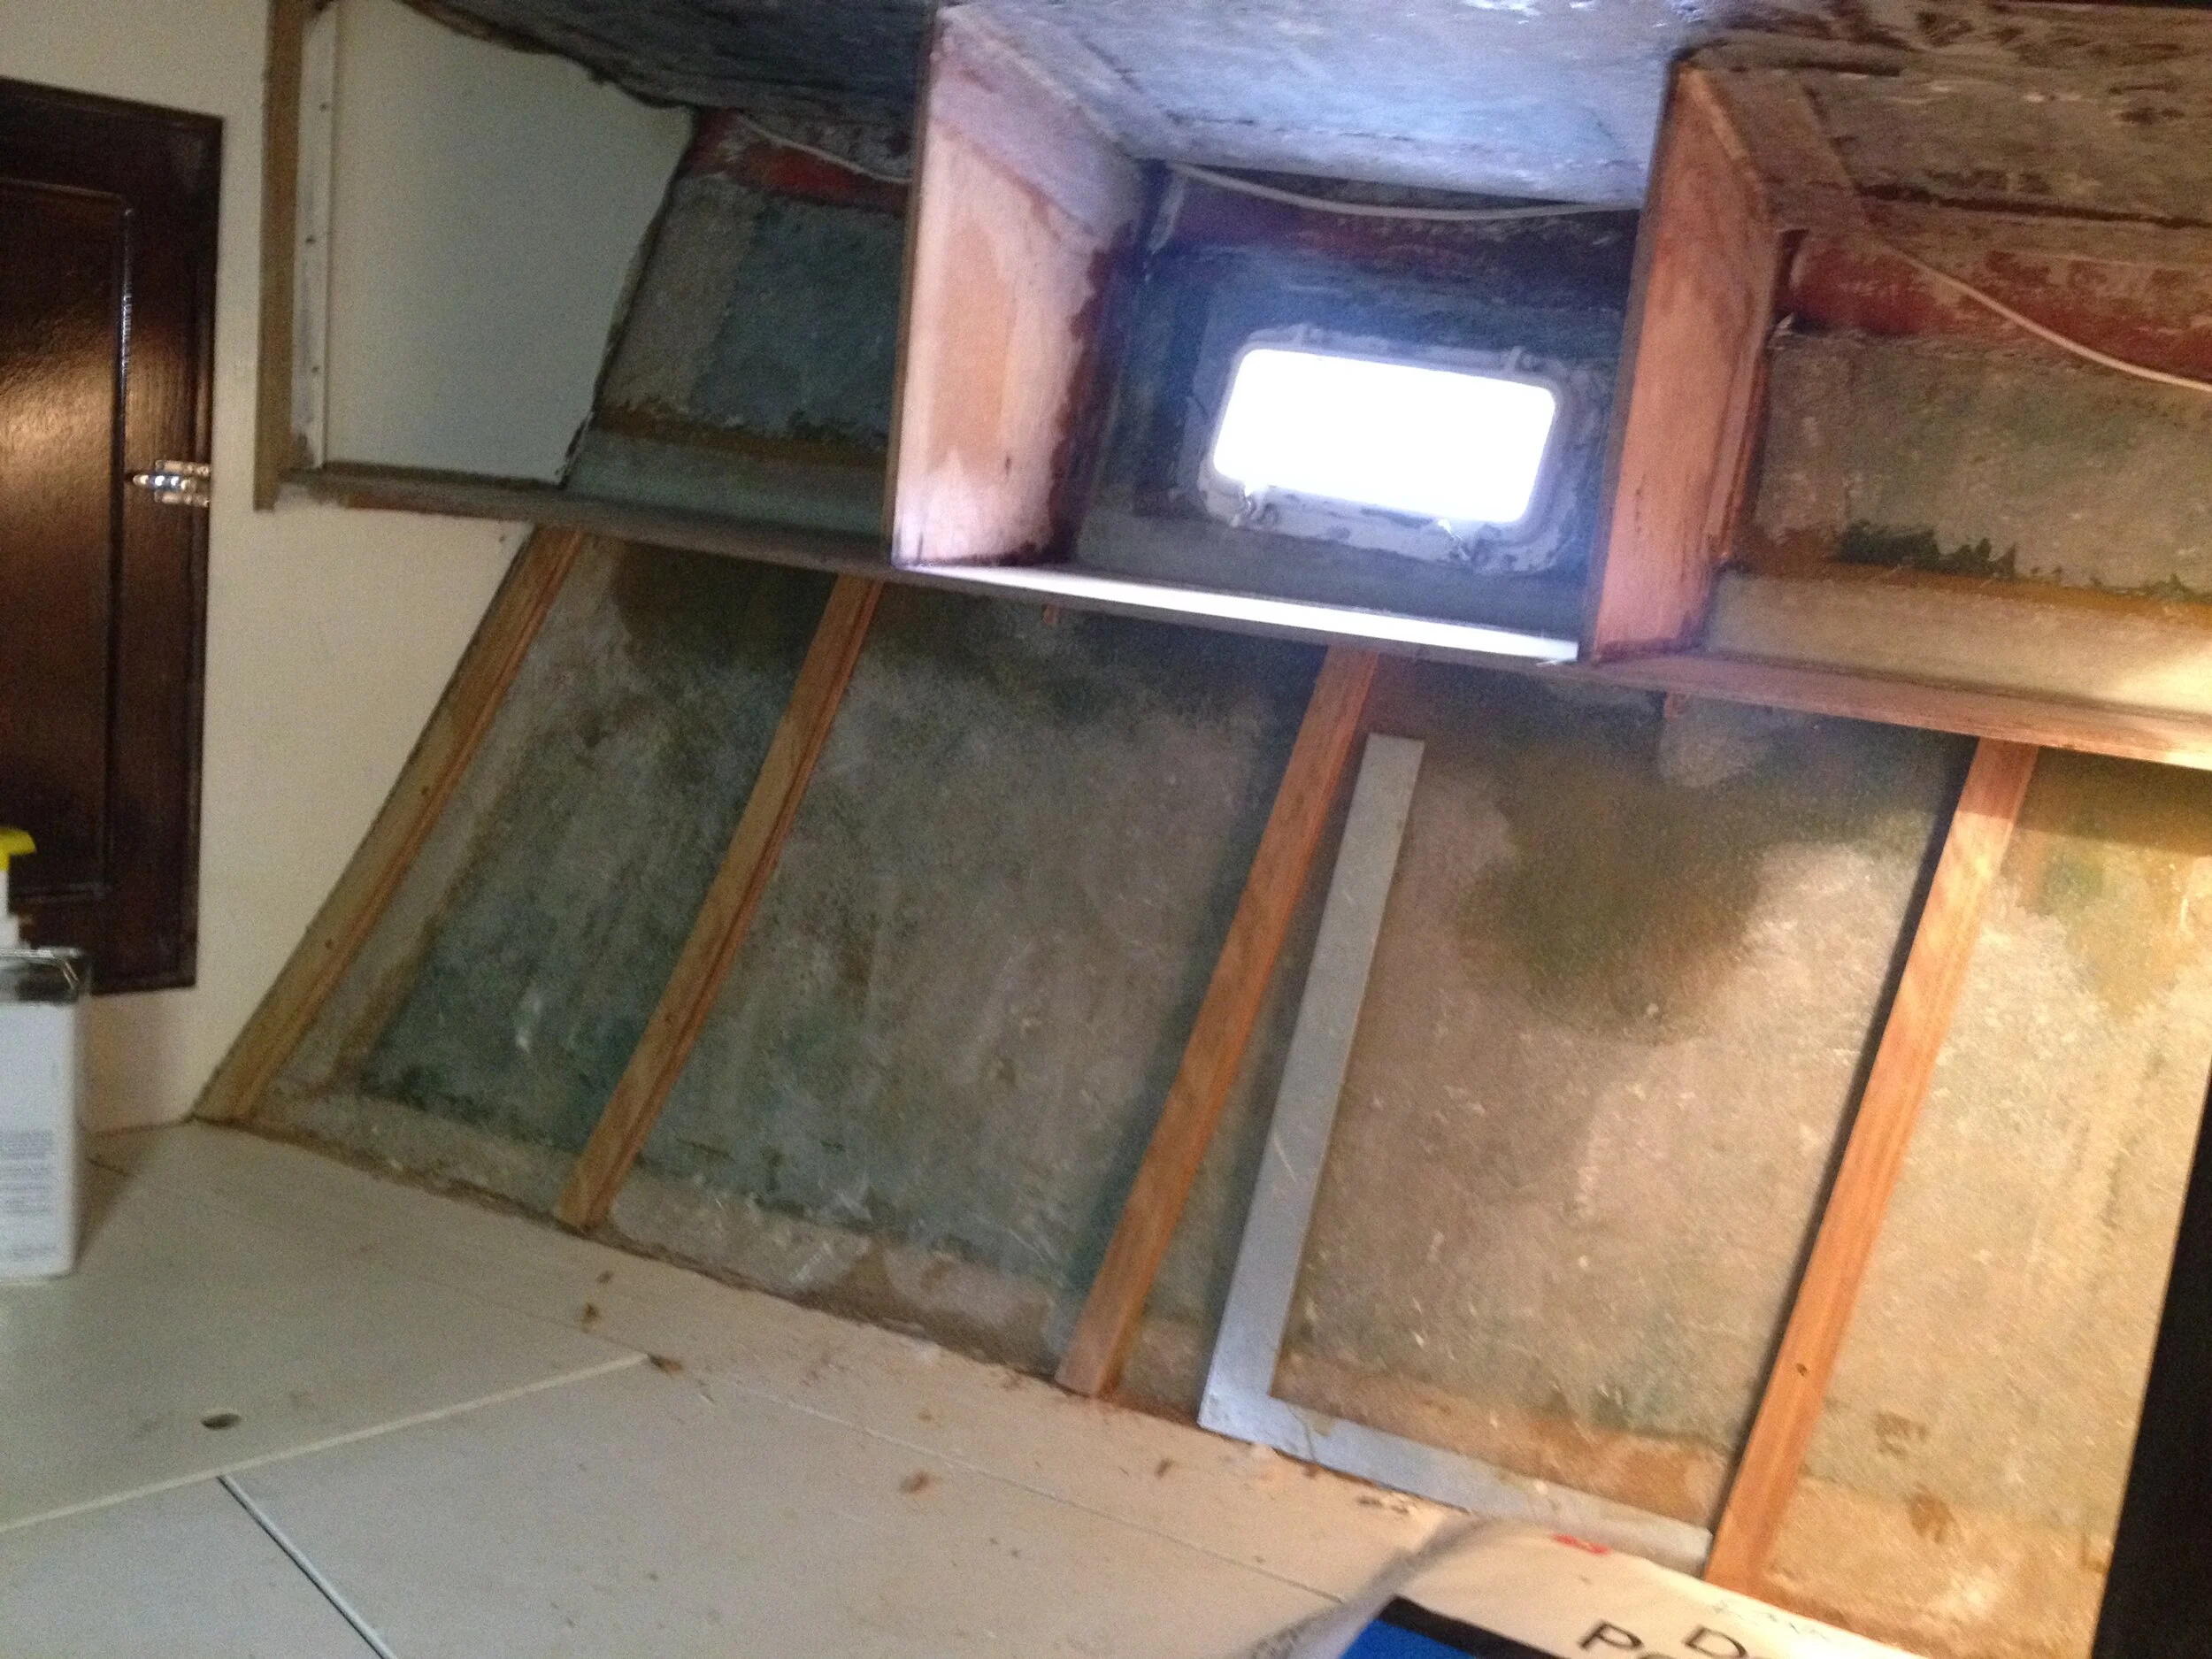
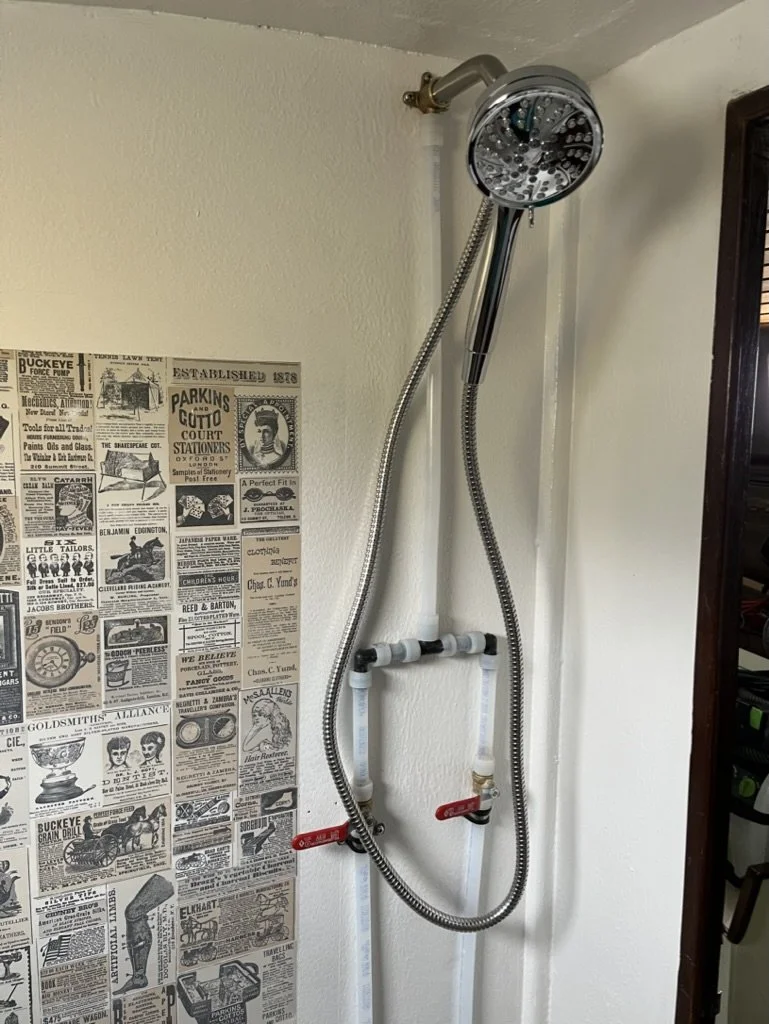
We tore out the entire aft head interior — floor included. Luckily the door and bulkheads were still solid, and the forward bulkhead had this cool old newspaper print laminated into the waterproof panel.

We fiberglassed in a brand‑new floor with a shower drain and installed a pump that could we were told “pump a squirrel through a garden hose”. Then we dropped in a new manual Jabsco toilet (thanks to our very good friend Traci), slapped together some basic cabinets, and suddenly…

We had a legit shower. And a spare toilet. On a boat we’d been living on for years with one working head and a moldy closet pretending to be useful.

Comment

"The Strut"

Comment

"The Strut"

Now, when I say “the strut,” you might think I’m talking about how the cat patrols the boat (he’s not stray), or how I walk after shredding Eaglecrest all day. It isn’t either one of those. But this strut is something else entirely.

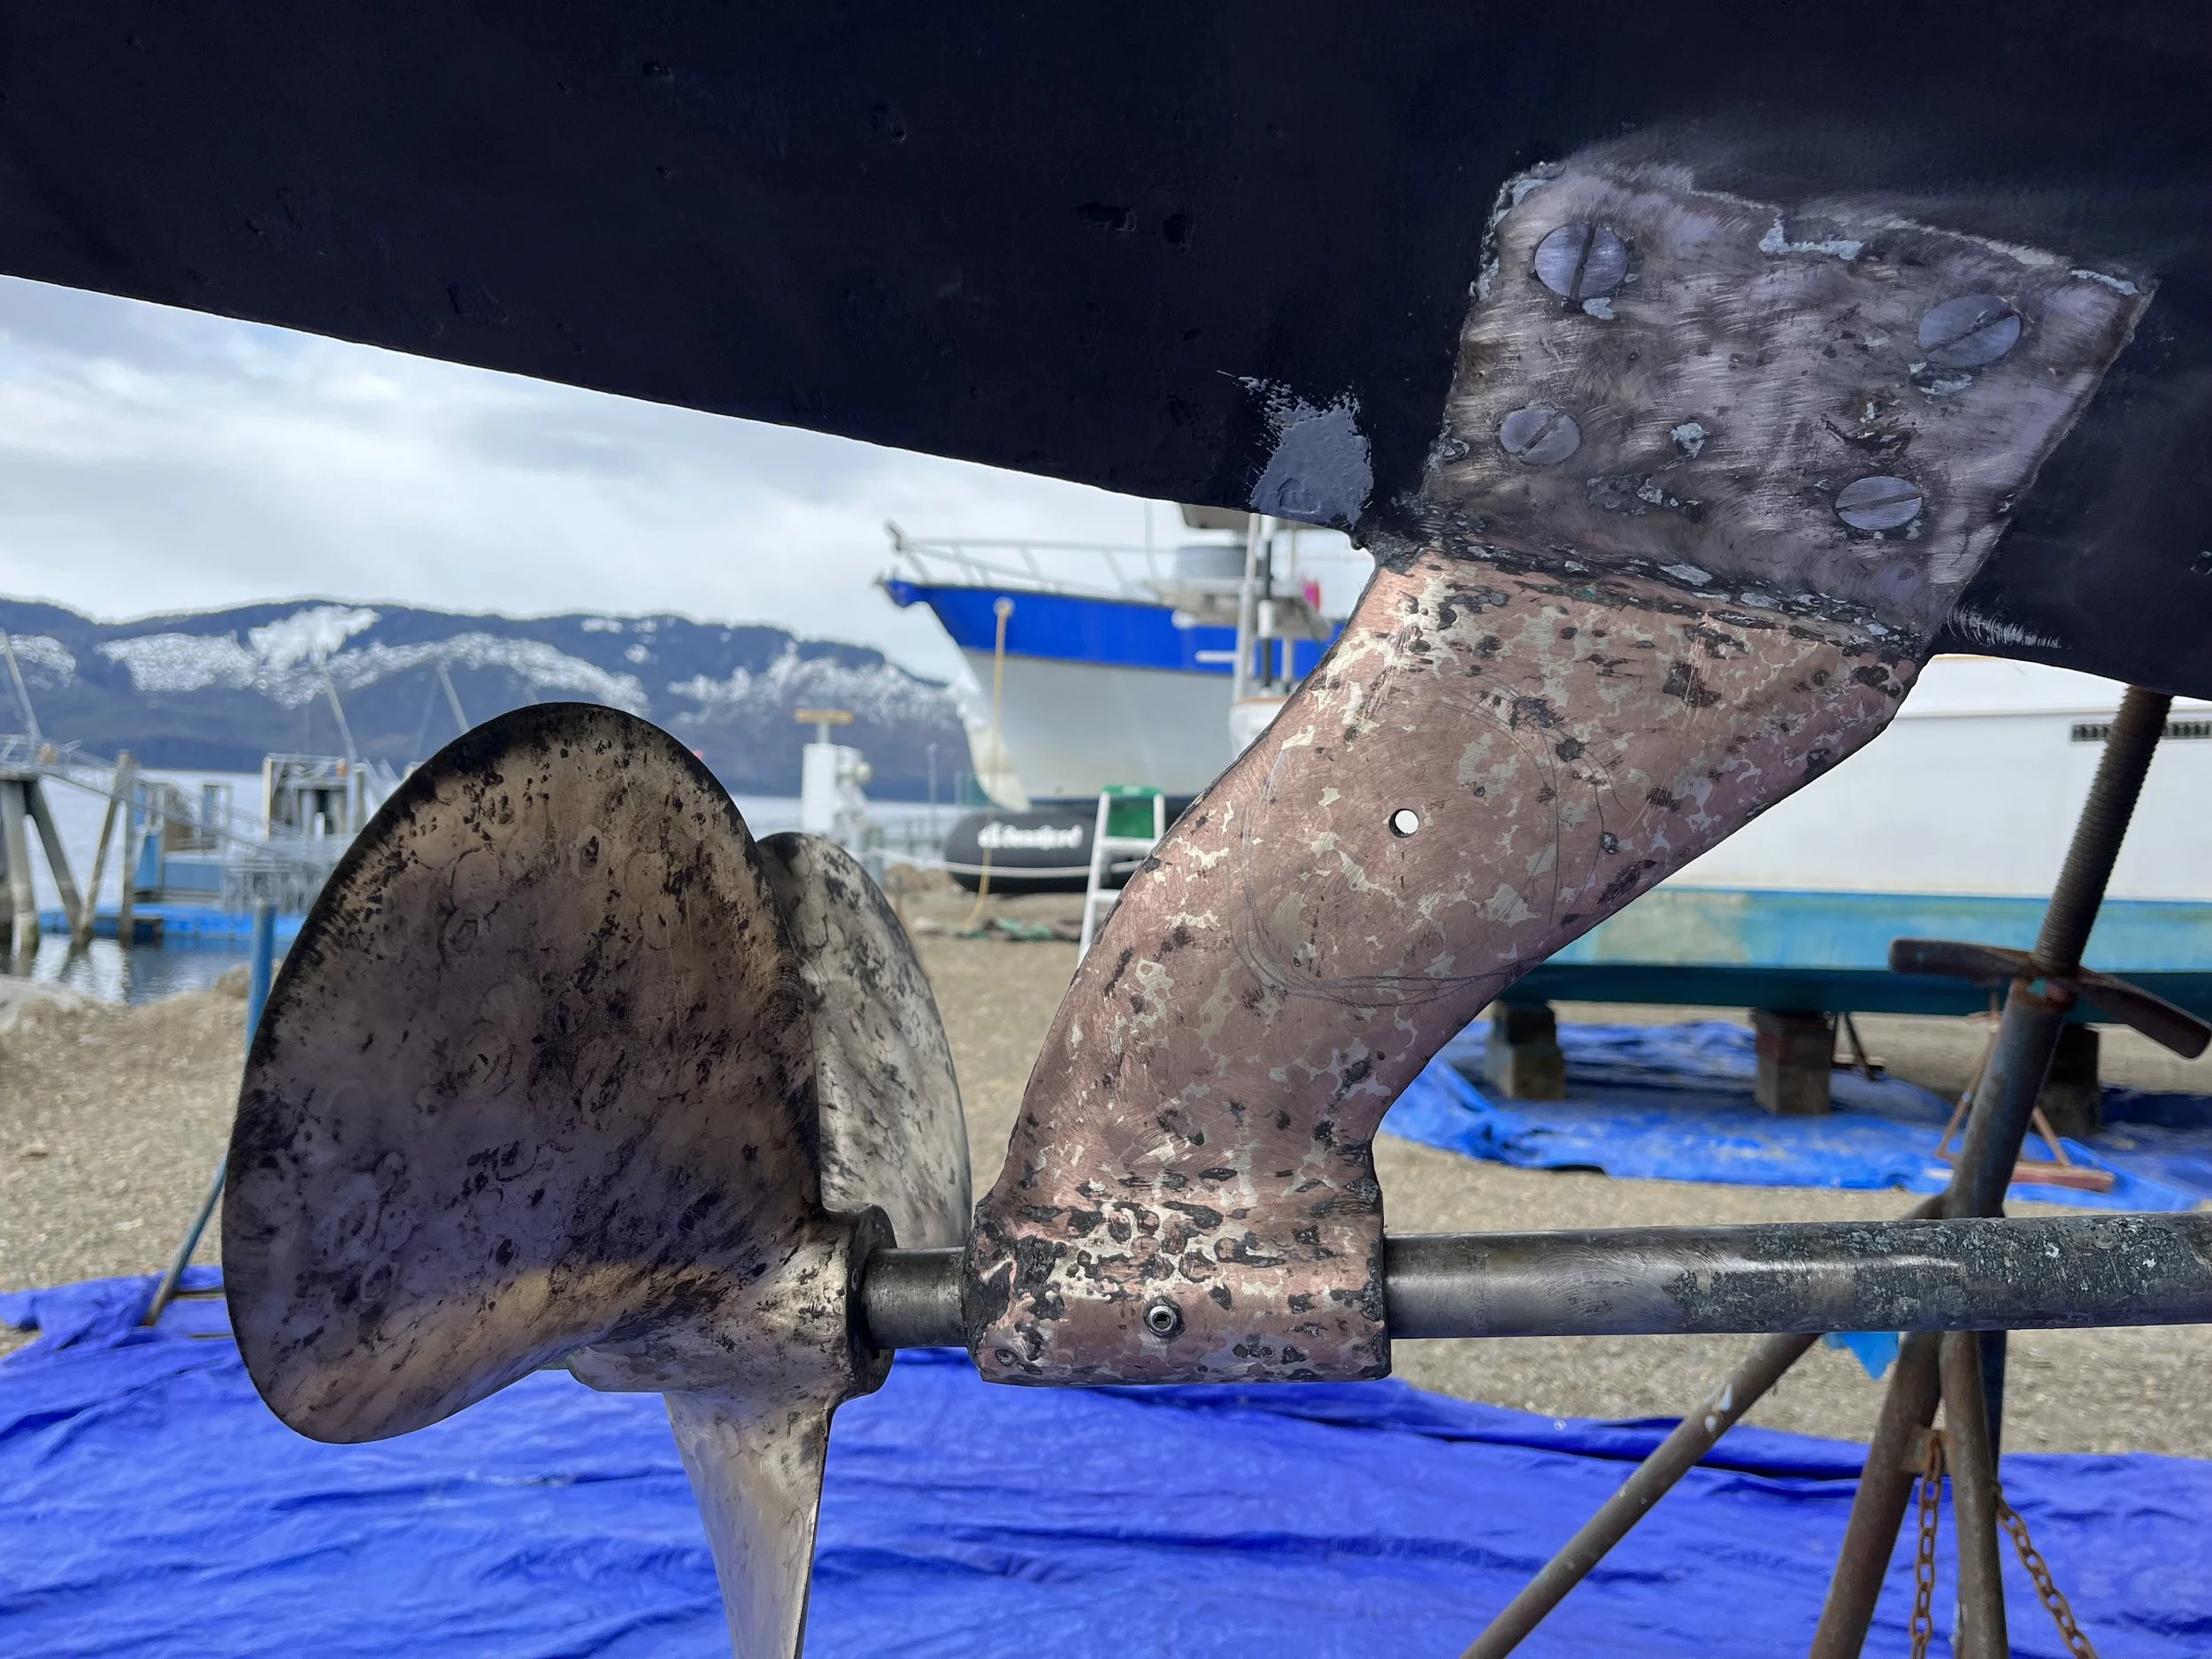
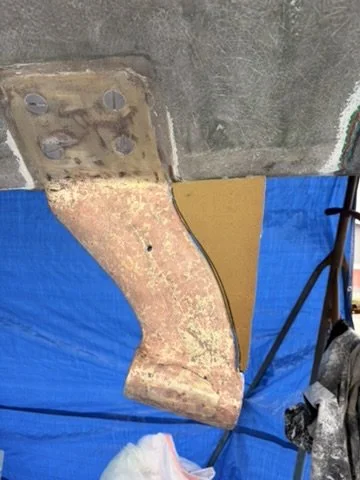
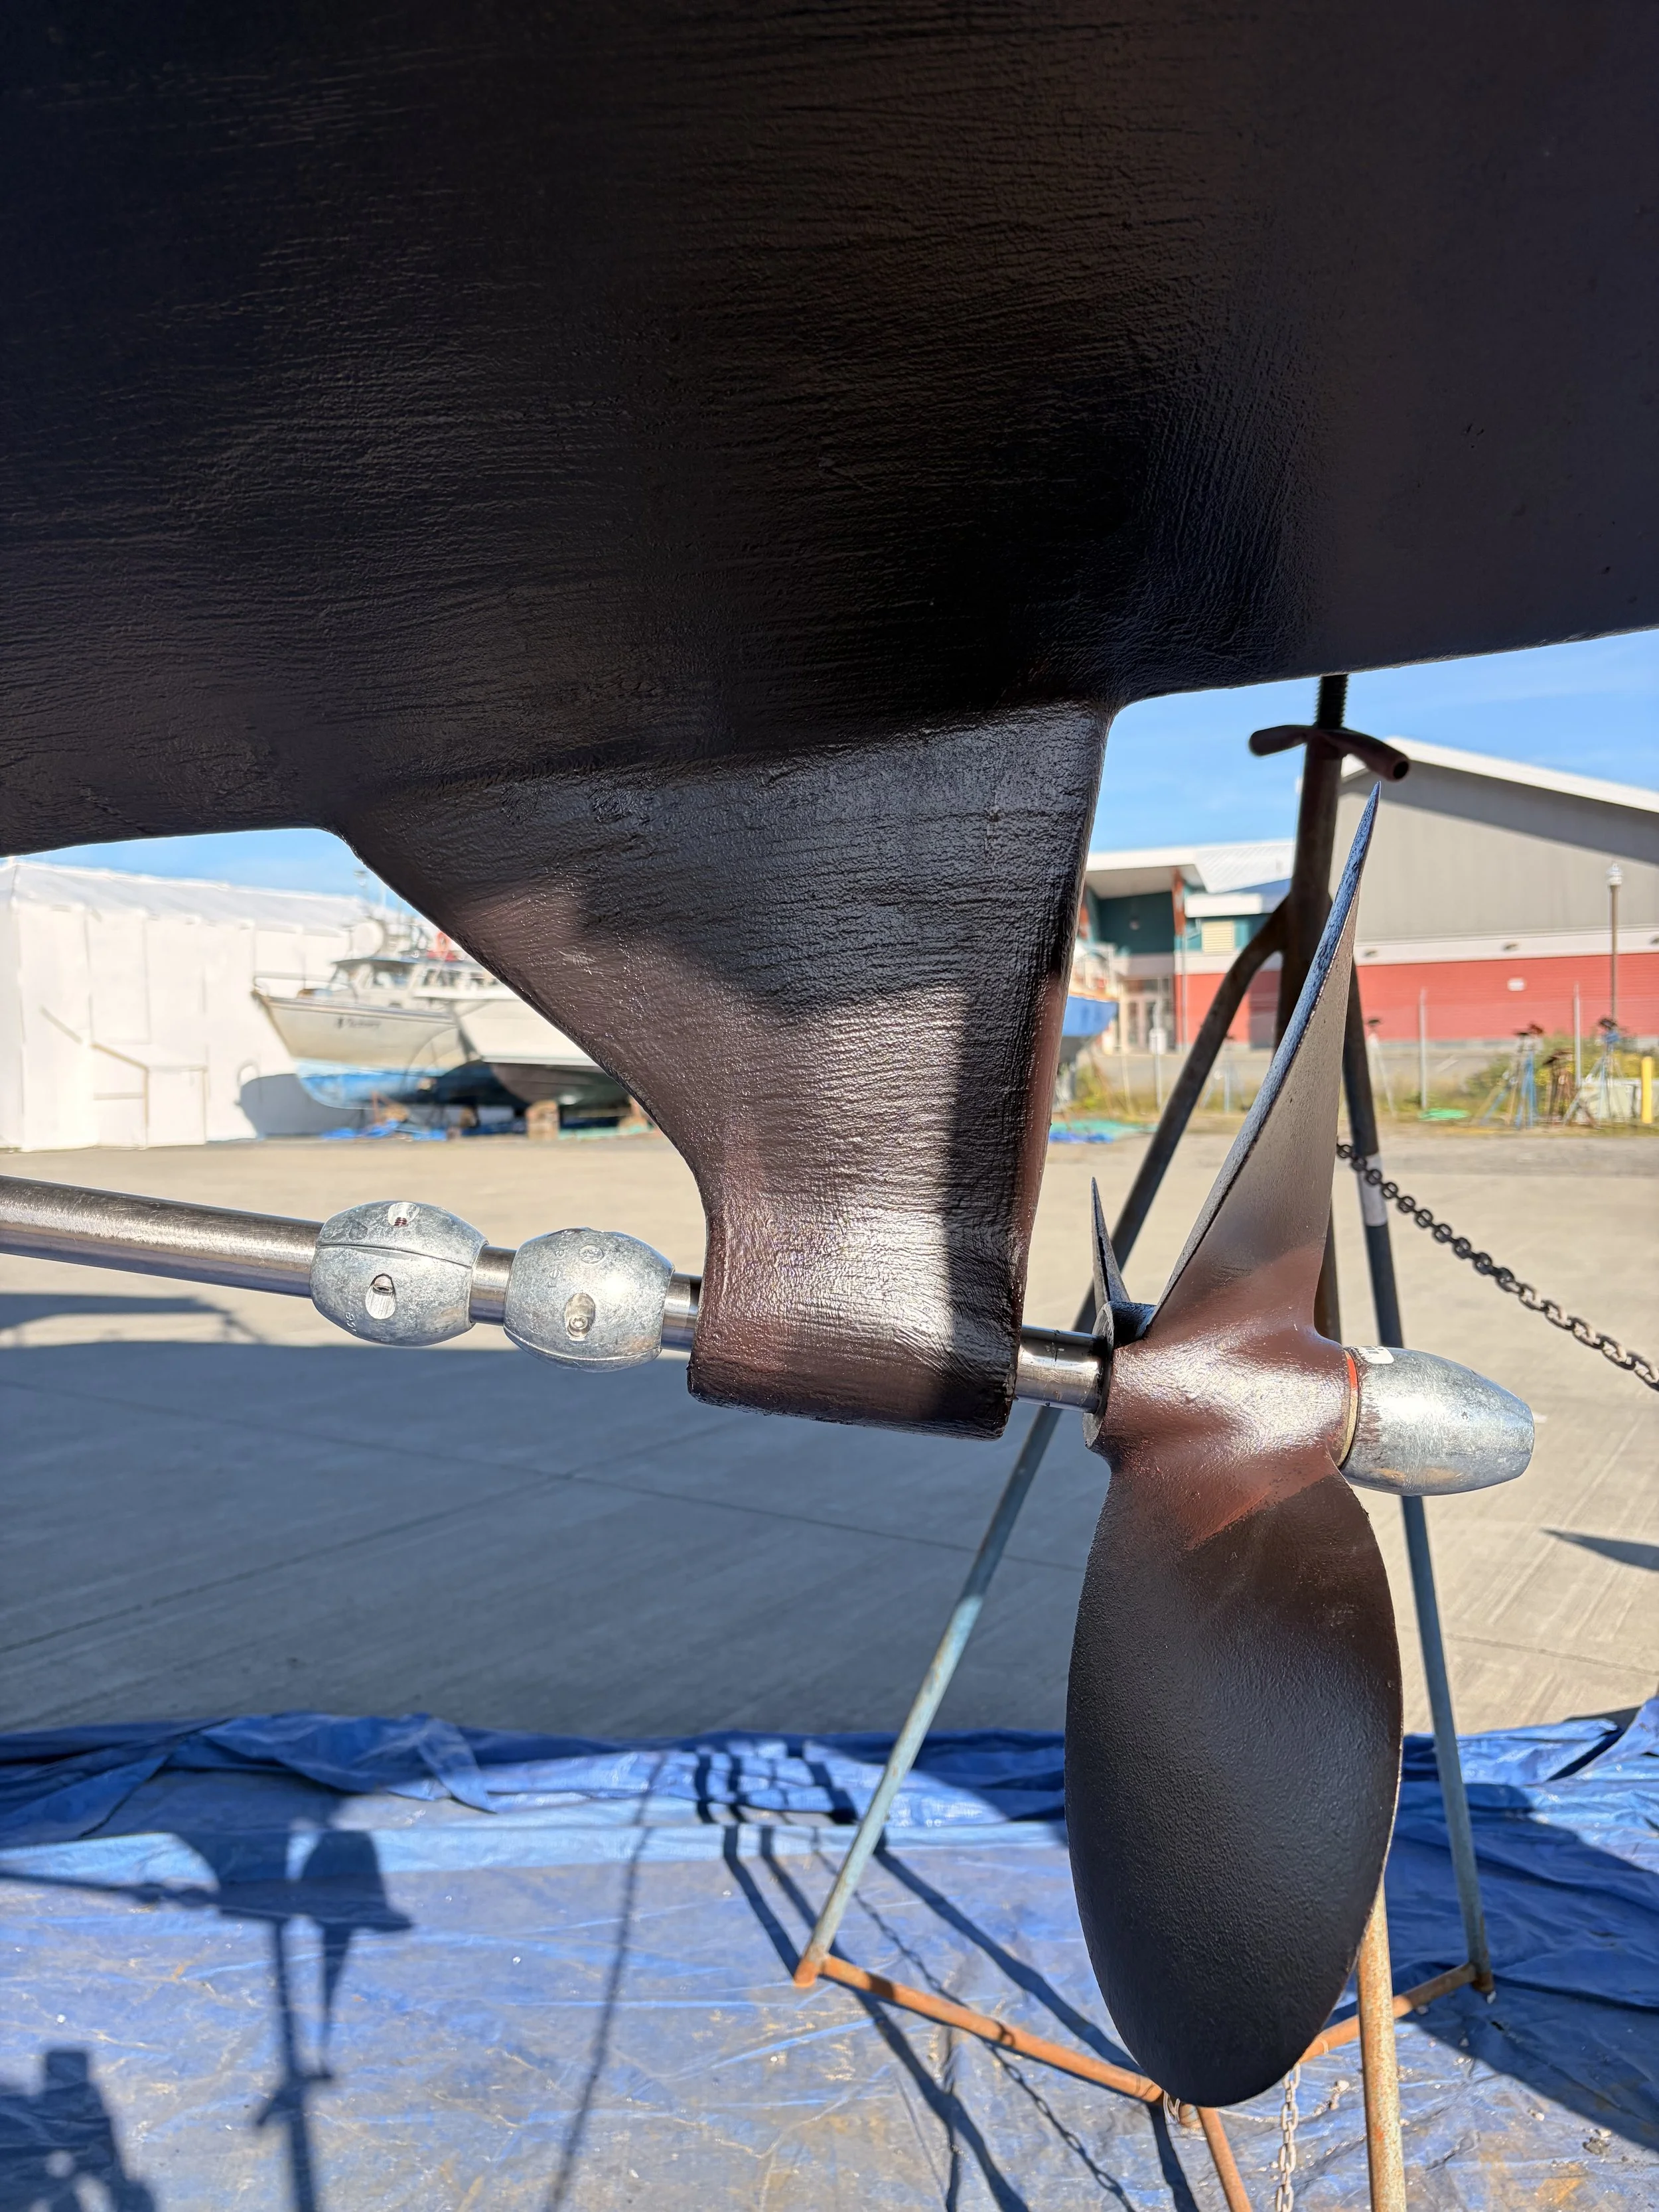
“The Strut” is the bronze chunk of metal under the boat that mounts to the hull and reaches out to hold the cutless bearing, which in turn holds the spinning prop shaft steady as it exits the boat. The whole setup keeps the shaft straight and the prop from wobbling around as it spins. Pretty important piece of hardware.

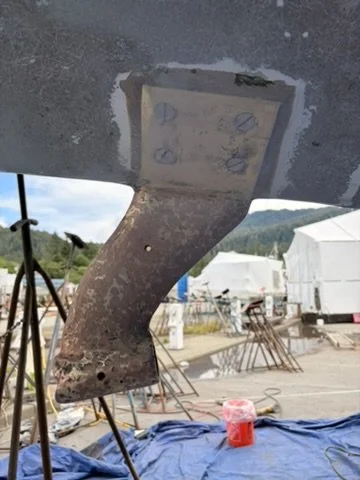
Ours had been neglected long before we owned the boat. It was pink almost all over, which is a bad sign — it means the zinc in the bronze has been leached out from galvanic action or electrolysis. Some guys said, “Oh, that’s fine, it’ll never break.” The internet said, “It’s doomed, you’ll all die tomorrow.” So we’ve always been nervous about its strength and planned to deal with it during our Wrangell haul‑out in 2026.

Luck was on our side: the most knowledgeable (and busiest) guy in town, Tyler the machinist, walked over and gave us five minutes of his time. He immediately grabbed a wrench and gently tapped the middle of the strut. It made a hollow, dull sound.

He said, “Oh, that’s no good. See how it sounds dull and doesn’t ring like solid metal?”

Then he explained how big of a project replacing a strut is. I’m pretty sure “I hate doing struts” came out of his mouth. Not exactly comforting.

But that tap told us everything we needed to know — the strut wasn’t just ugly, it was compromised. And it was time to reinforce it before it decided to fail on its own schedule.

Tyler could have built us a brand‑new strut out of 316 stainless if we had contacted him a year ahead of time — or if it wasn’t his vacation right after the big spring rush. But in true fashion, we decided we’d figure this out ourselves.

He did say that reinforcing the existing strut with fiberglass wasn’t a bad idea, and that was something I was already prepared for. Plenty of boats have composite struts, so why couldn’t ours be a hybrid of zinc‑leached bronze wrapped in fiberglass and epoxy?

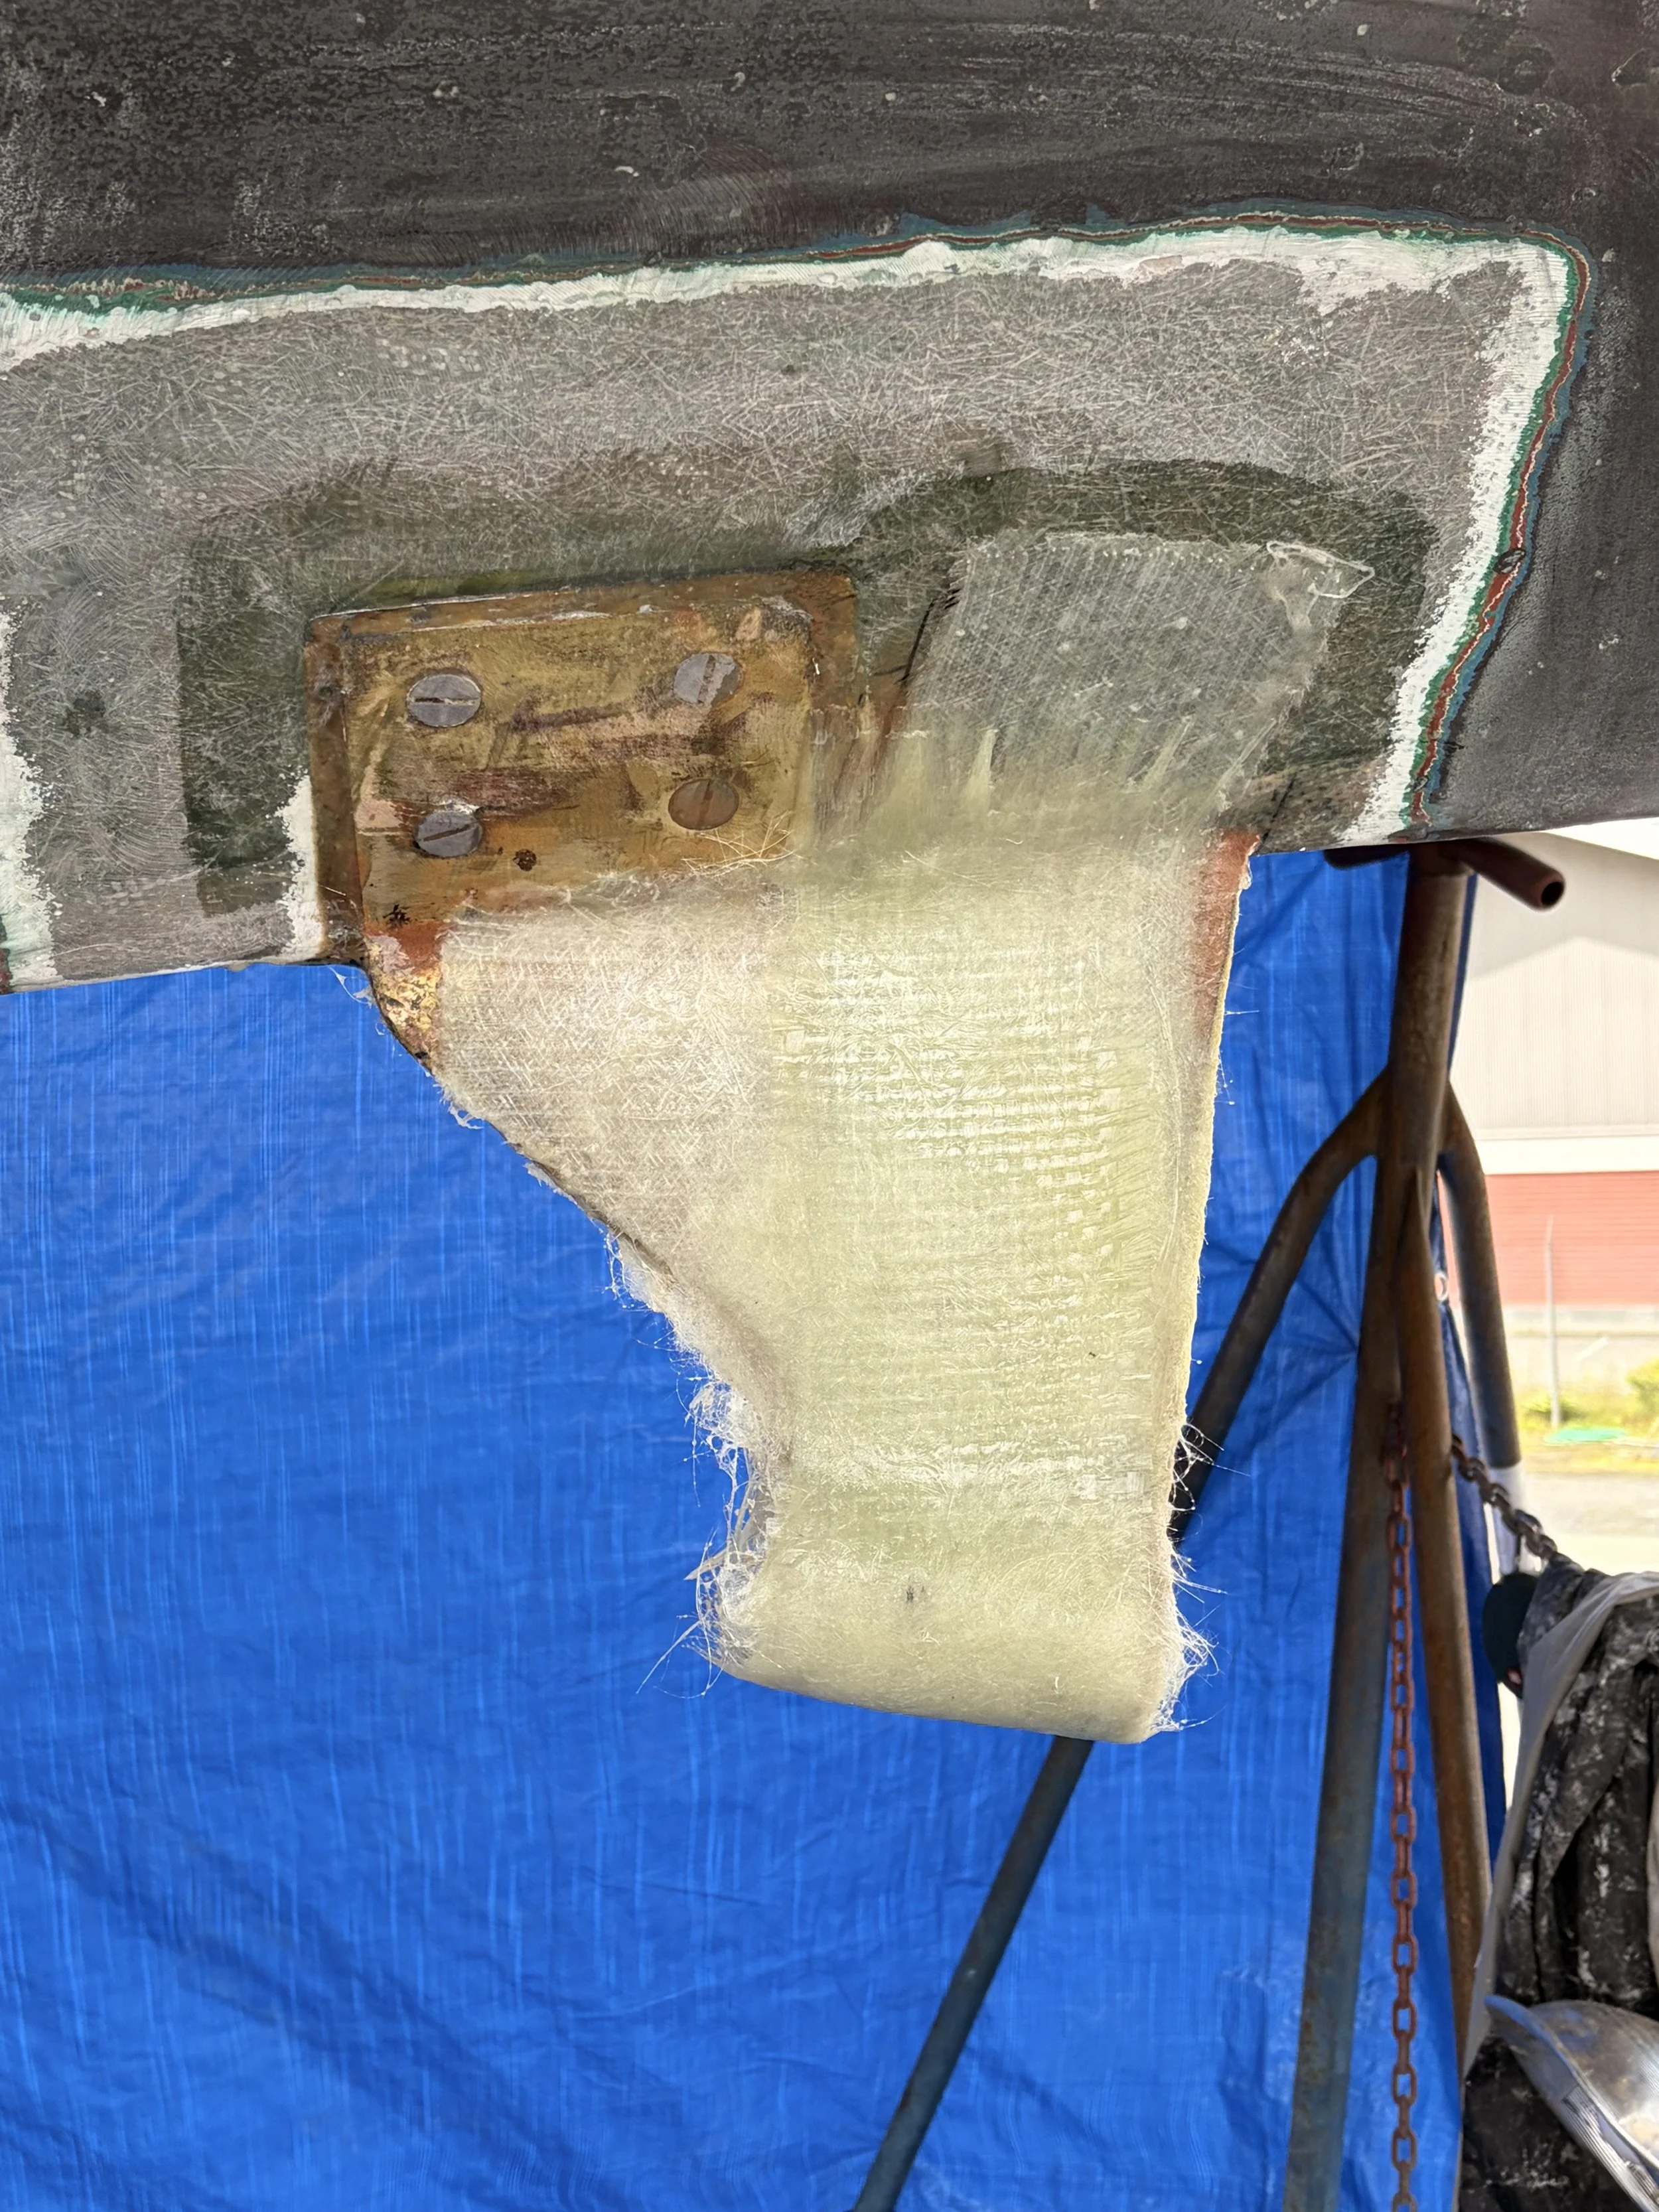
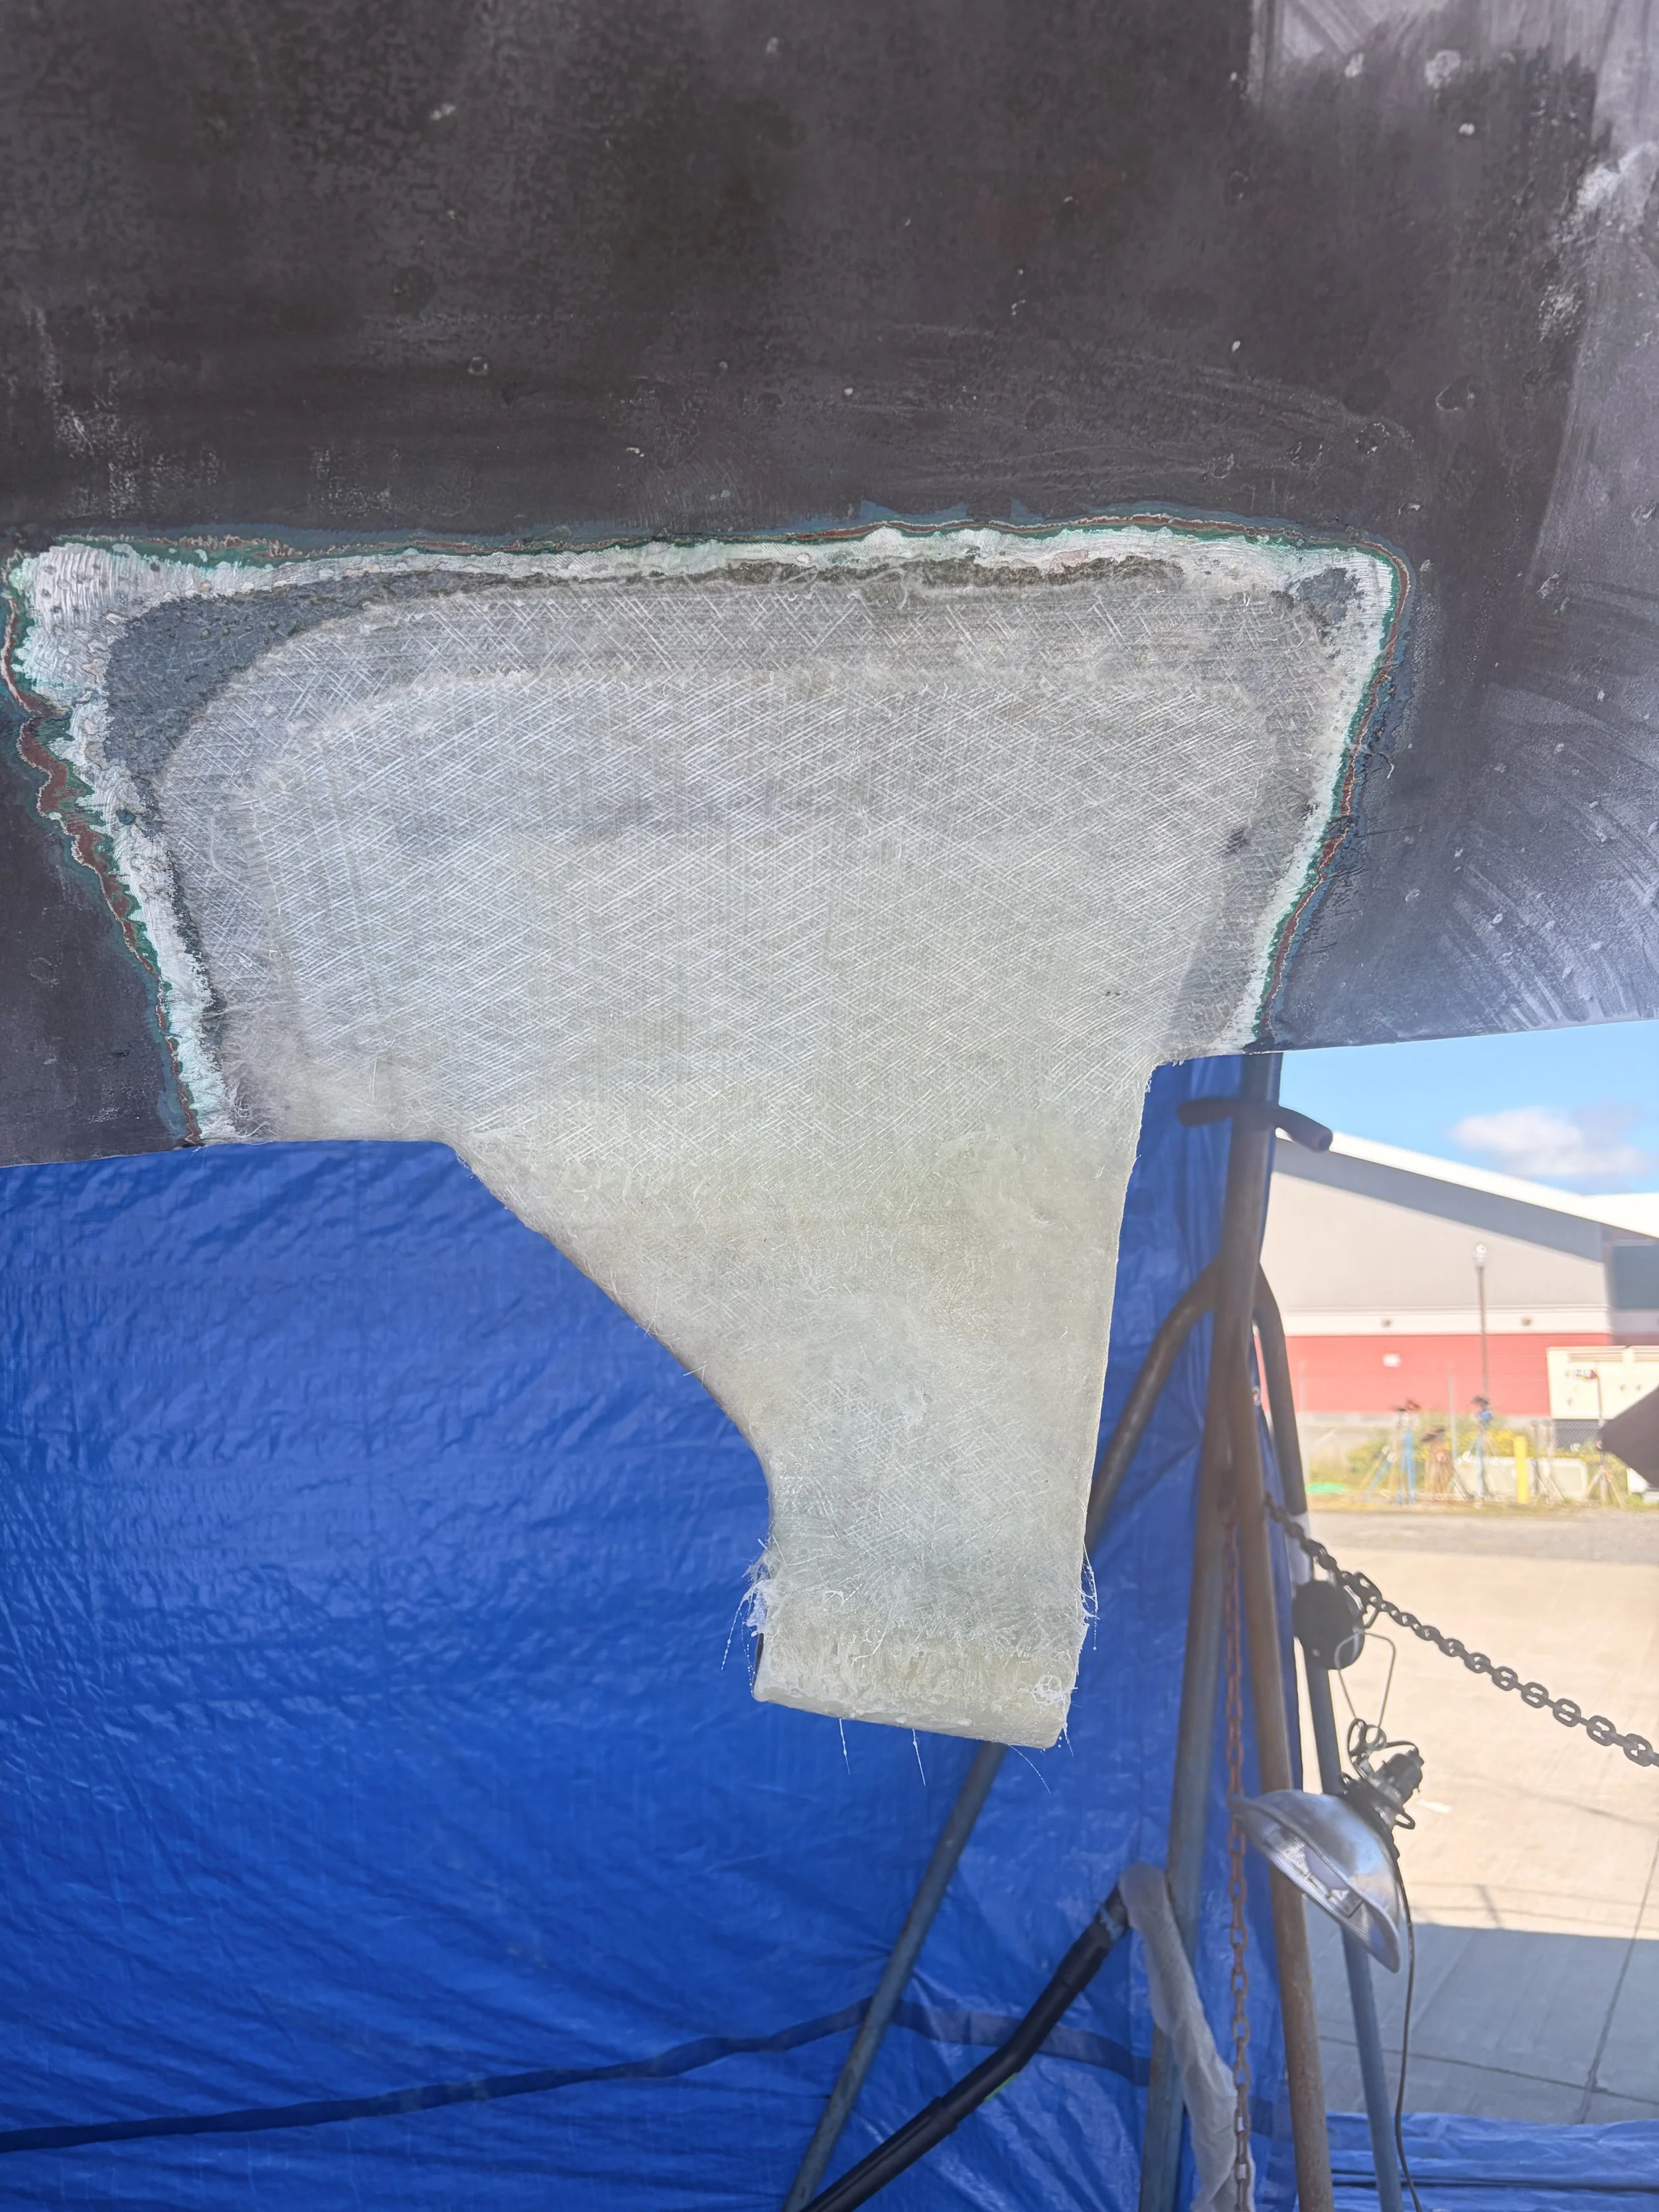
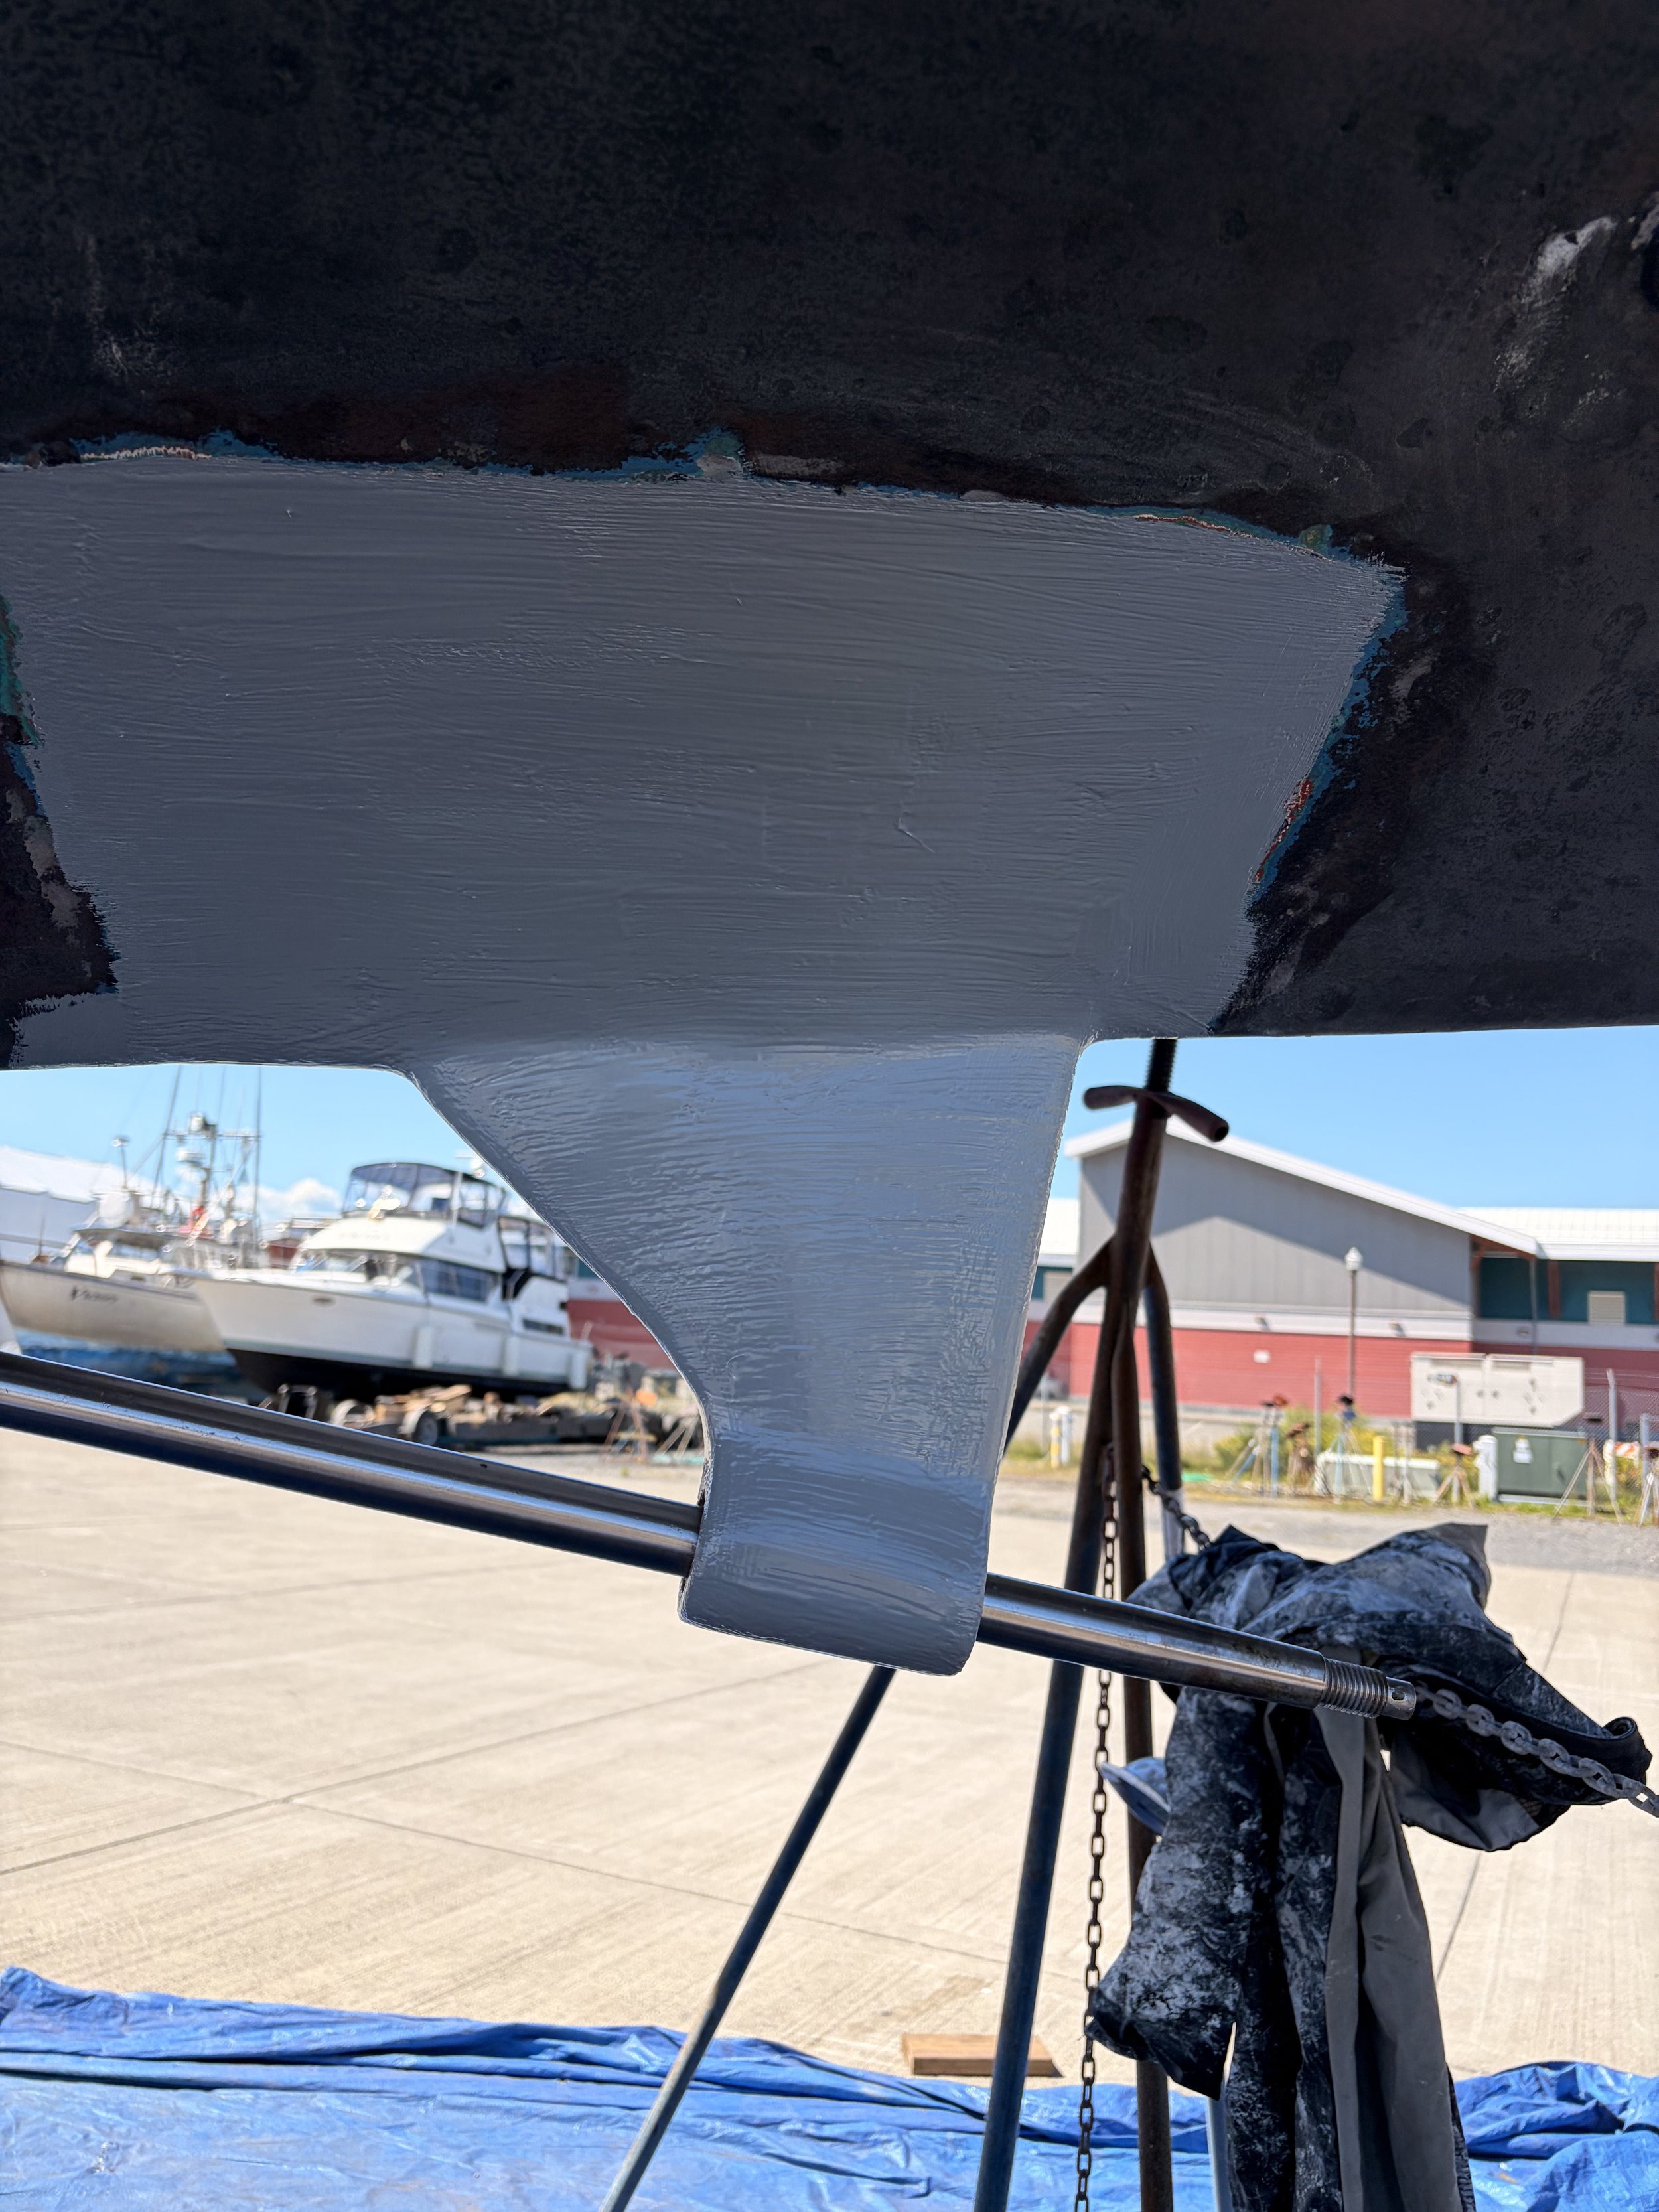
We cleaned the strut up really well, coated it in epoxy, and started laying up fiberglass — layer after layer. We built it from about 1 inch thick to roughly 2.25 inches in a teardrop shape and tied it into the hull solidly.

It was a messy job, but the strut is no longer a compromised piece of pink metal. The composite layup tied into the hull turned it into a solid, reliable structure that gives us real confidence in what’s holding the shaft steady.

Comment

Roller Furling

Comment

Roller Furling

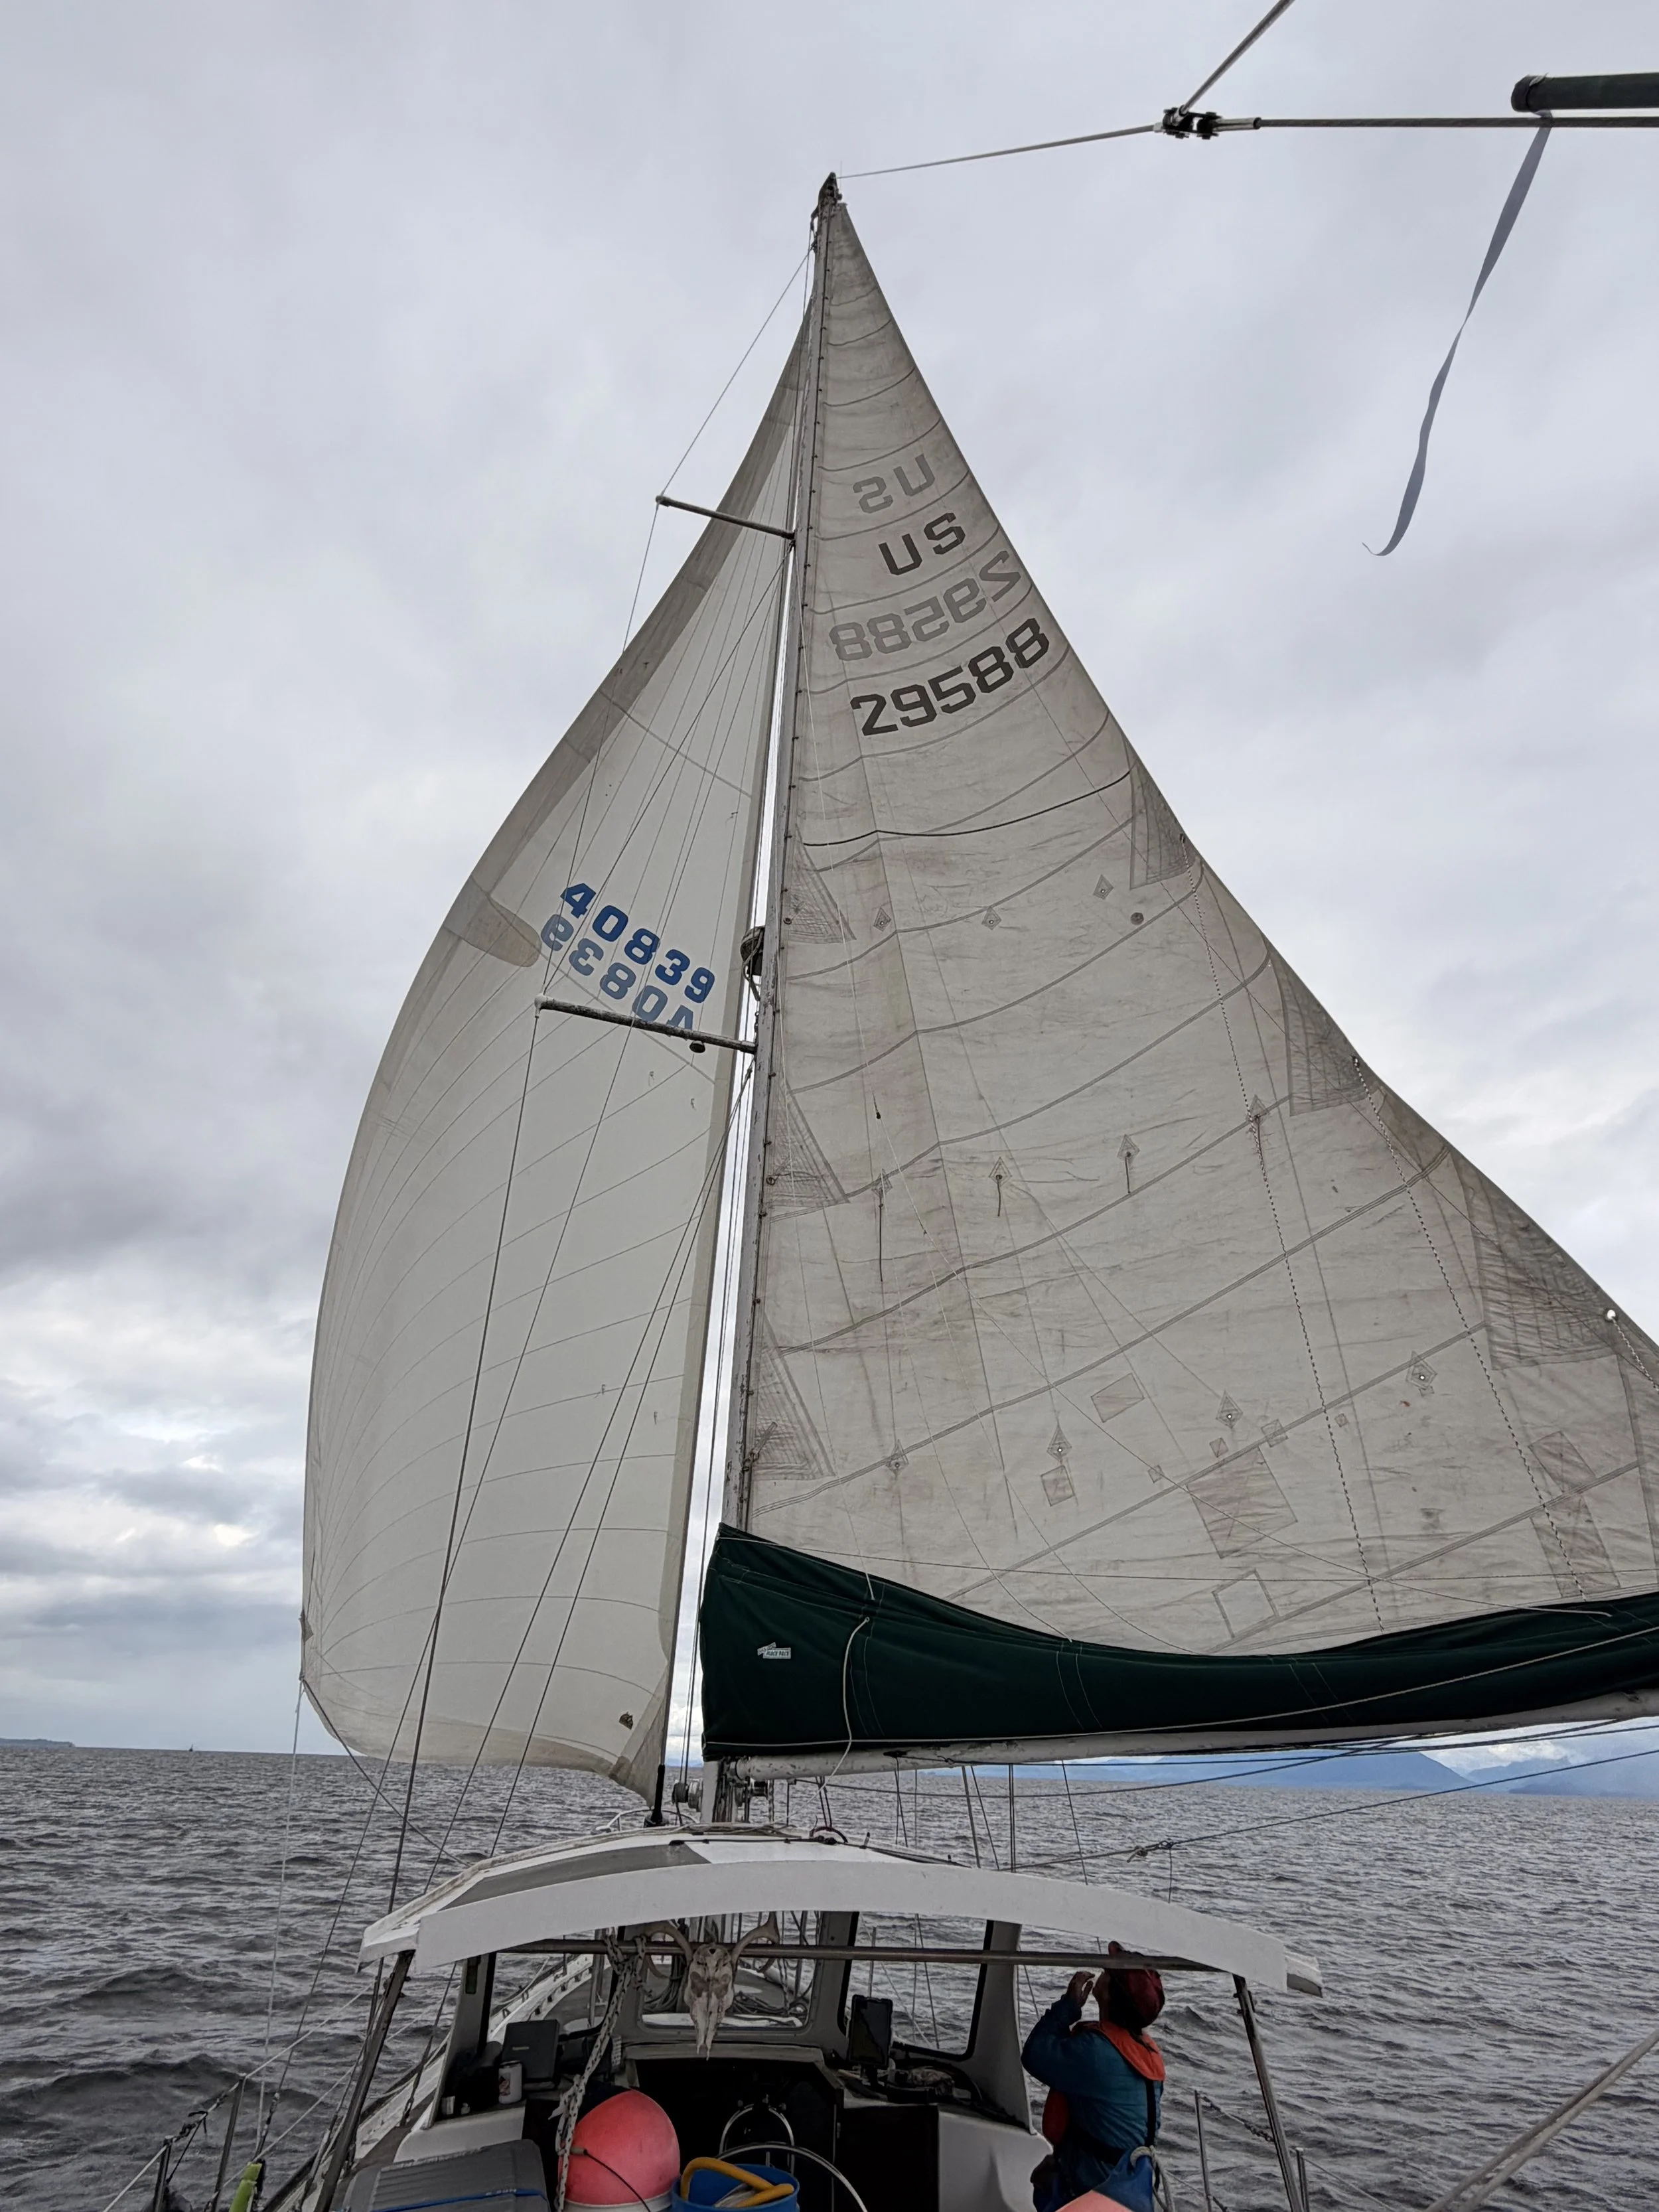
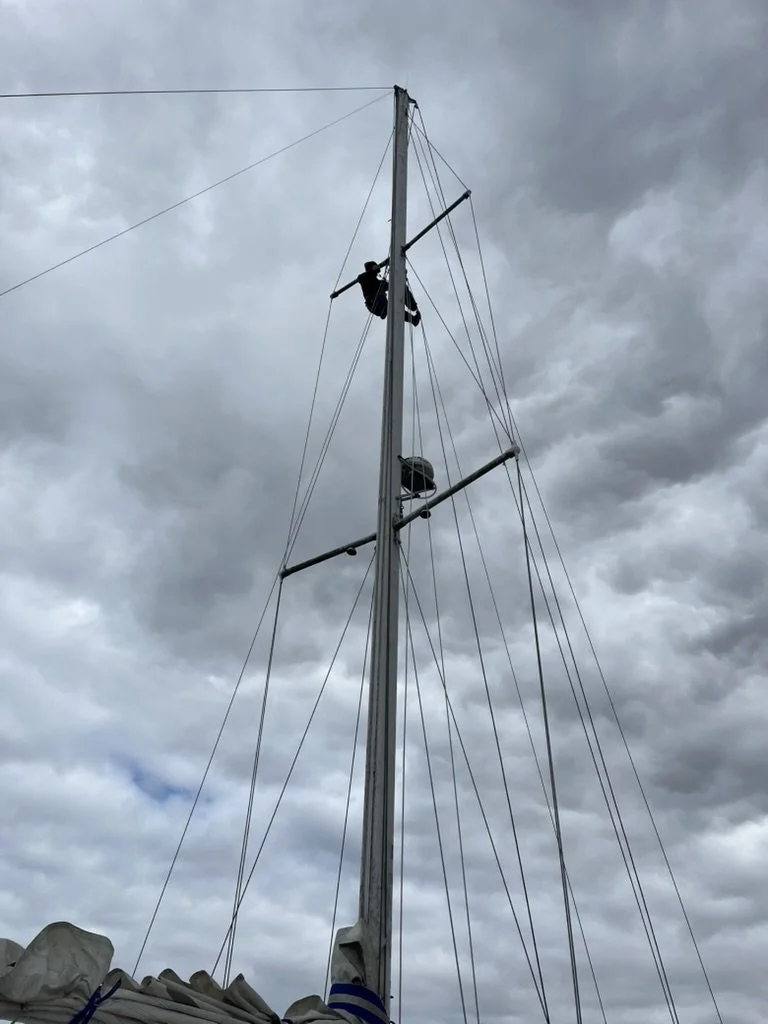
We purchased a Harken MKIV Unit 3 furler for our headstay to improve how we handle the headsail. Installing it required me to learn how to use a metal lathe (which I managed to break), order a new headstay, and go up the mast many times. But the install went smoothly overall, and once it was on, we ordered a used sail from Florida — about a 115% with a low clew.

To support the new setup, we bought a new halyard for the headsail, new sheets, a new furling line, and the blocks to run everything cleanly back to the cockpit. We’re still getting used to the system, but it works well and makes setting the headsail easy and controlled.

Now the focus is on maintaining it and inspecting it carefully. A furler is a great upgrade, but we understand it needs our attention to stay reliable and safe. So far, it’s been a solid improvement to how we sail the boat.

Comment

Poop Deck

Comment

Poop Deck

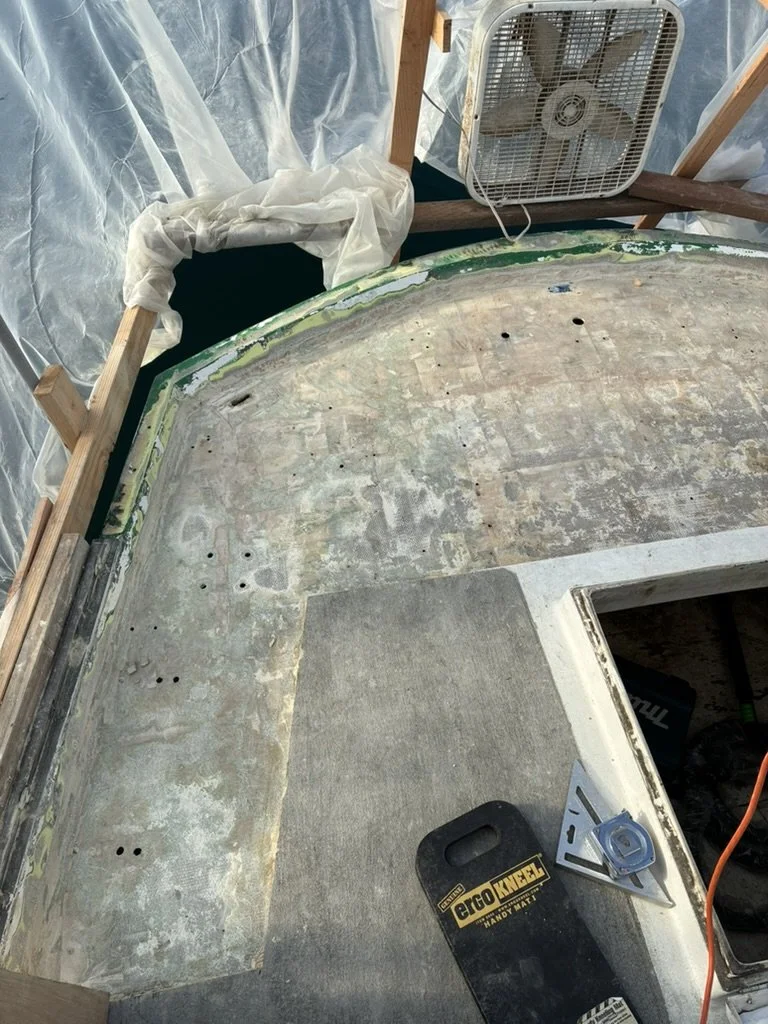
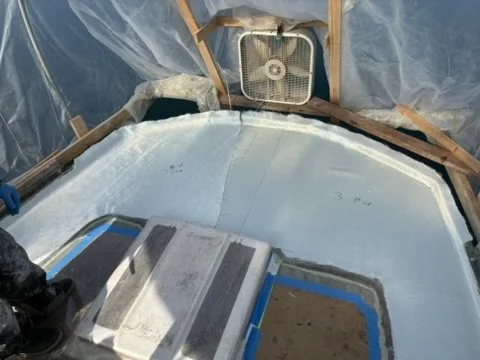
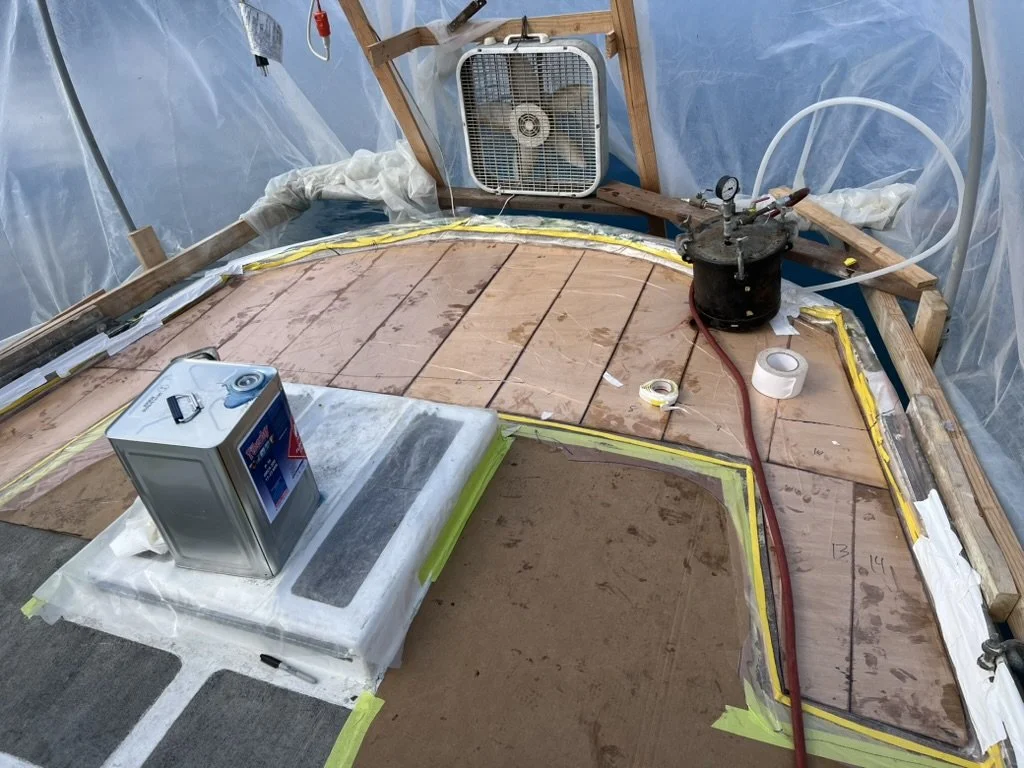
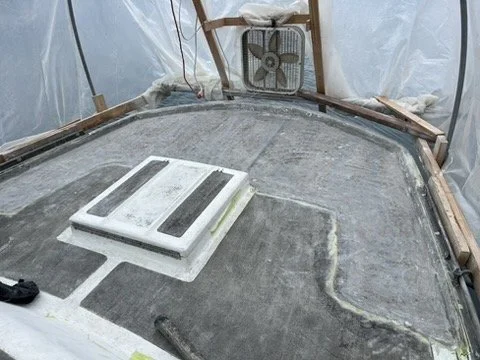
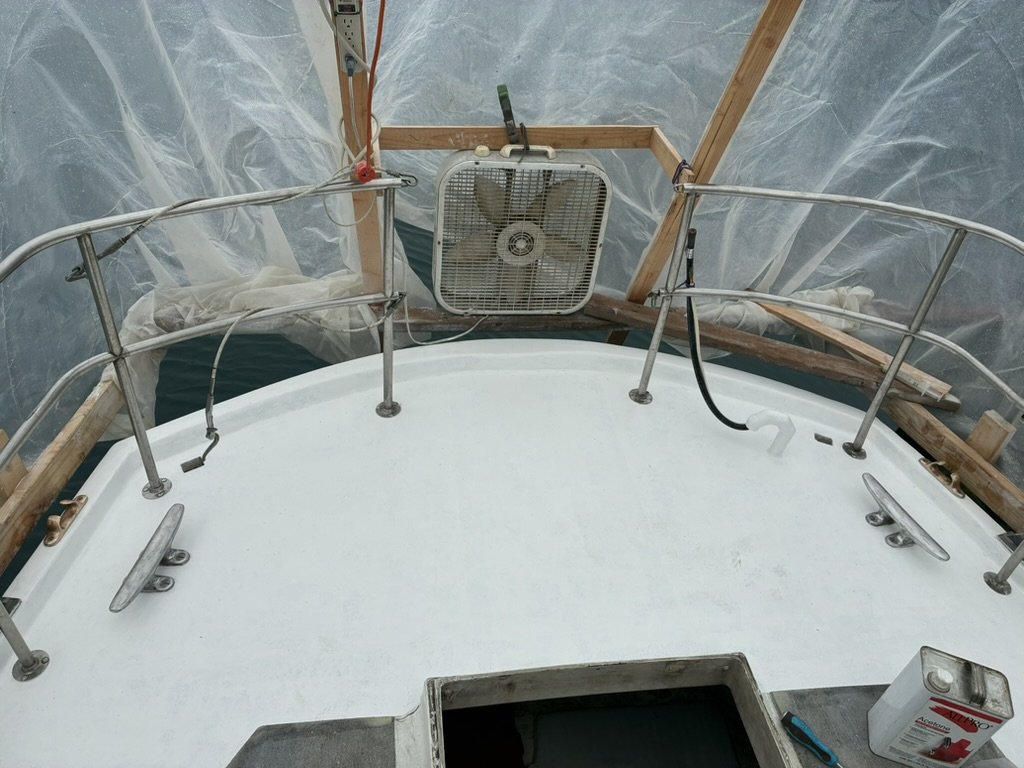
Our “poop deck” I refer to is the last four feet of deck over the aft cabin berths. It carries the backstays, cleats, and the stanchions that enclose the aft deck. Over the years, people drilled holes, installed hardware, removed hardware, and never sealed anything properly. The core was completely rotten. The deck flexed when you walked on it, and when it rained, water leaked into the space below — which has always been a black‑mold breeding ground. A real treat.

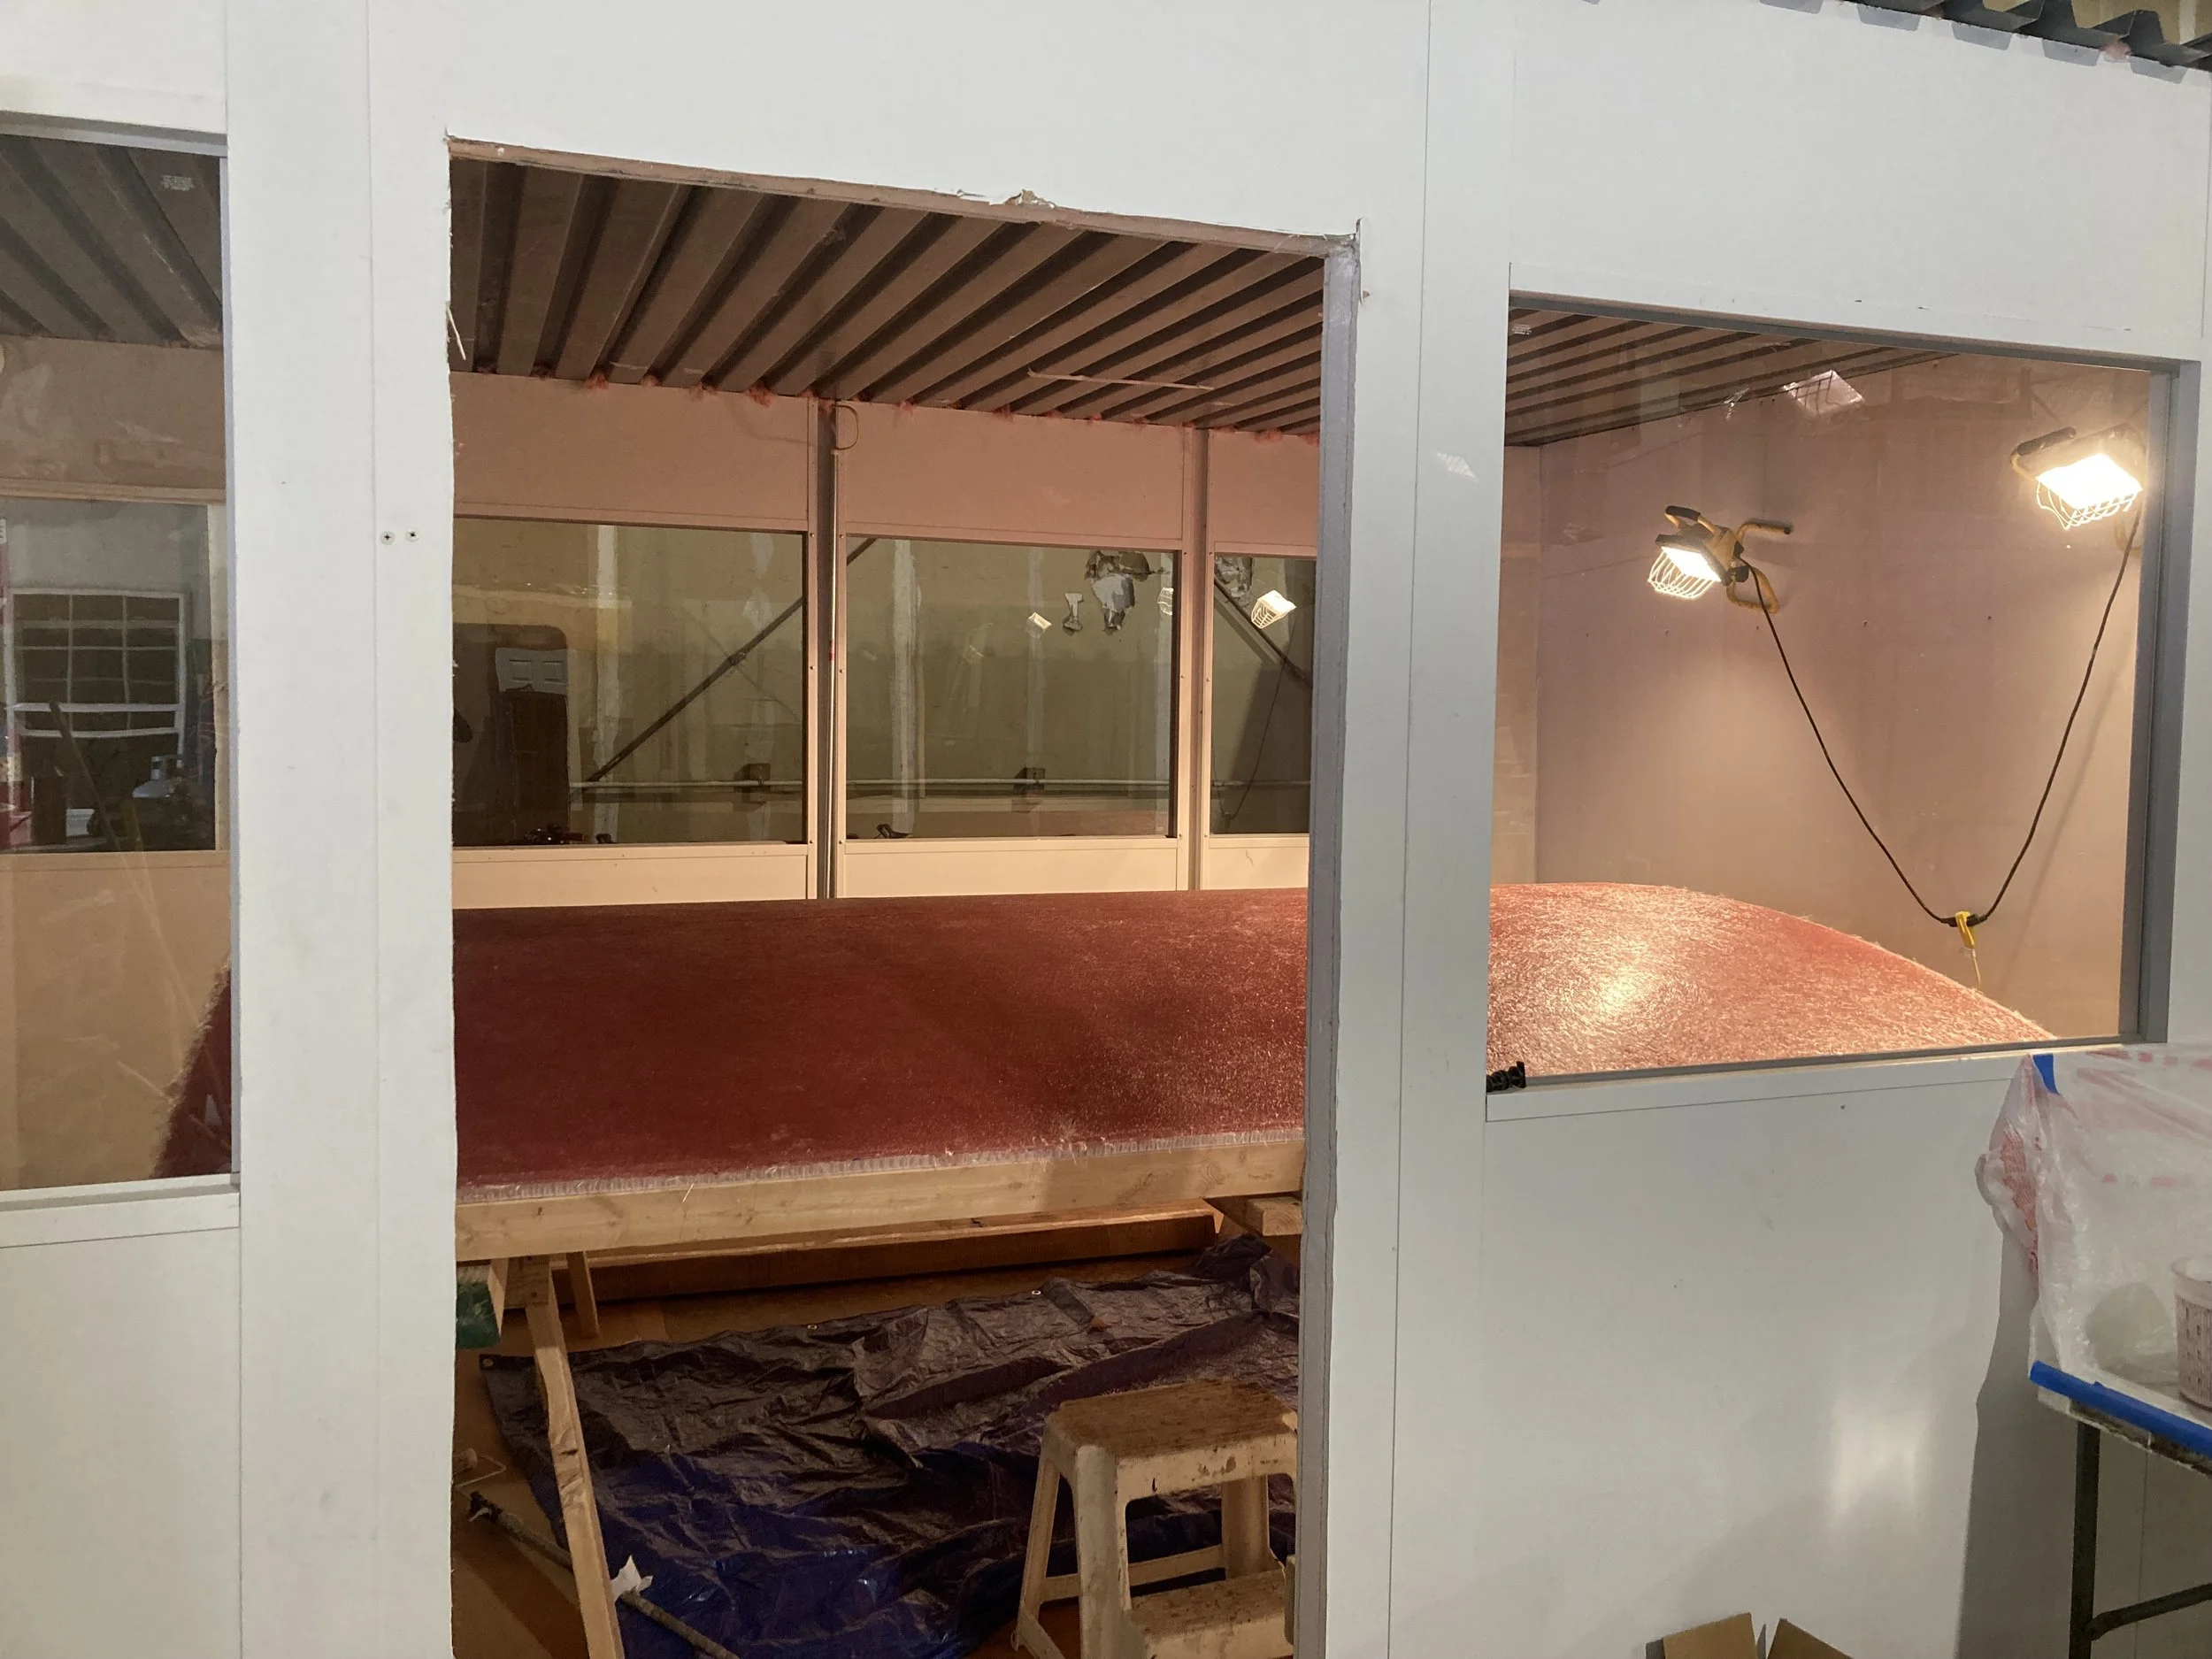
This winter, right at the tail end of Snowpocalypse, we finally decided to fix it. We built a structure over the aft deck, tarped it off, and went to work. We cut out all the rotten core, fiberglassed in marine plywood, and laid about half an inch of fiberglass over the top. After that, we reinstalled all the hardware, including the heavily reinforced backstay chainplates.

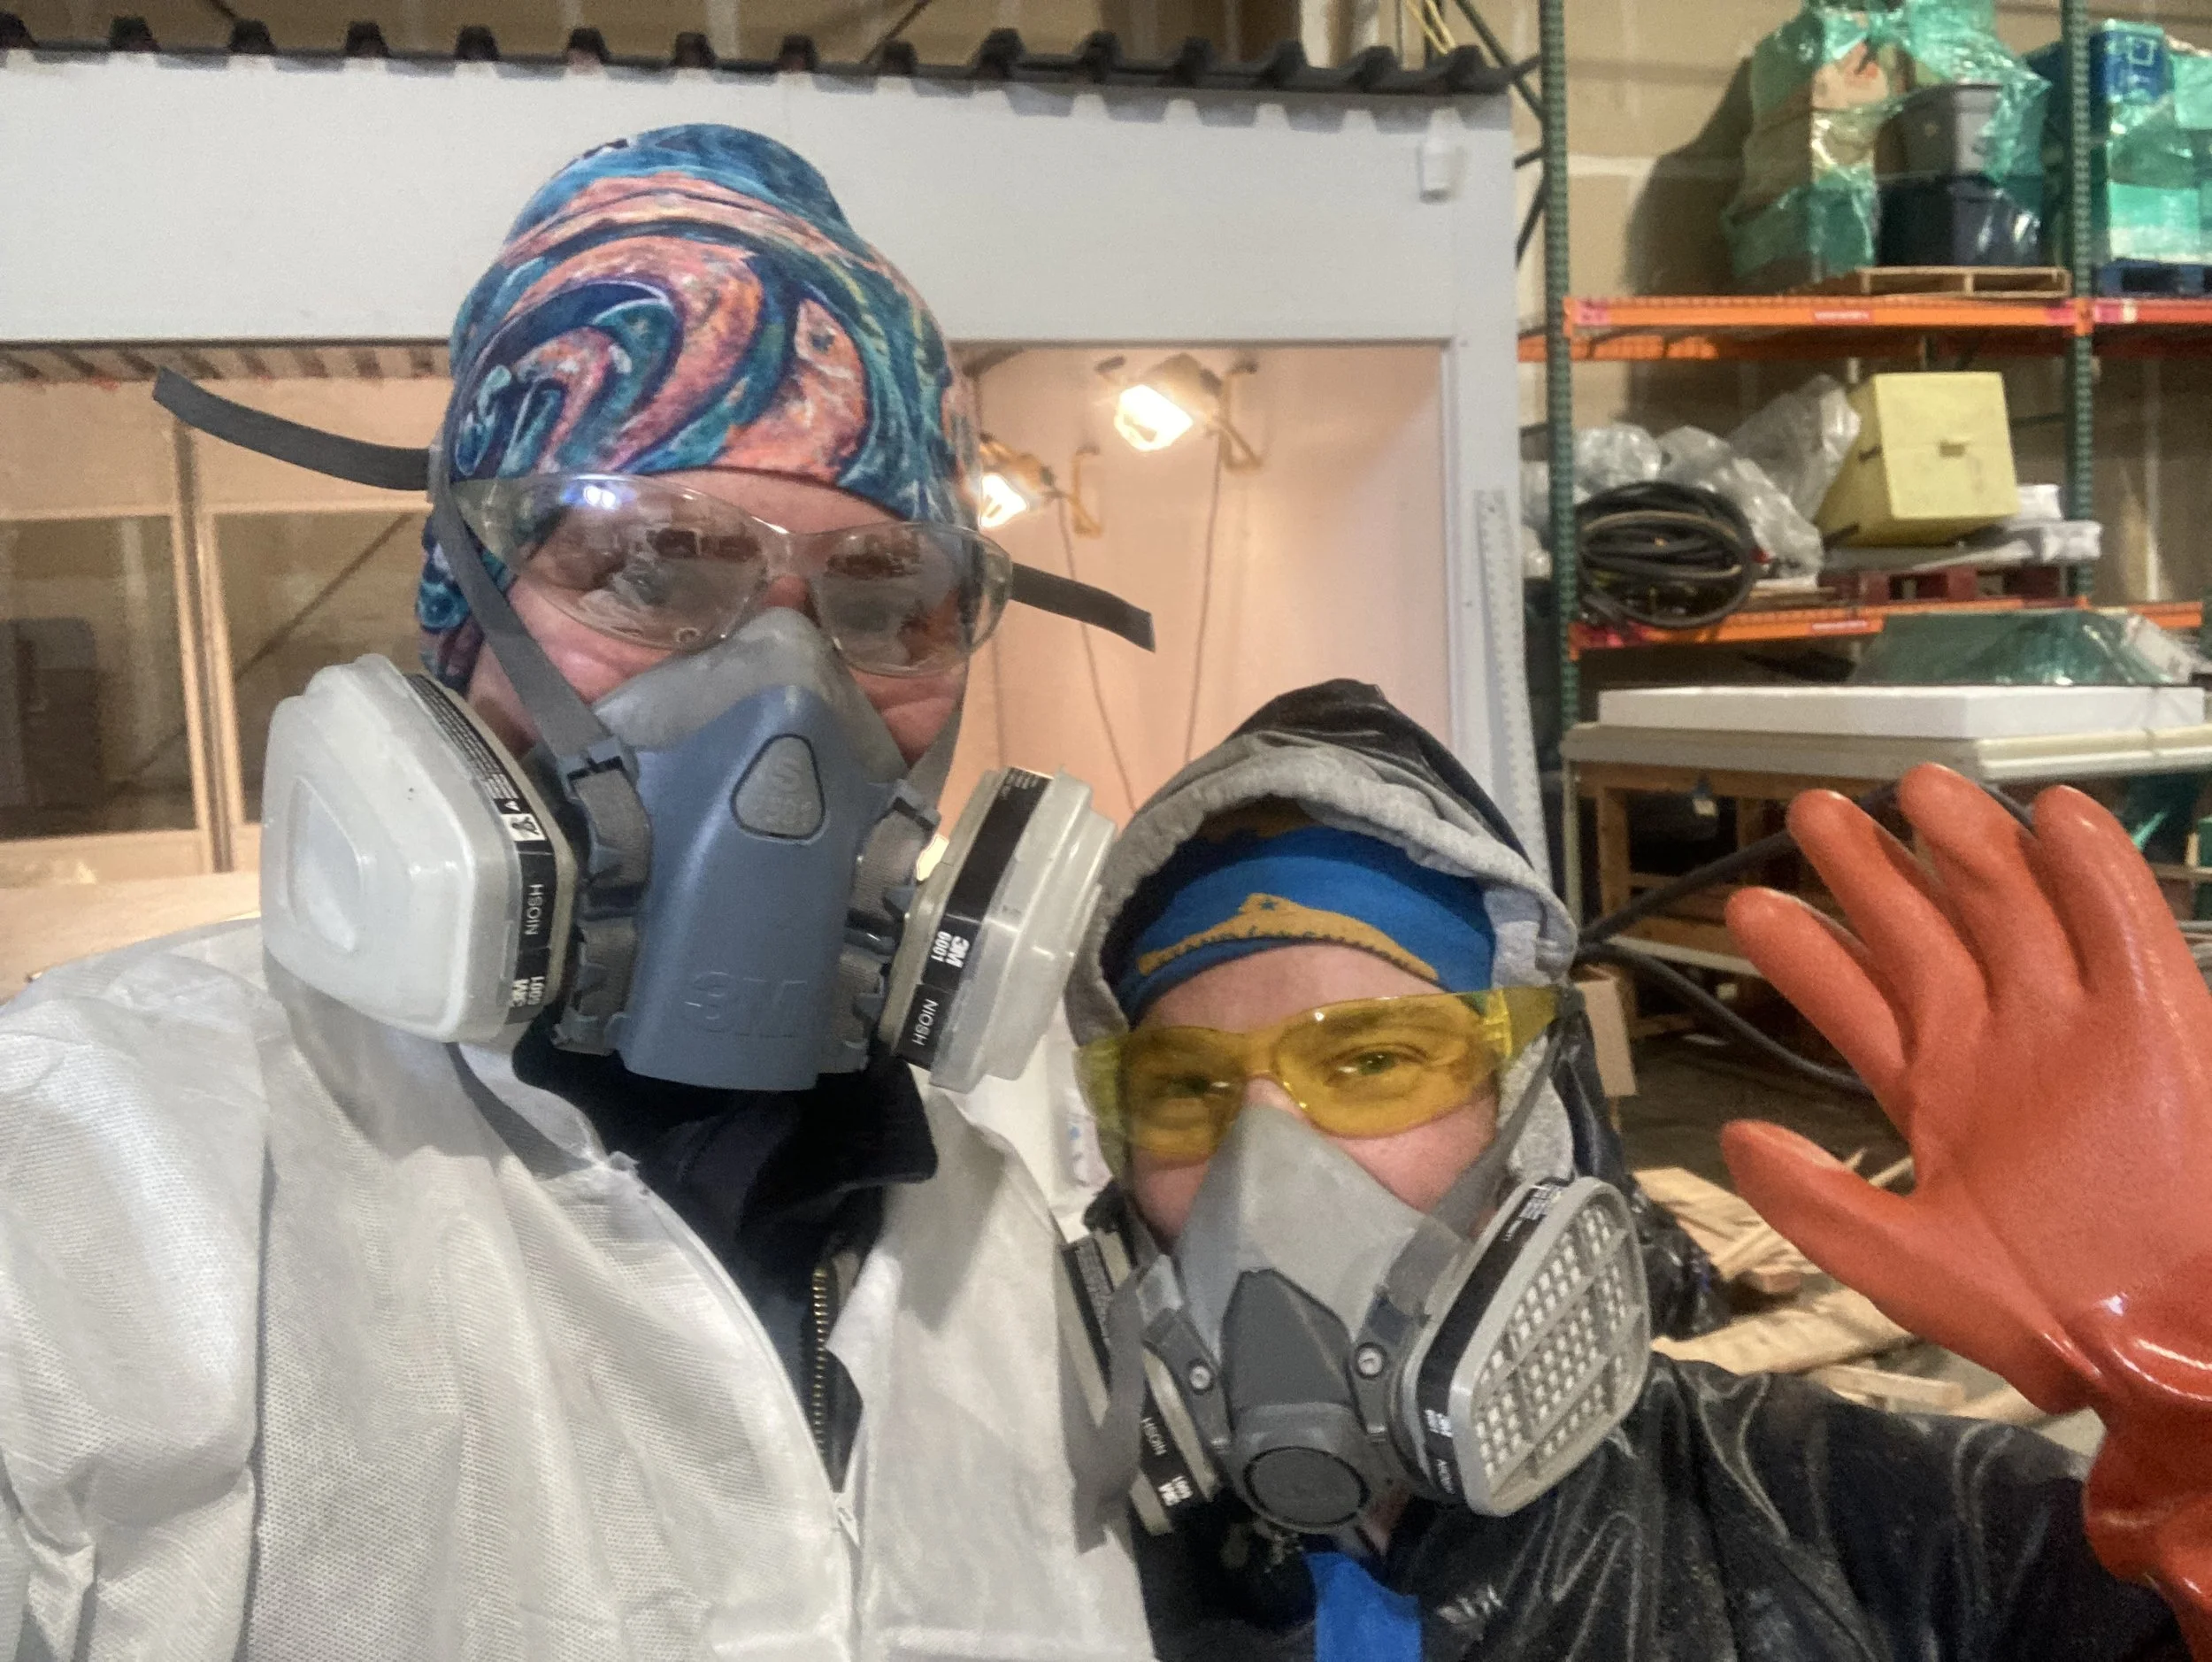
All it took was completely contaminating our living space with fiberglass dust. Easy.

But the deck is solid, sealed, dry, and ready for whatever comes next — and the aft cabin no longer rains indoors, which is a nice upgrade.

Comment

Mackpack

Comment

Mackpack

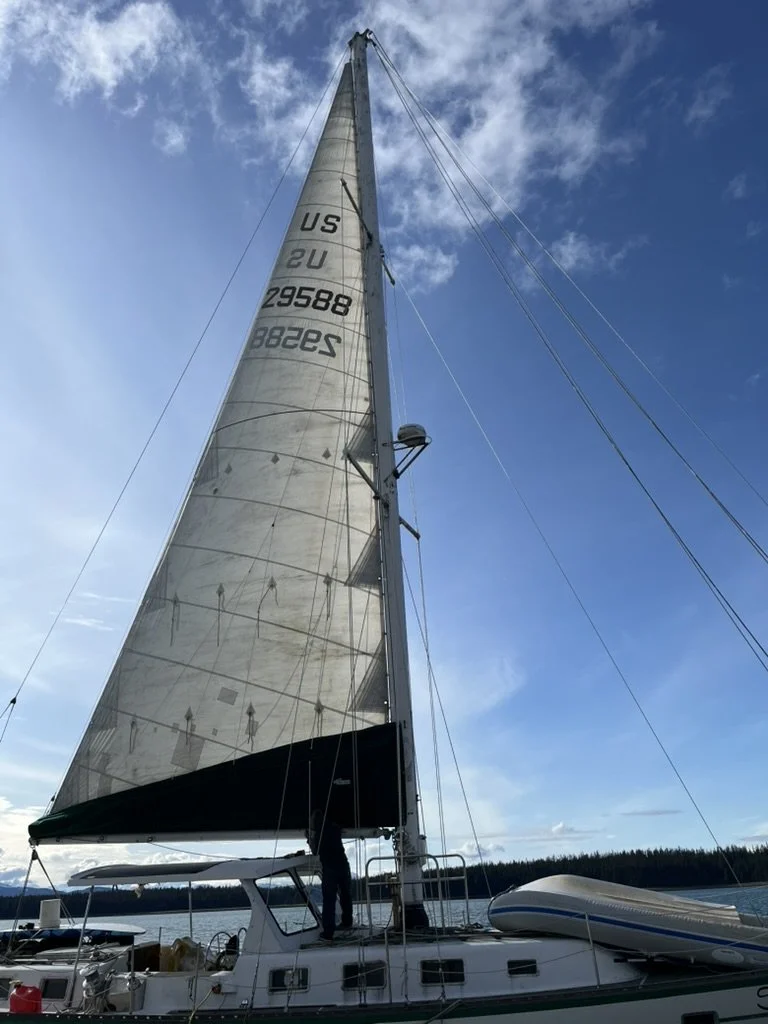
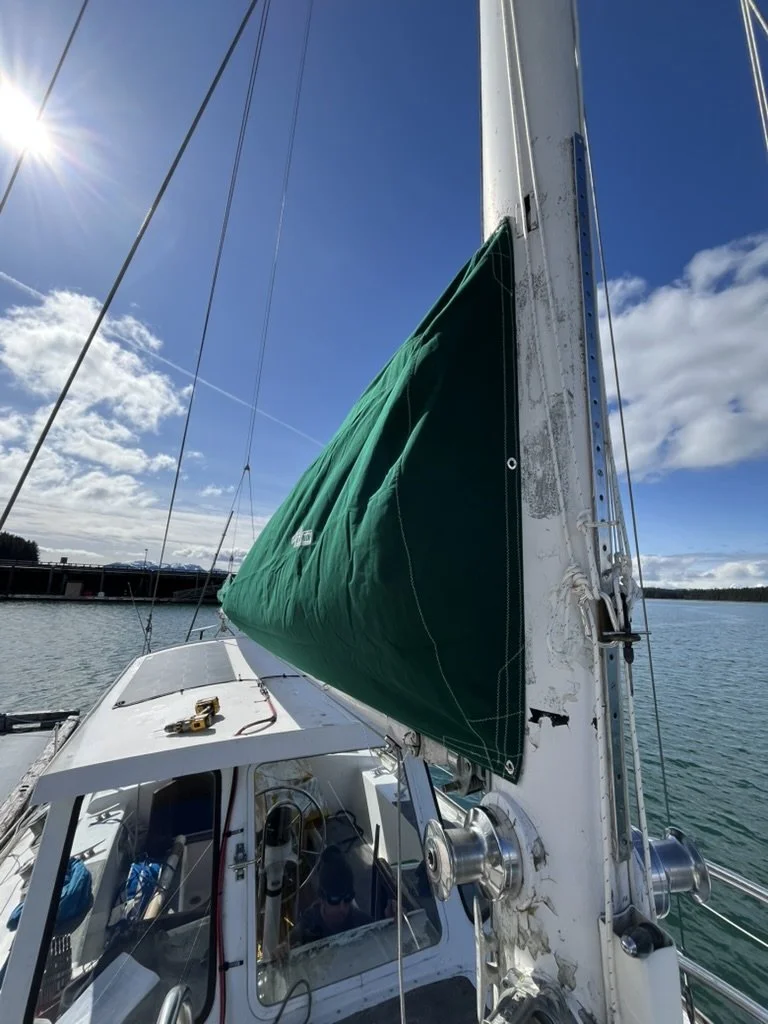
We had a neighbor in the harbor with a similar‑sized boat who took off one year to sail the South Pacific. Right before he left, he ordered an asymmetrical spinnaker and a Mack Pack from Mack Sails in Ft. Lauderdale. He showed it to us on the dock, and it stuck with us how much easier that setup made handling his mainsail.

Years later, after doing an ocean crossing with a main that had no lazy jacks and no real way to keep it under control aside from crawling along it tying it down, we finally decided to follow his lead. We measured everything and ordered a Mack Pack from Mack Sails. They were great to deal with over the phone and shipped the whole setup all the way to Alaska.

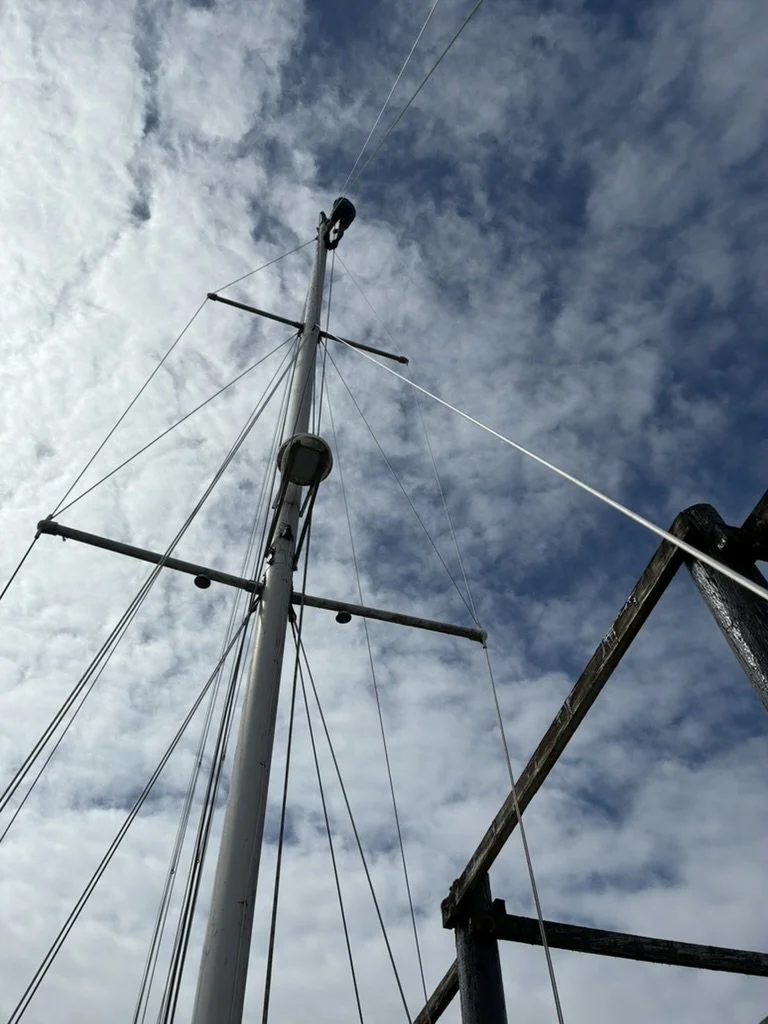
Install went smooth enough. Added blocks above the first spreaders to run the lazy jacks through. Lots of new hardware on the mast and boom to attach to. The trickiest part was adding sail slides to attach the pack to. All the slides had to be put on with the mainsail itself.

It’s a simple upgrade, but it makes a huge difference in how manageable the mainsail is. One can easily reef or stow the sail and the sail never falls under your feet or covers the view of the helm.

Comment

The Year was 2023. The challenge was hot running water.

Comment

The Year was 2023. The challenge was hot running water.

Turns out hydronic heat systems have a lot of components. All of them are very high quality. All of them are priced accordingly. After a year of wallowing in receipts, PEX fittings, circulation pumps, valves, manifolds, and the occasional diesel spill on the saloon floor, we were six days overdue for a shower and anchored in a bay with a glacier spilling into it.

That’s when I connected the final fuel hose and hit the switch.

The Hurricane fired up. The system burped, hummed, and then — hot water. On‑demand hot water. Radiator heaters in every room like one of them fancy yachts. The boat warmed evenly. The sinks steamed. The shower actually existed.

Sara got her hot water. I got my victory. And the glacier got to witness the moment we finally joined the 21st century.

“Dylan, I want shower” Sara said again to me after living on board for 4 years without hot water. It wasn’t until a year later that I could finally deliver the requested hot shower.

Fair enough. We’d earned it.

I’d been researching heating systems for a while. Our floor‑mounted Dickinson drip stoves do a decent job keeping the boat warm, but they also soot up the outside, occasionally the inside, and always at the worst possible moment. I was leaning toward an Espar or some other hydronic setup… until Craigslist intervened.

One day a listing popped up: Hurricane II boiler — Juneau. I called immediately. The guy was three slips down. I walked over, looked at the unit, and bought it on the spot for “cheap.” And by “cheap,” I mean the kind of cheap where the first purchase is cheap, and everything that comes after requires a second mortgage.

The boiler itself had low hours and came with its electronic controls, a few pieces of ducting, and a six‑gallon water‑heater tank. After studying it, repairing it, and bench‑testing it until I could practically recite the wiring diagram from memory, I dove into sourcing parts for a full hydronic install.


Comment

Comment

Velvet Drive and Engine Mounts

When we first started running the boat, we didn’t fully understand how everything worked — like every new boat owner. On the way home from our first big adventure hauling out in Hoonah, I noticed the transmission was hot. Not warm. Not concerning. 250°F. A full hundred degrees hotter than the manual said it should ever be.

Back home, I dove into research. Everything pointed toward a rebuild. So I tore into it, talked to mechanics, ordered parts, bought tools, and rebuilt the transmission myself. About a thousand dollars and eight weeks later, it was back in the boat and ready for a fishing trip.

On the way home, it overheated again — and started making noises no transmission should ever make.

Once we were tied up, I pulled it out again and shipped it south to a professional. He called back with the verdict: it was never rebuildable. It had pumped so much metal through itself that it was completely toast.
So we ordered a brand‑new (rebuilt) Velvet Drive.

While waiting, I finally found the real culprit. The damper plate — the link between the engine and transmission — had been destroyed by whoever worked on it before us. Once we replaced it, the new gear slid on like it was meant to be there.

Then came the alignment. That’s when things got complicated. Every stainless lag bolt holding the engine mounts had suffered crevice corrosion. They snapped as soon as I tried to loosen them. No way to reuse those holes.

So we stepped back and reassessed.

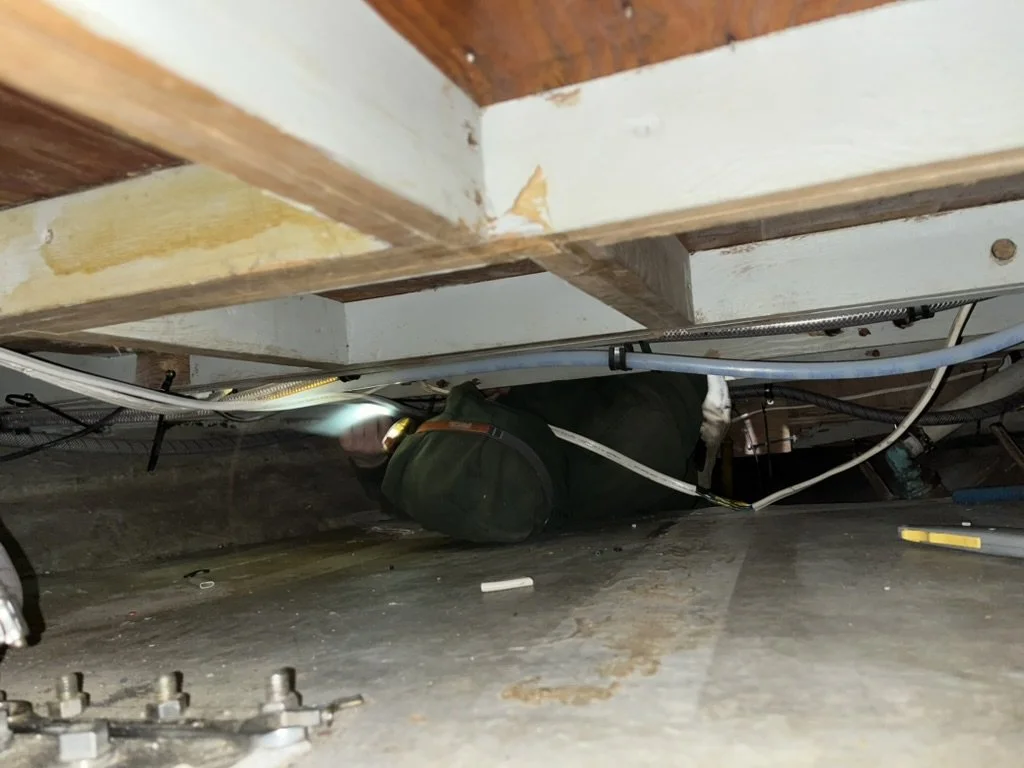
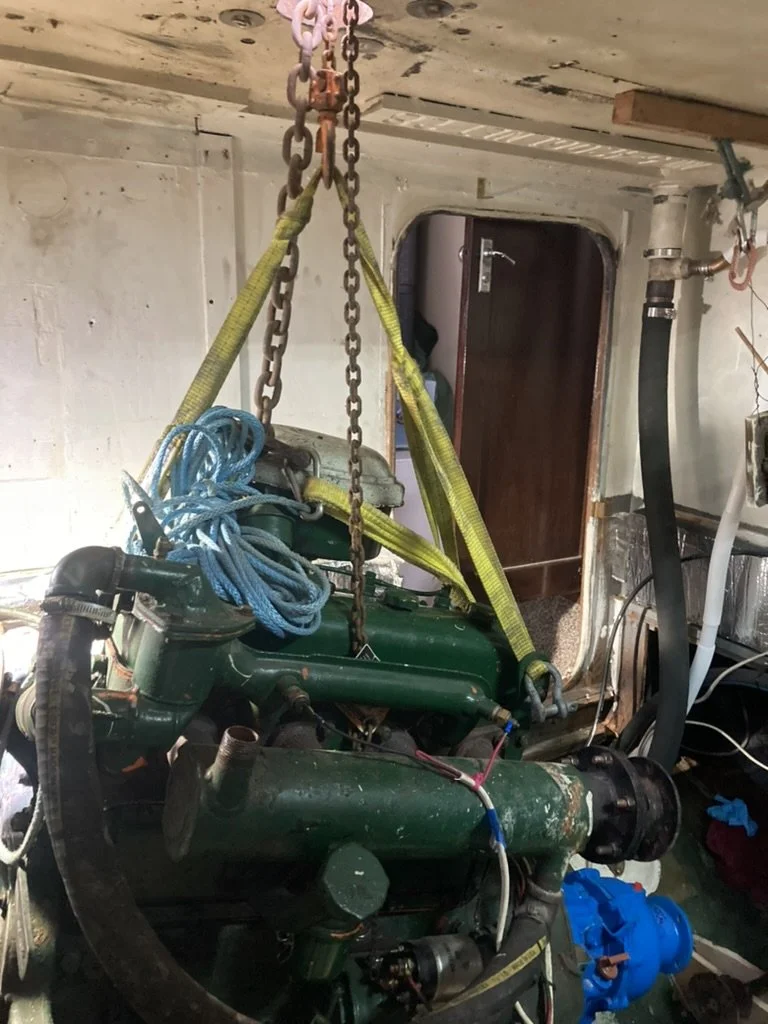
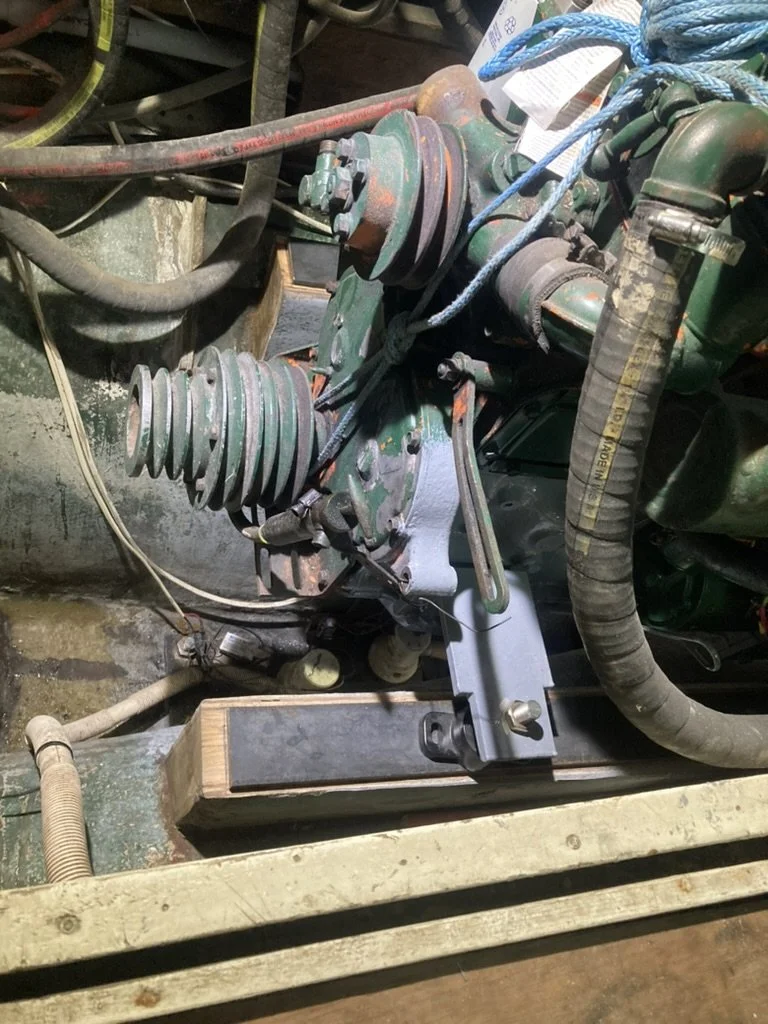
Short story was steering pedestal came off, beam across cockpit, chain hoist through hole over engine, the engine had to be lifted, New mounts, A redesigned engine bed, Fresh paint on the underside of the engine and the whole transmission. Only then could we get back to that little alignment project.

It was a brutal learning curve but totally worth it. Engine and gear are happy and aligned with the shaft and FULLY attached to the boat

Comment

Canopy, Bimini, Topper, Roof or whatever.......

Comment

Canopy, Bimini, Topper, Roof or whatever.......

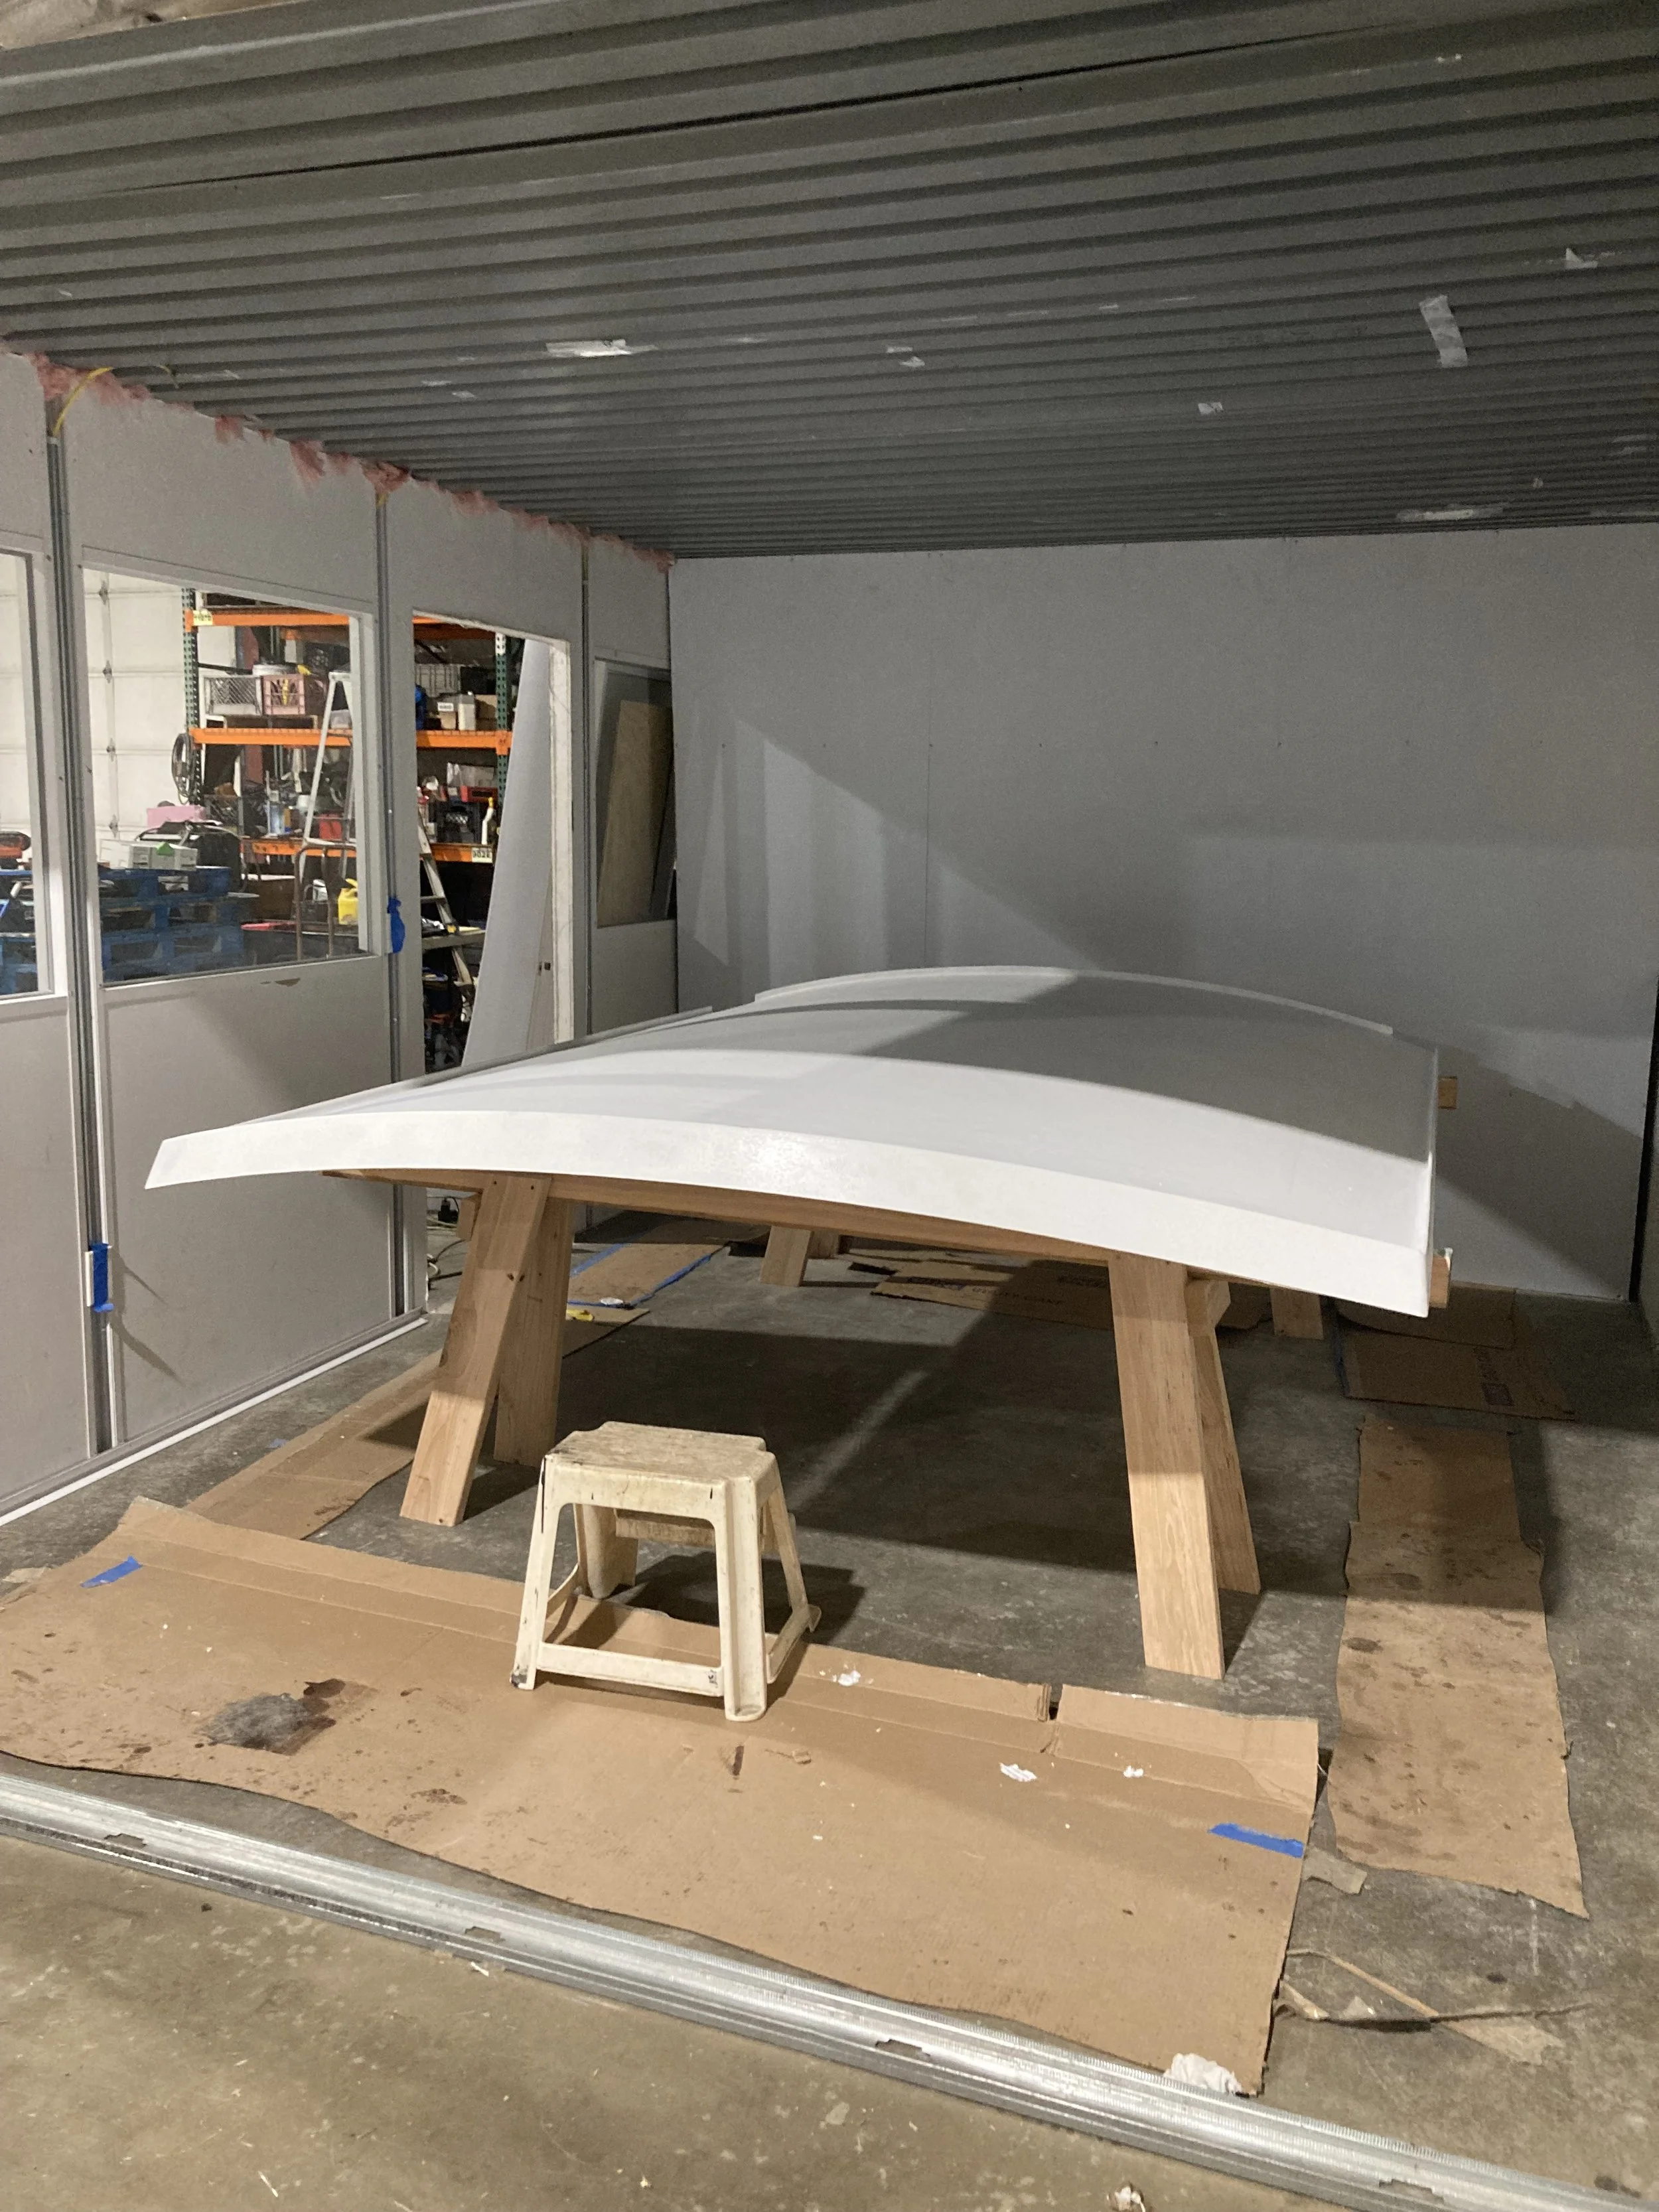
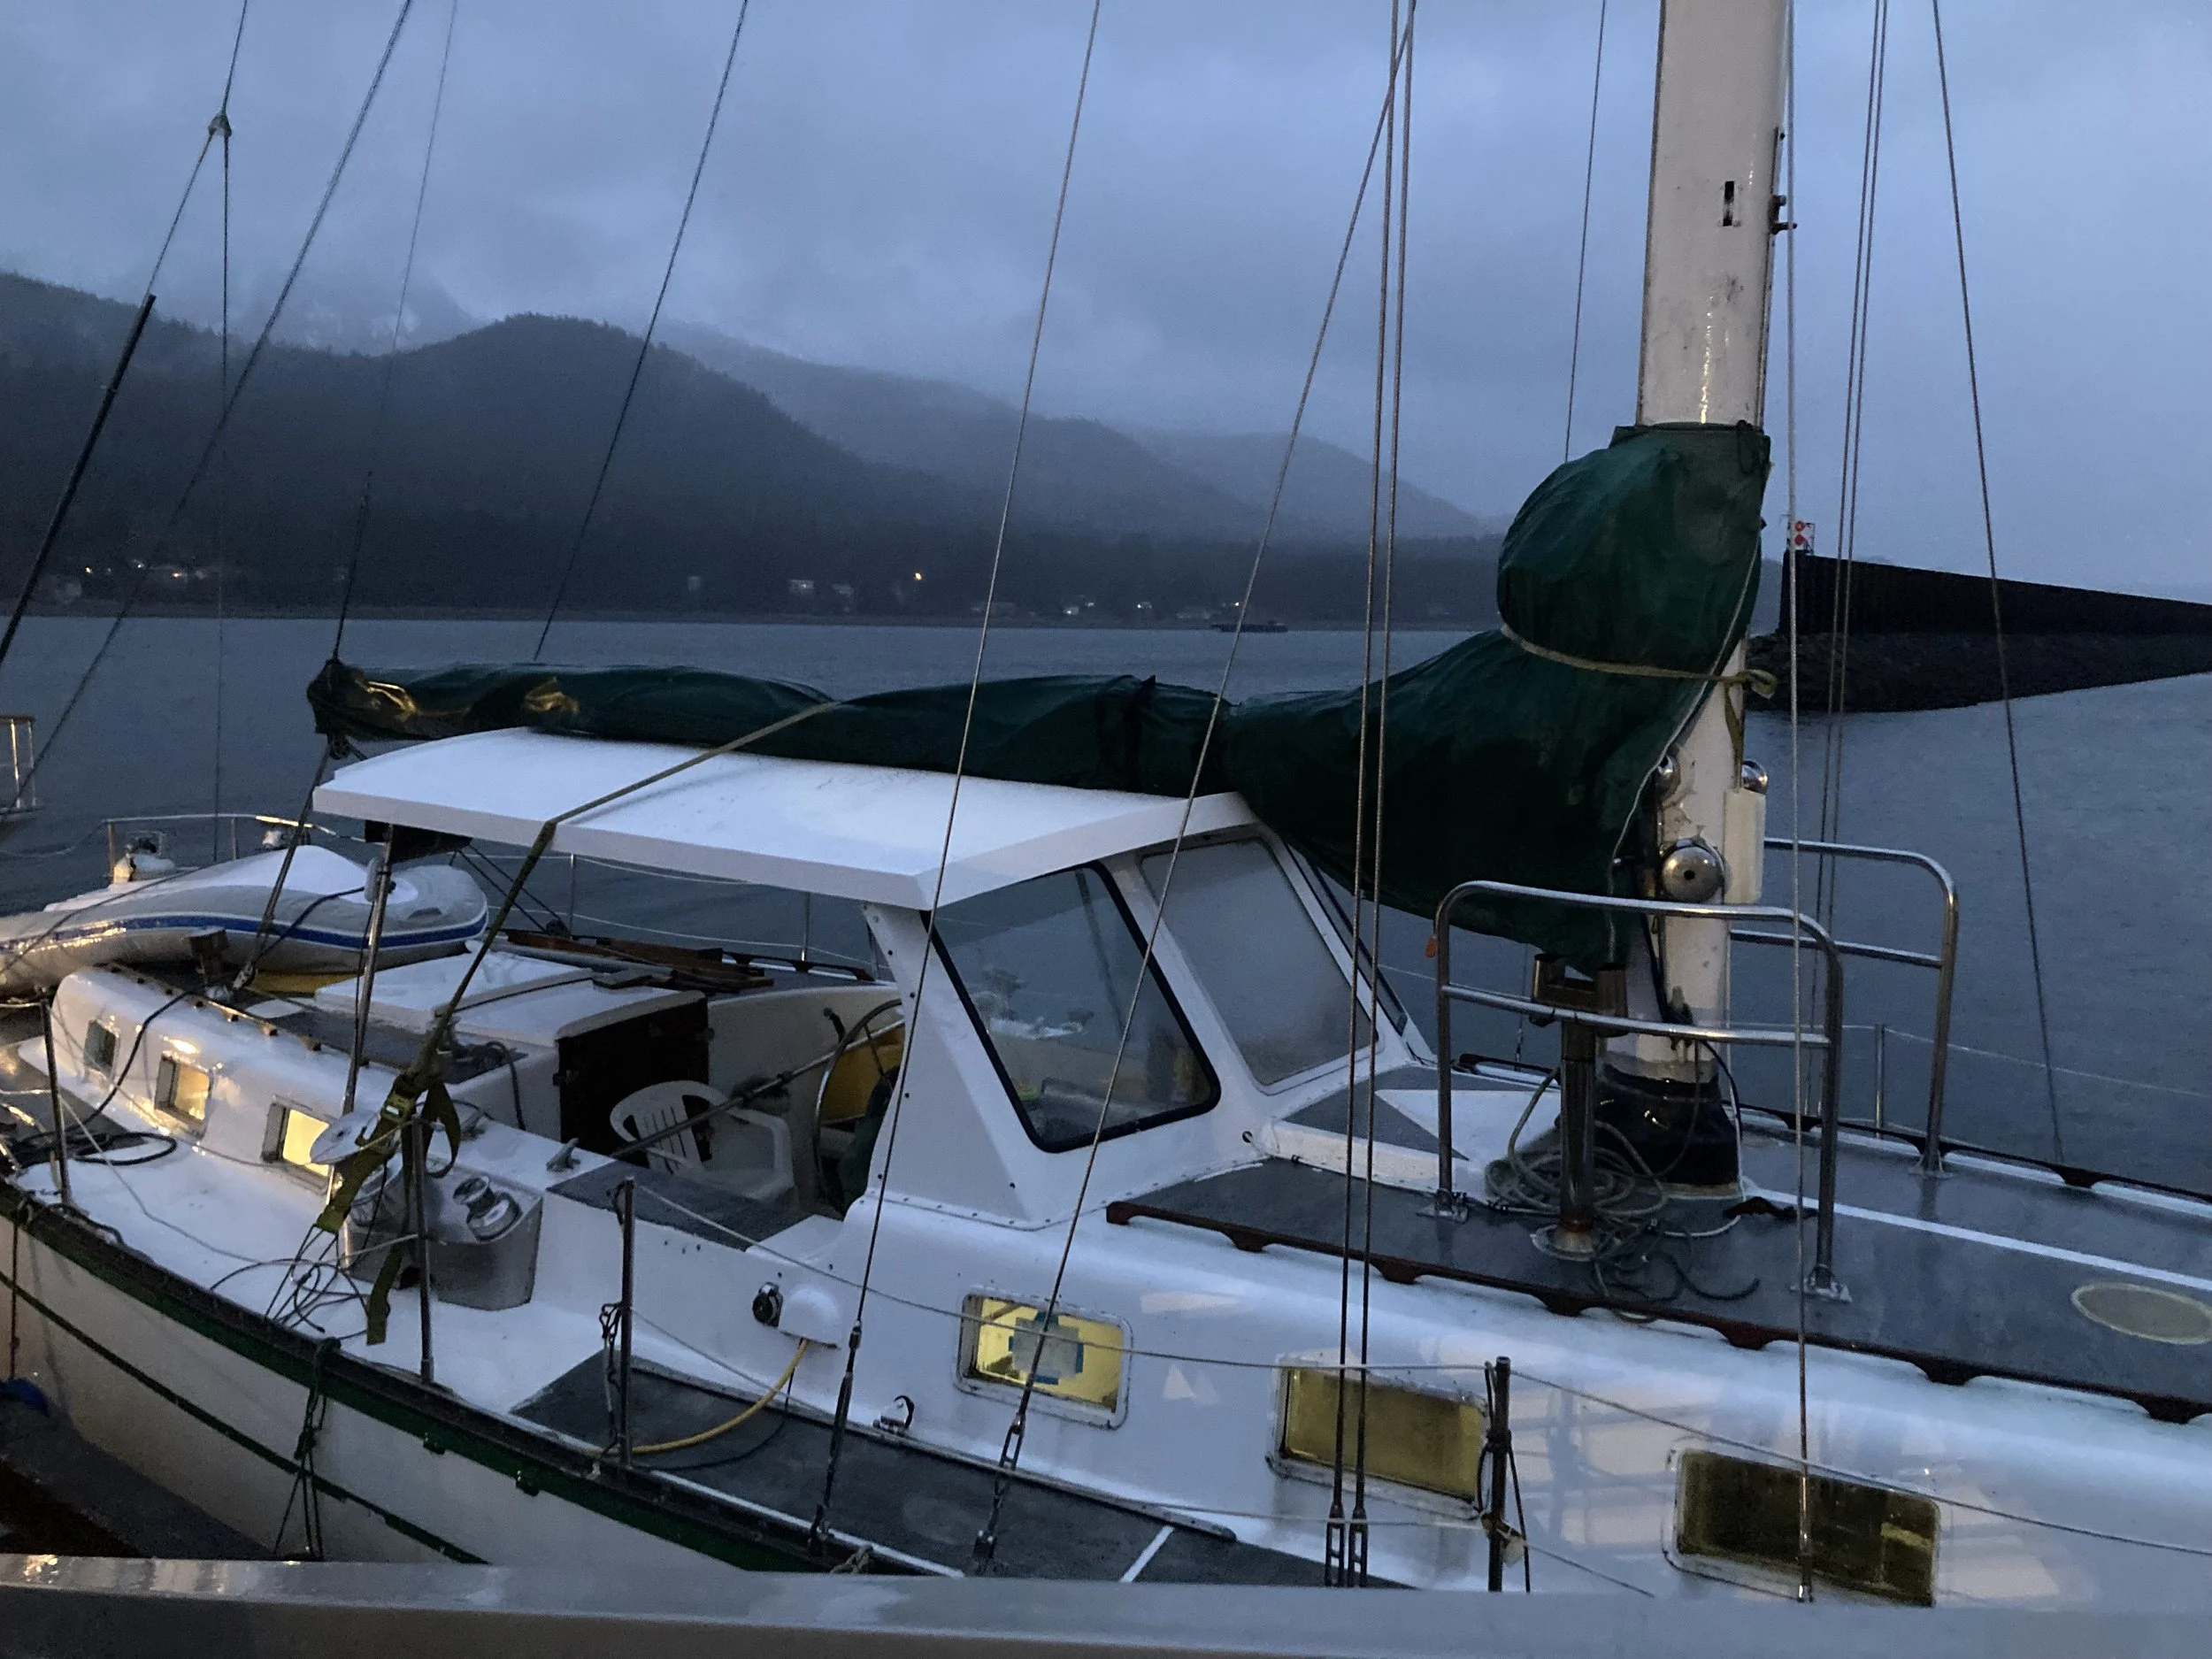
Our Spencer is a center‑cockpit boat, and it came with that sweet original windshield from the builder. But when we bought her, the cockpit was covered by a 20‑year‑old white canvas roof that had seen far better days. It was cracked, weathered, full of holes, and green in all the places canvas likes to hold onto moss and tree parts.

For months we loitered around other harbors studying everyone else’s setups. We looked at how their roofs drained, how far the overhang reached past the windows, and how that front arching panel tied into the everything. Every boat had a different solution, and we stole ideas from all of them.

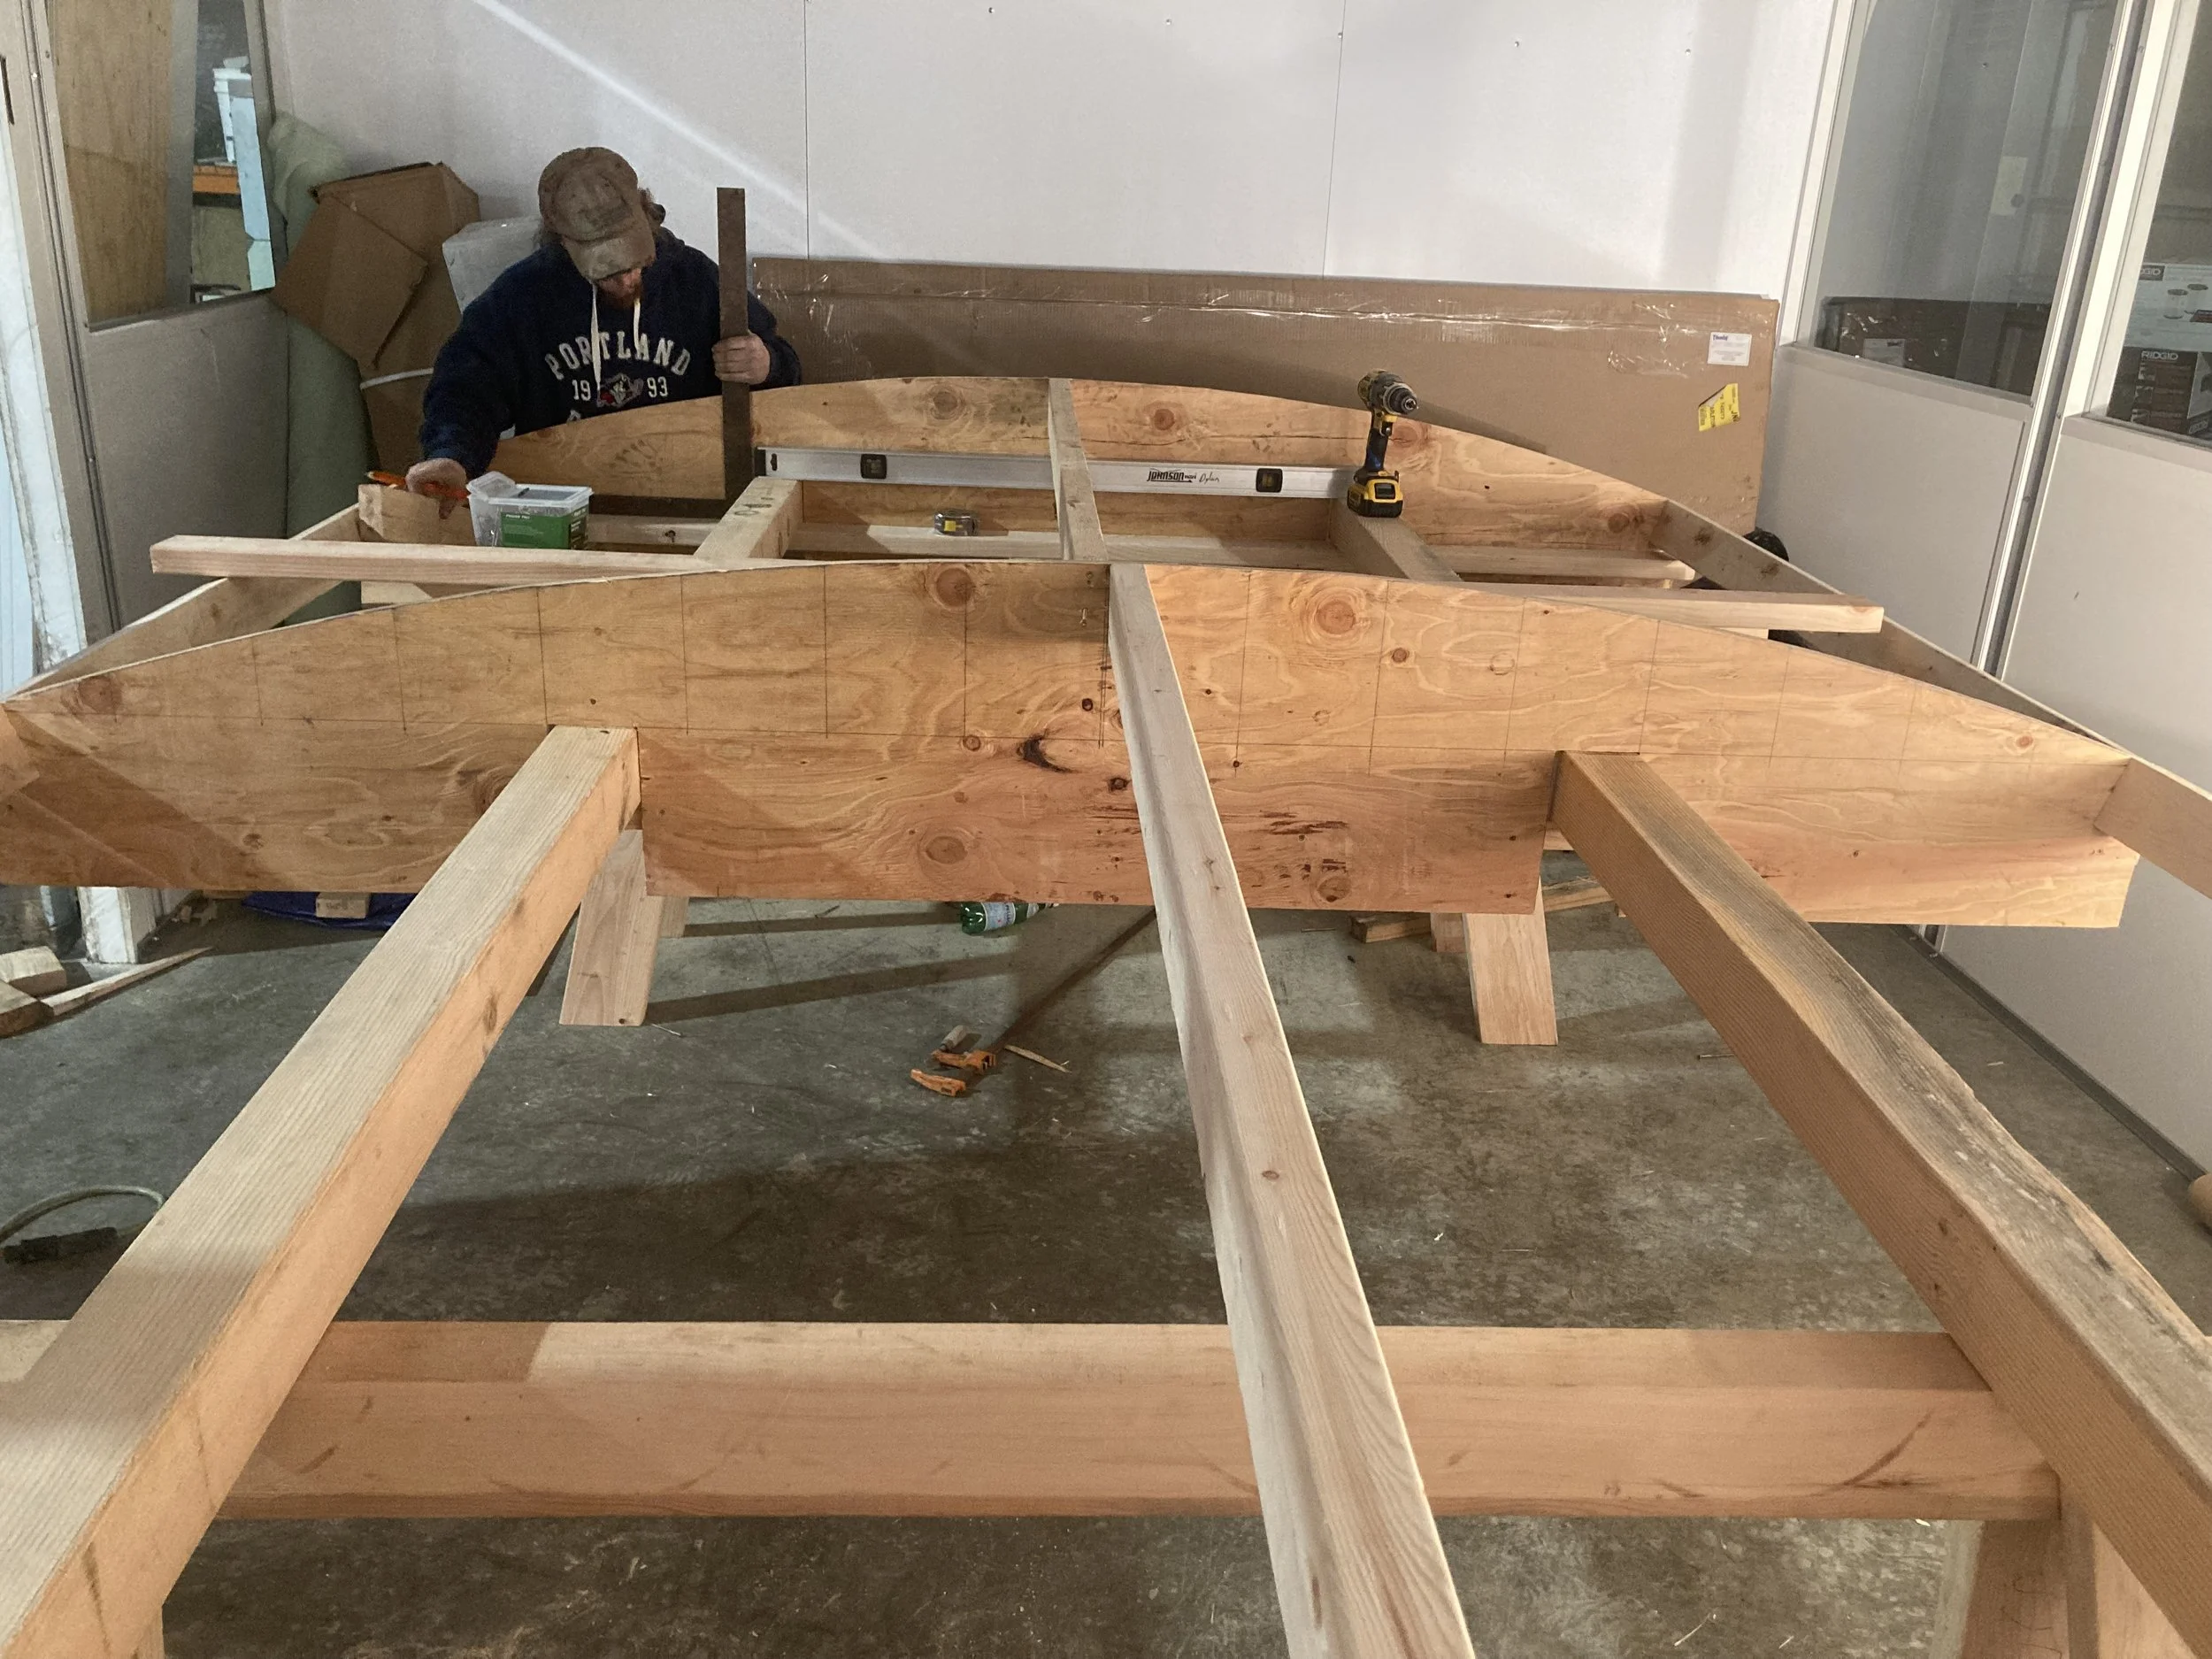
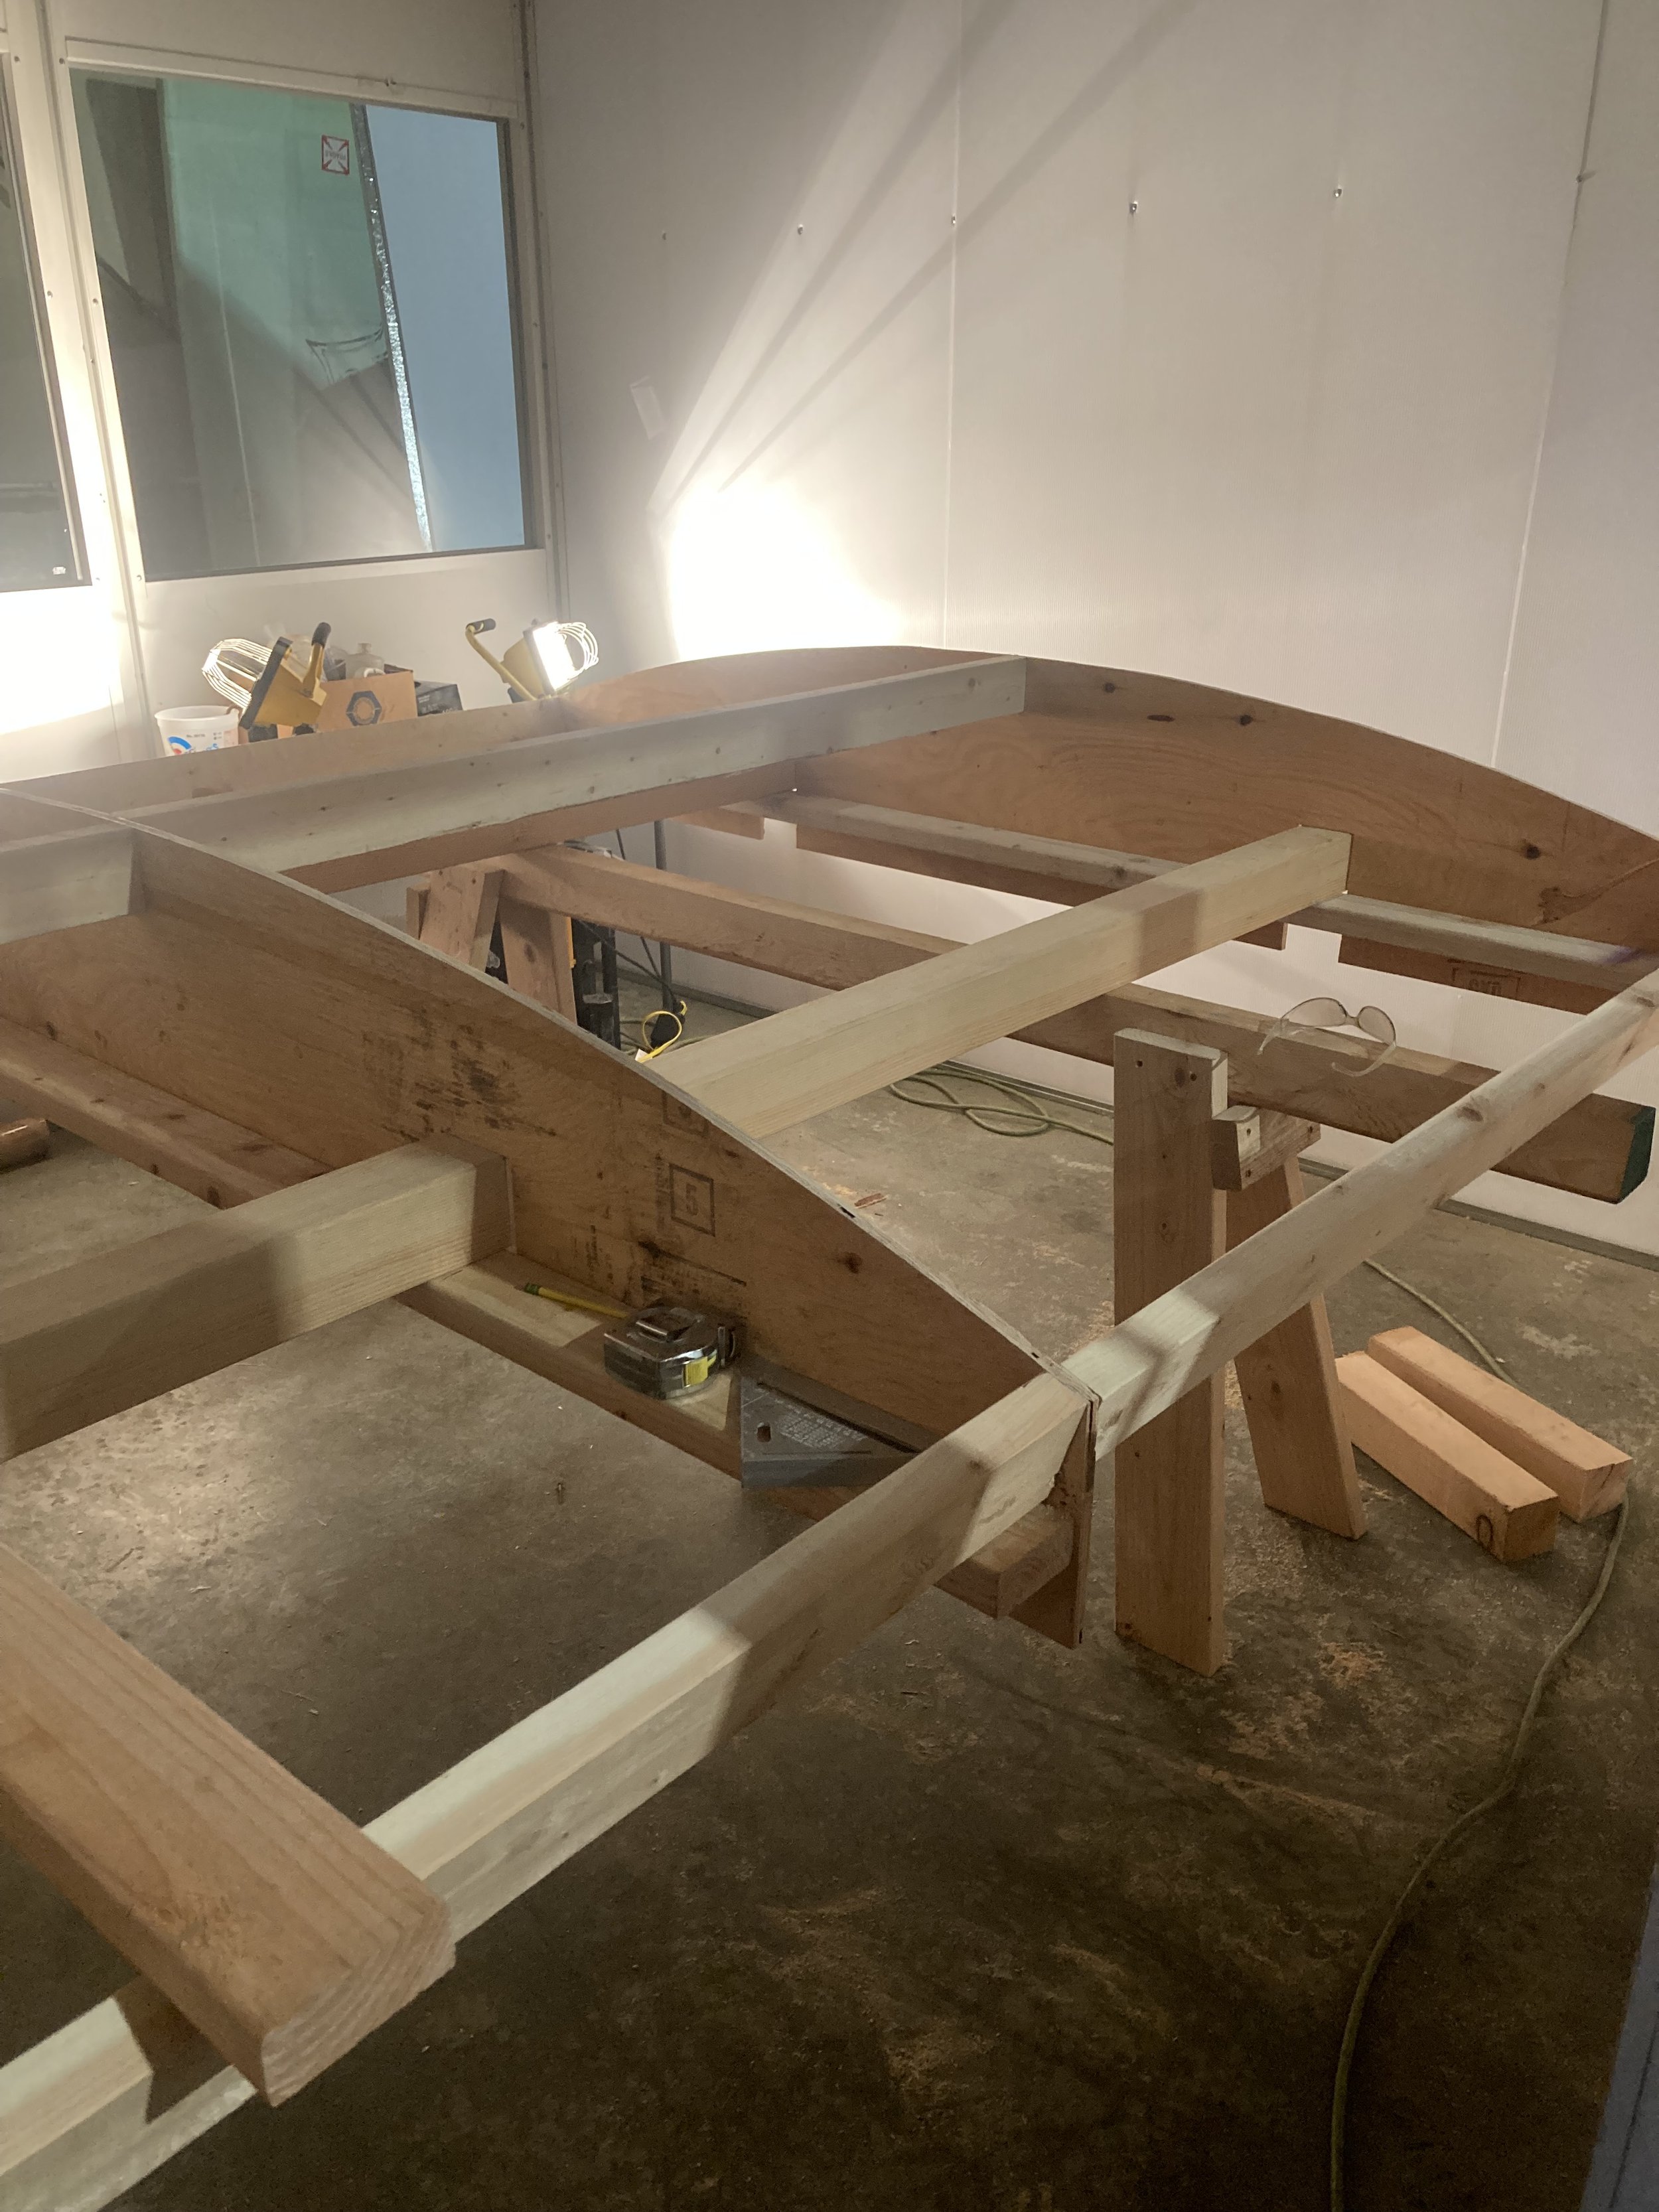
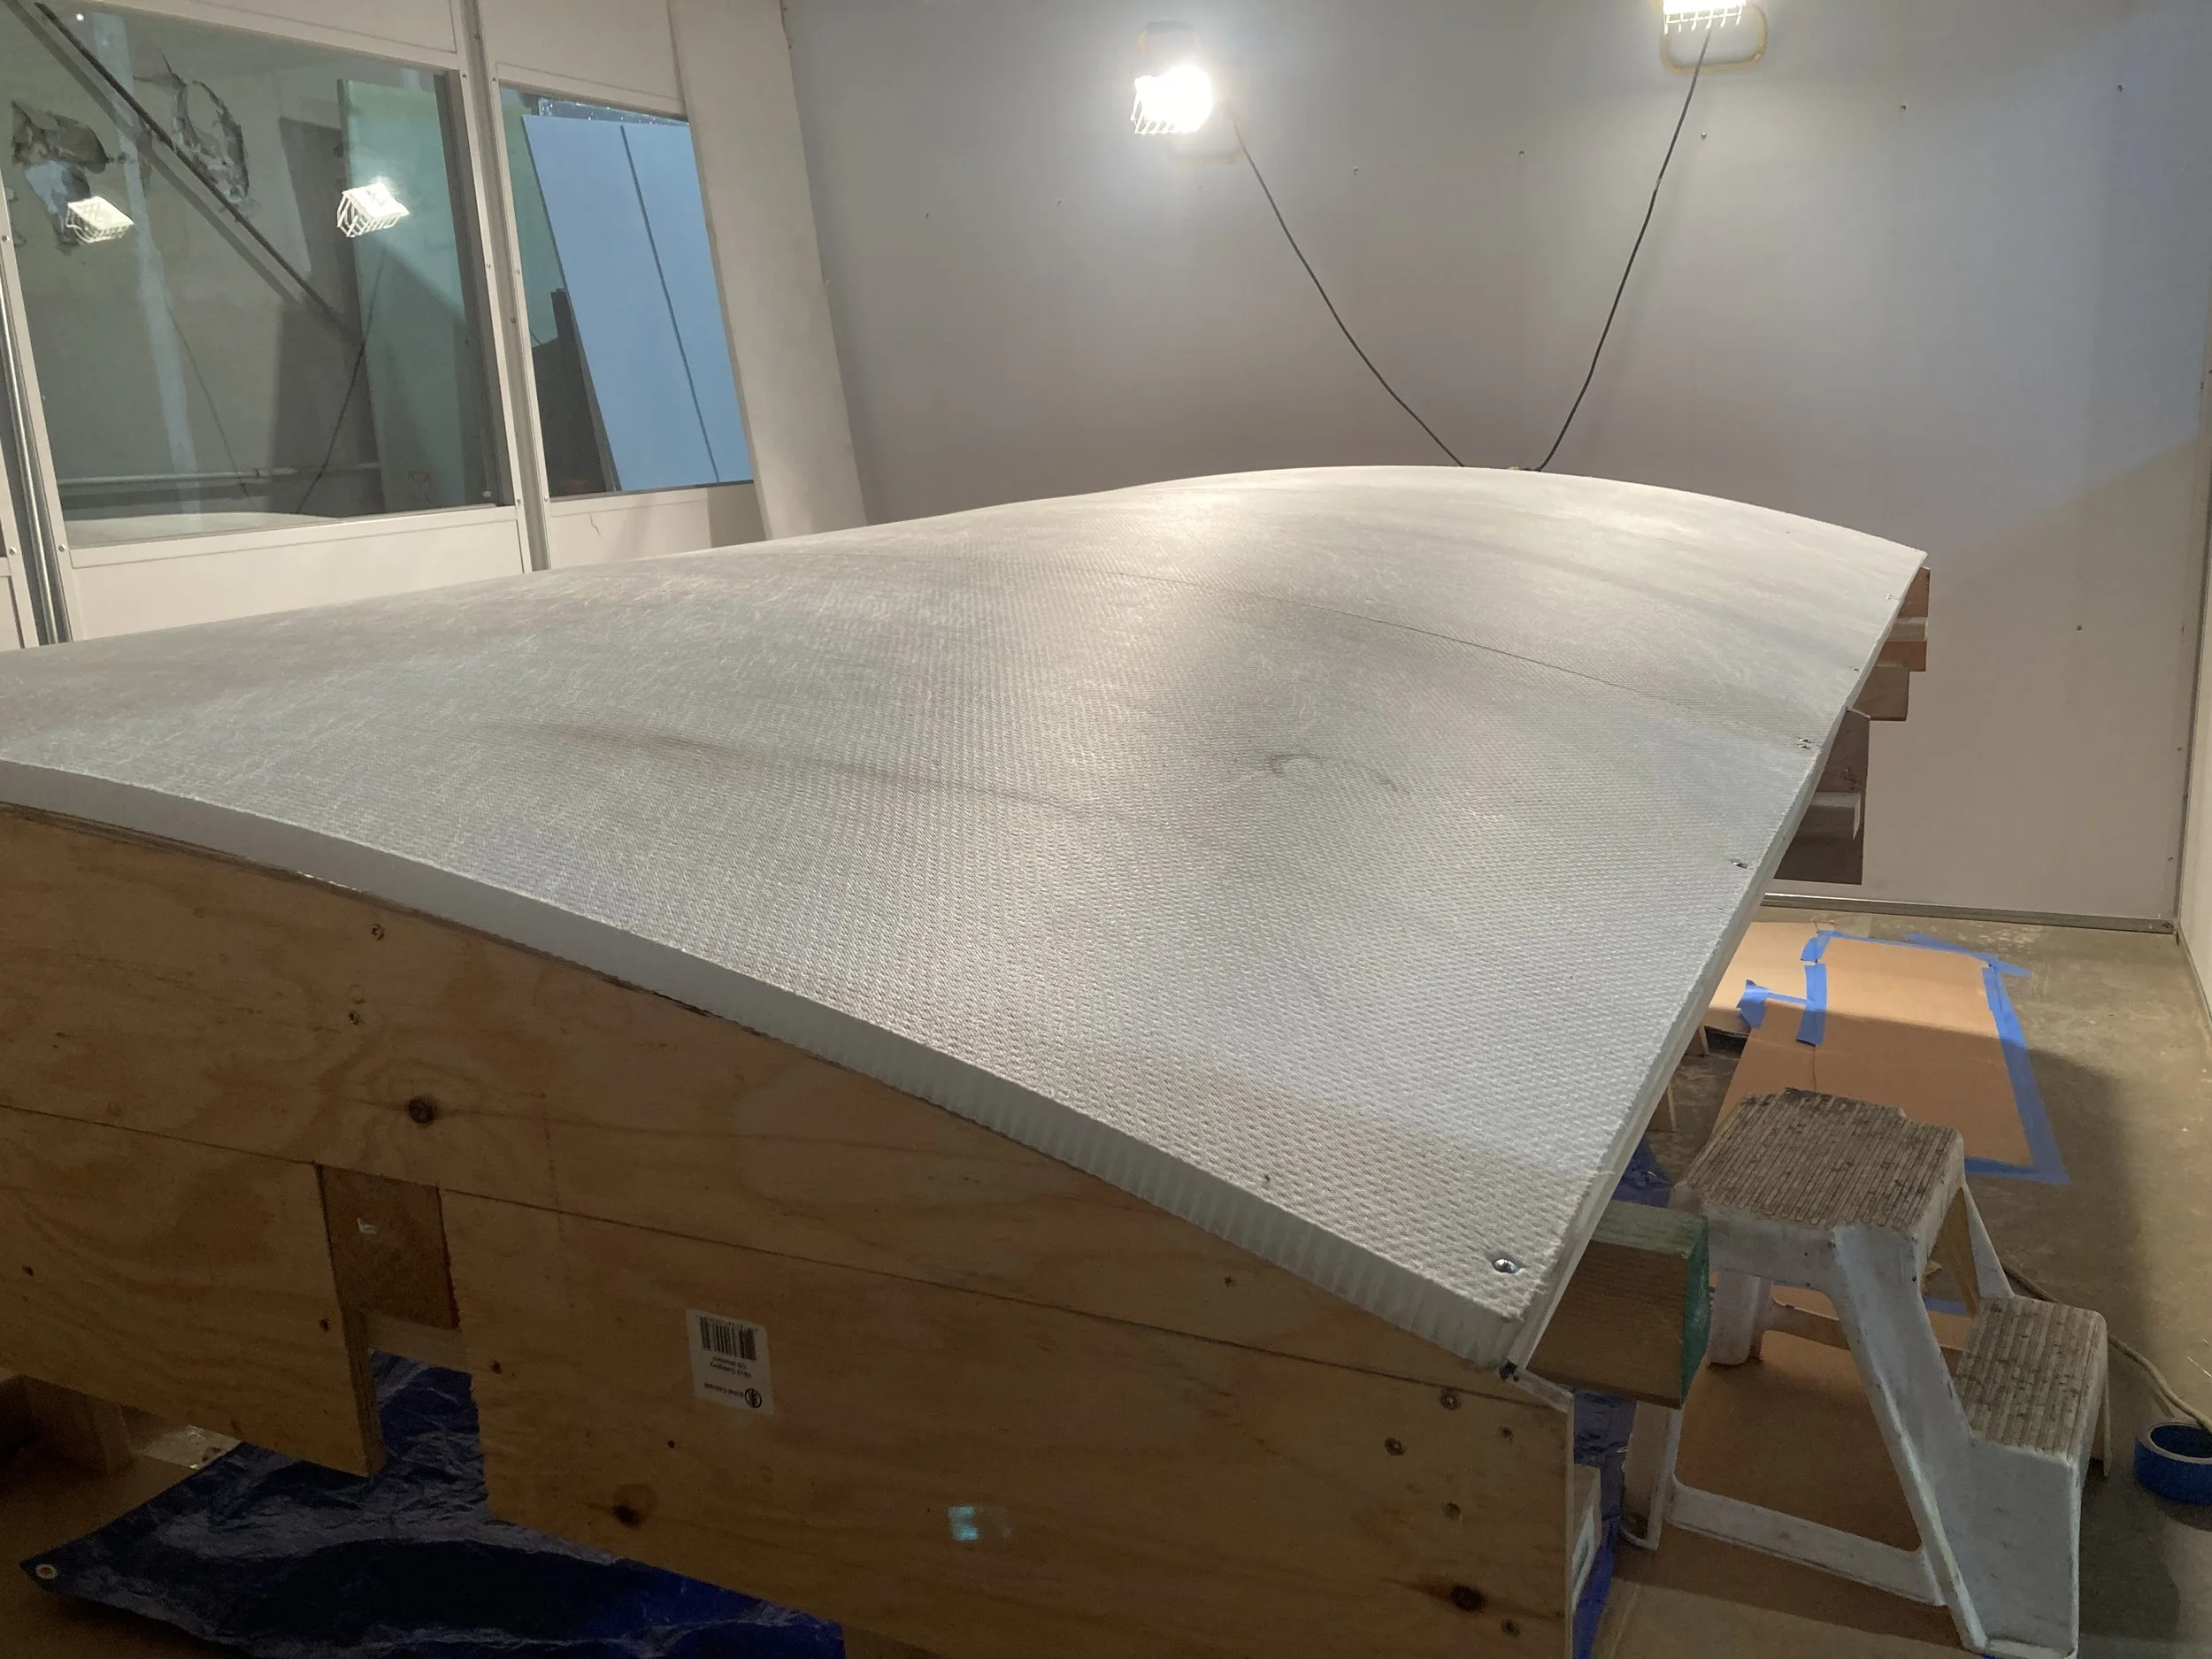
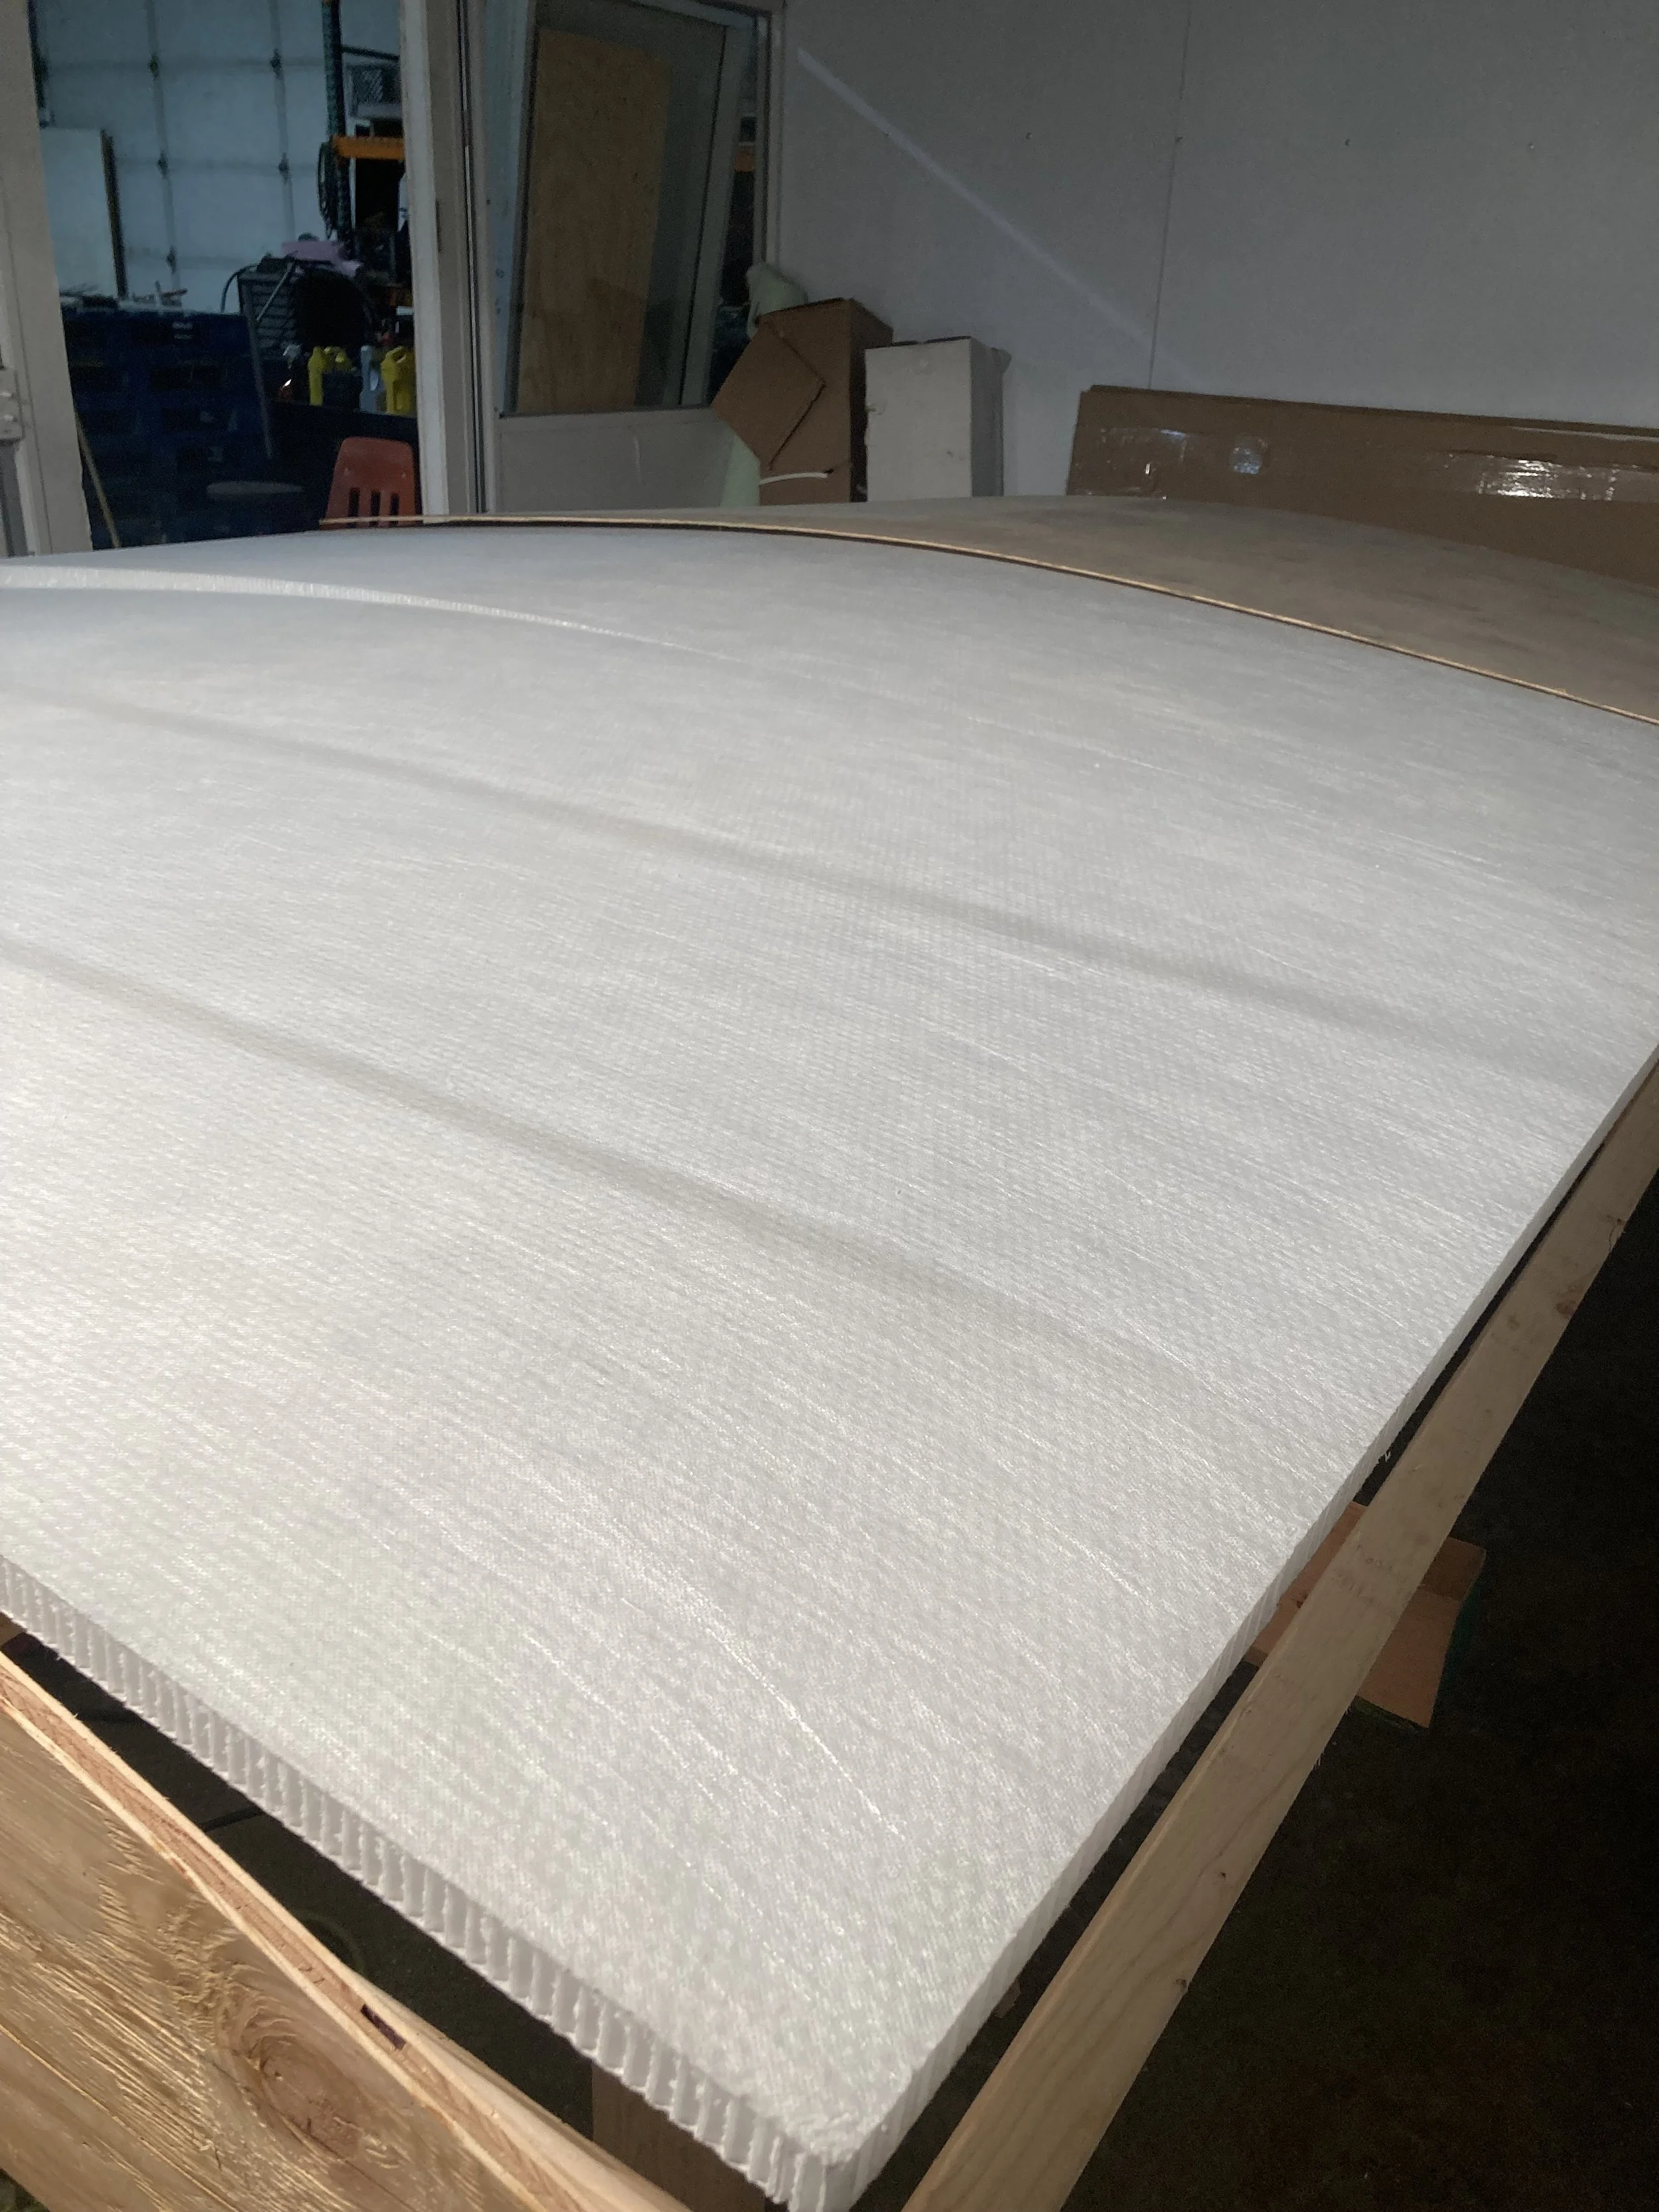
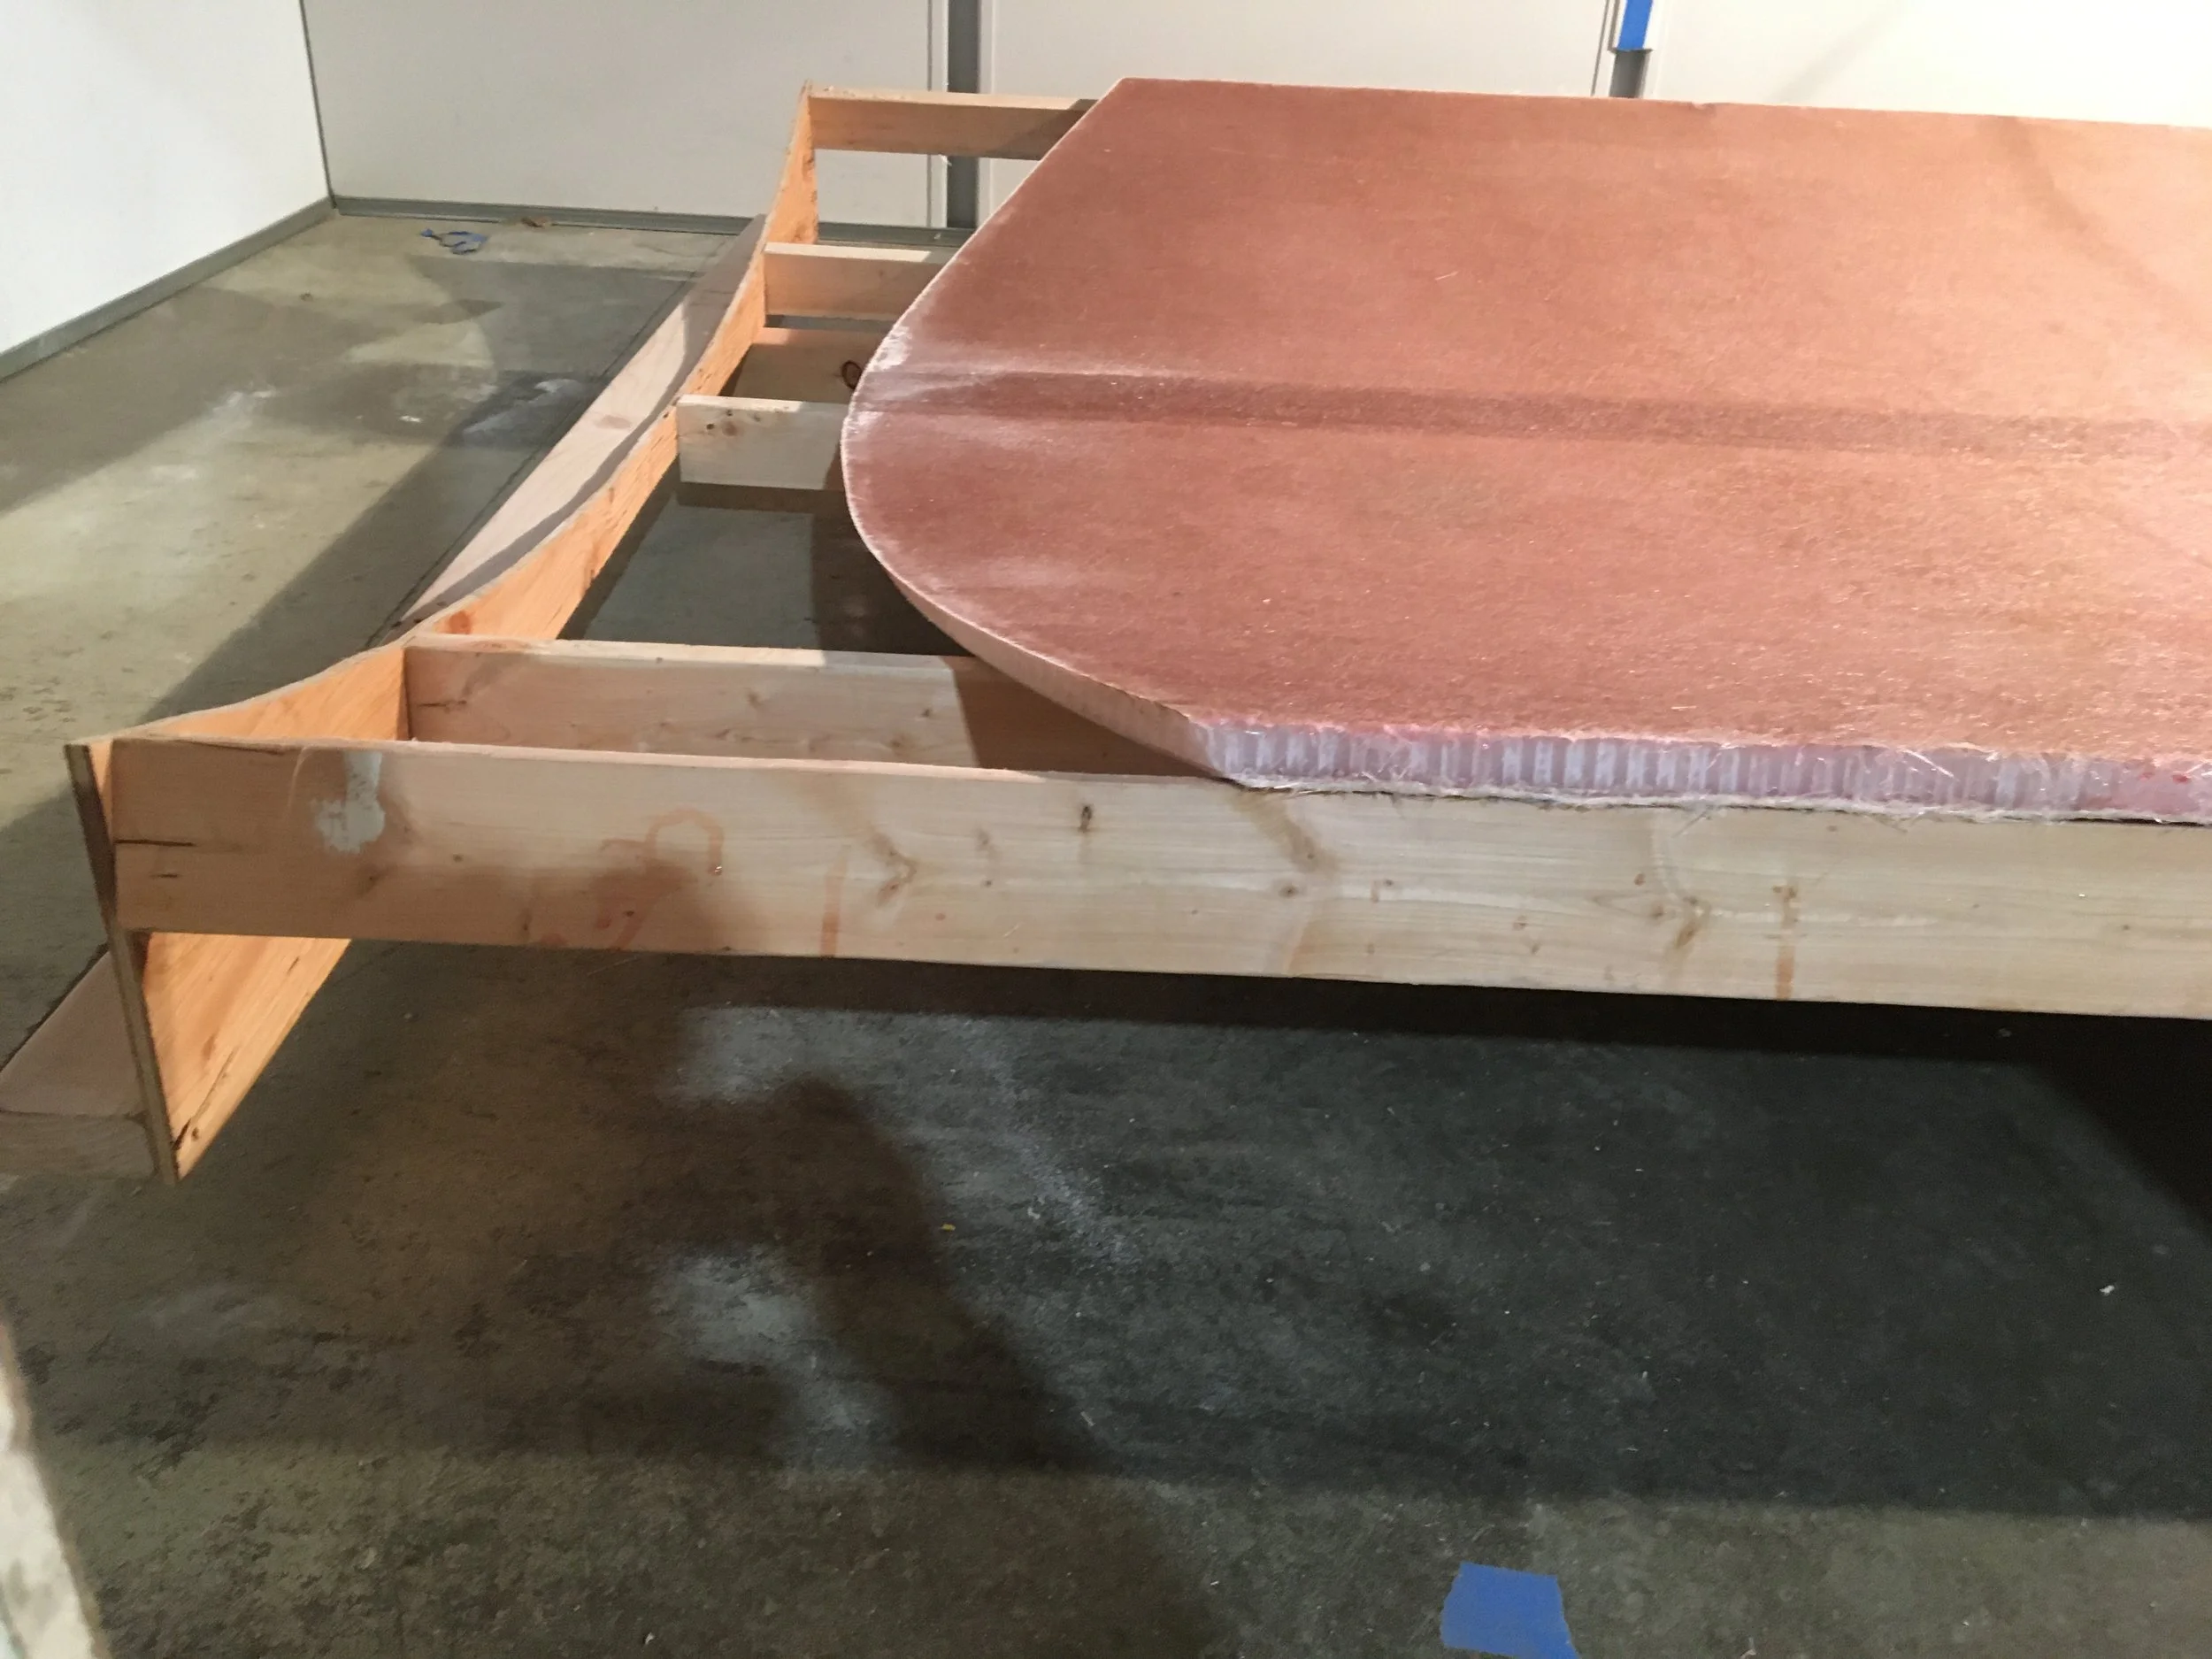
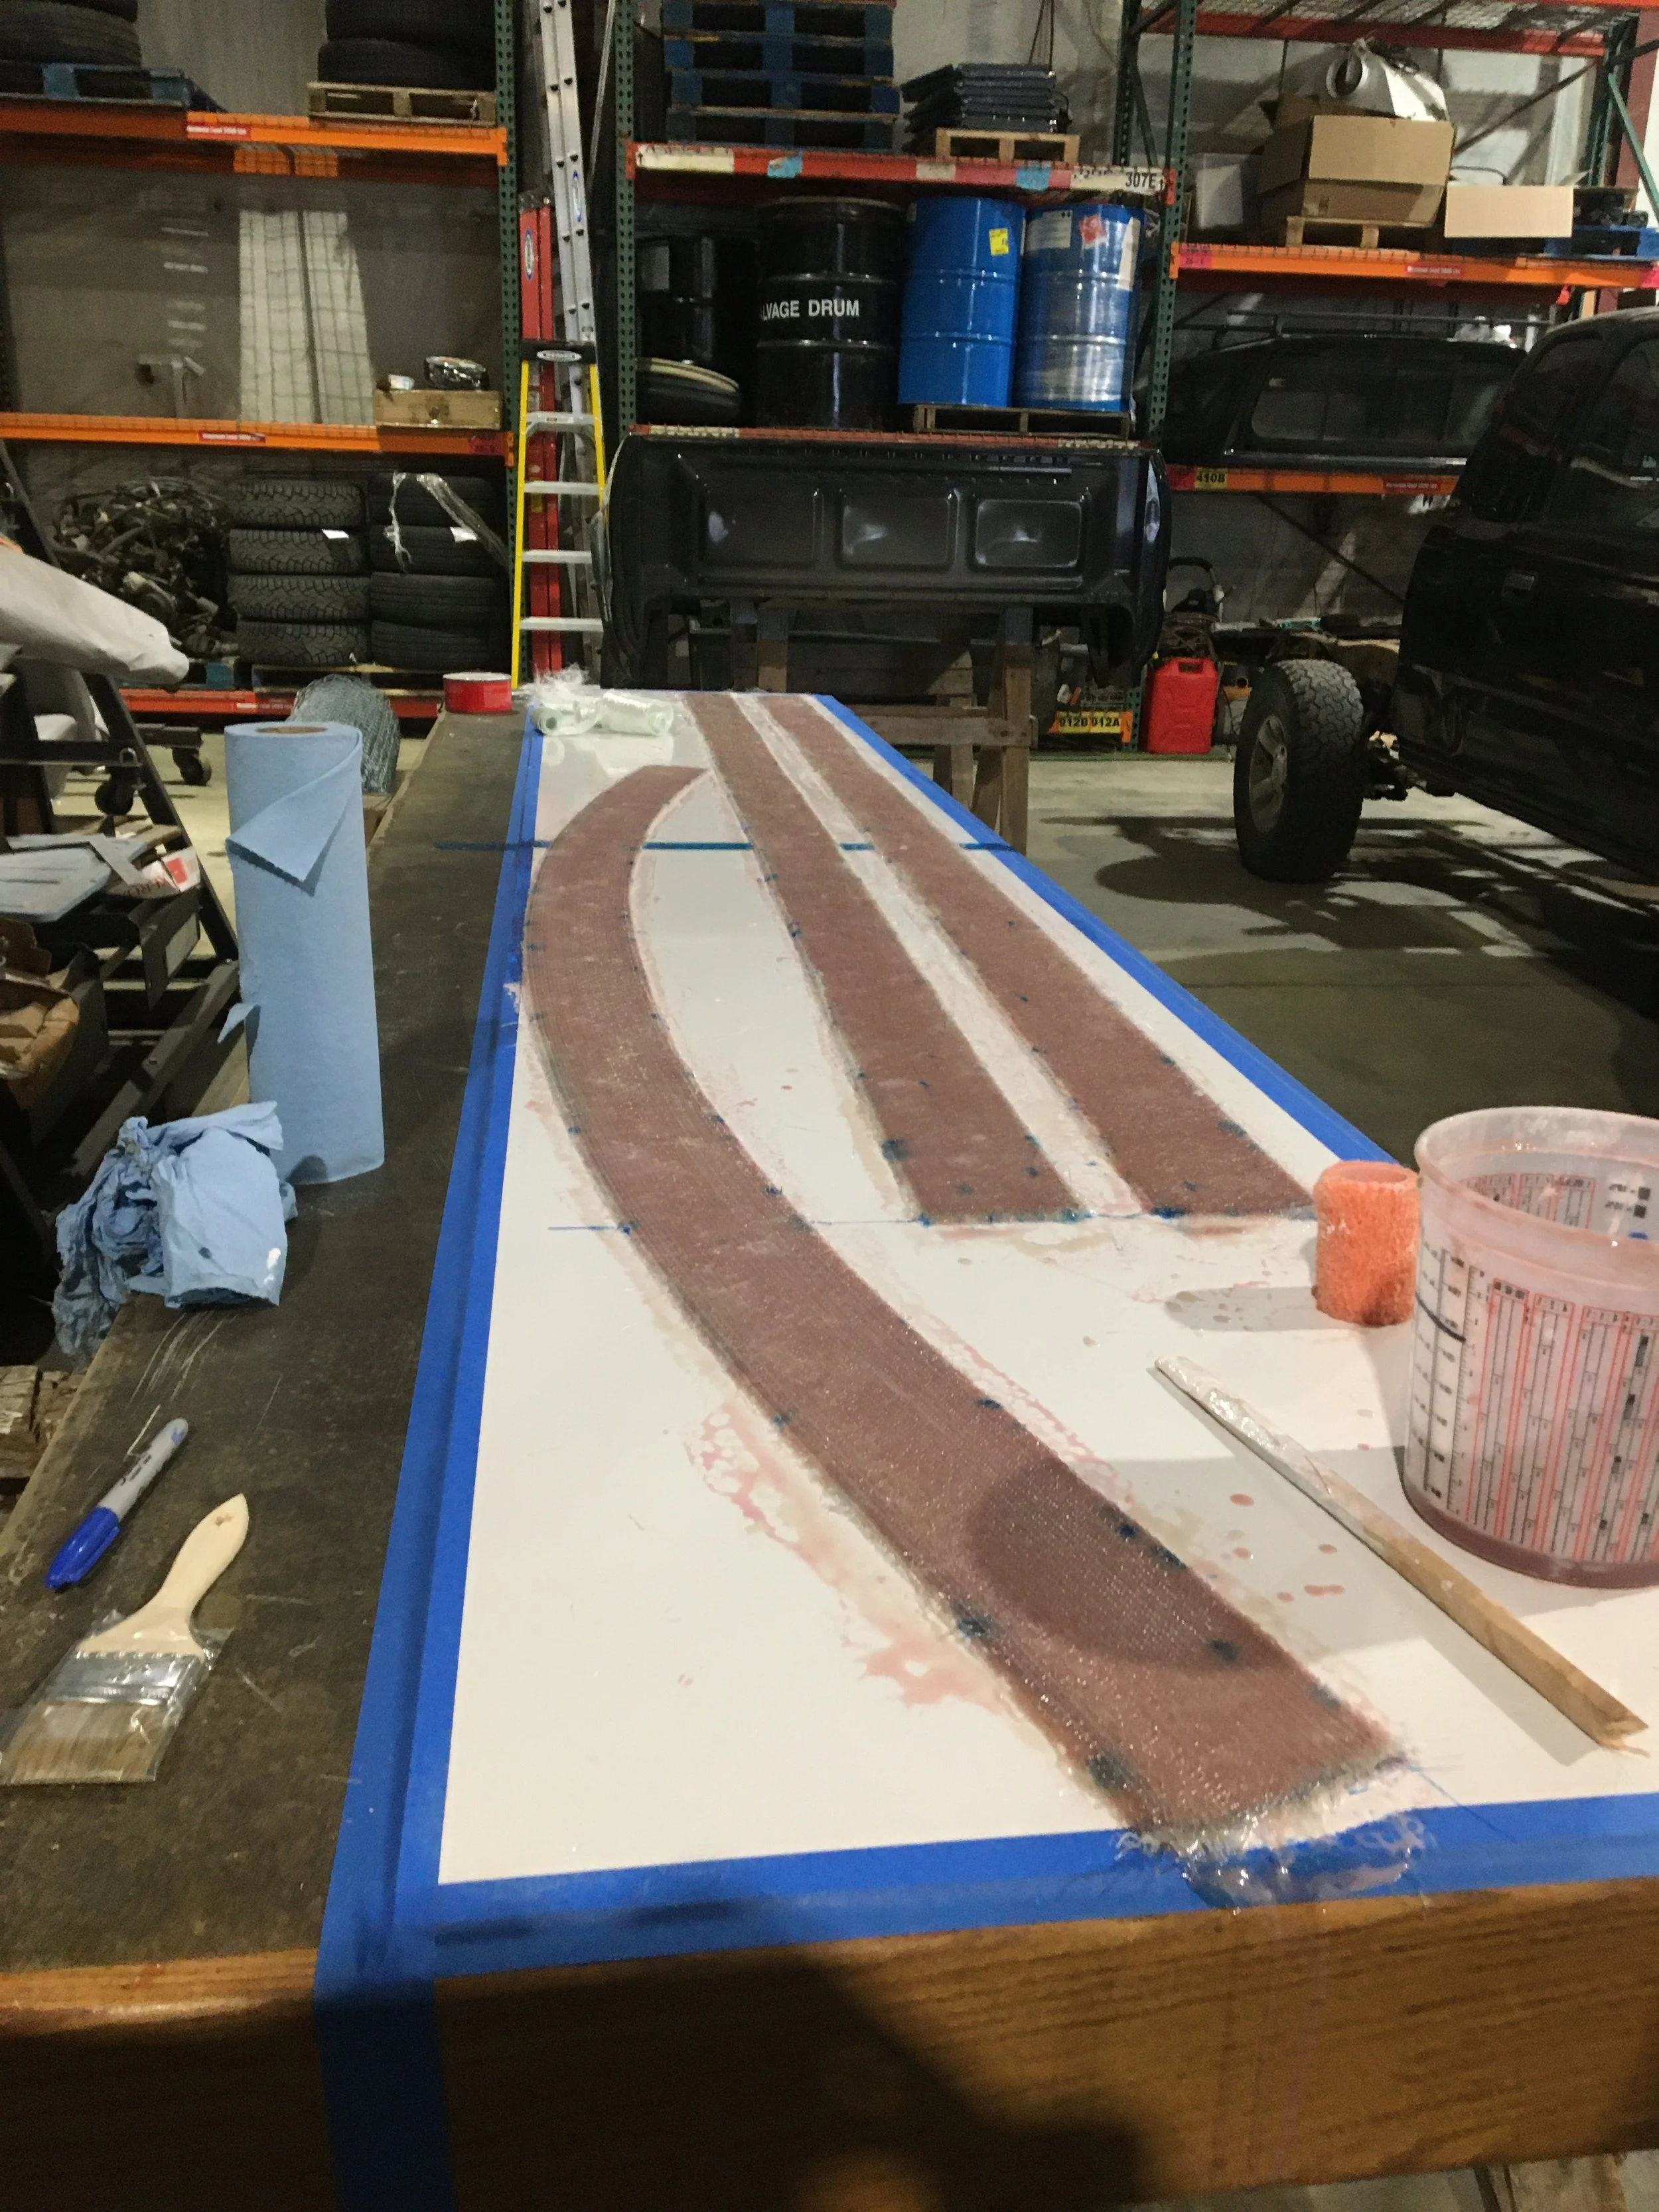
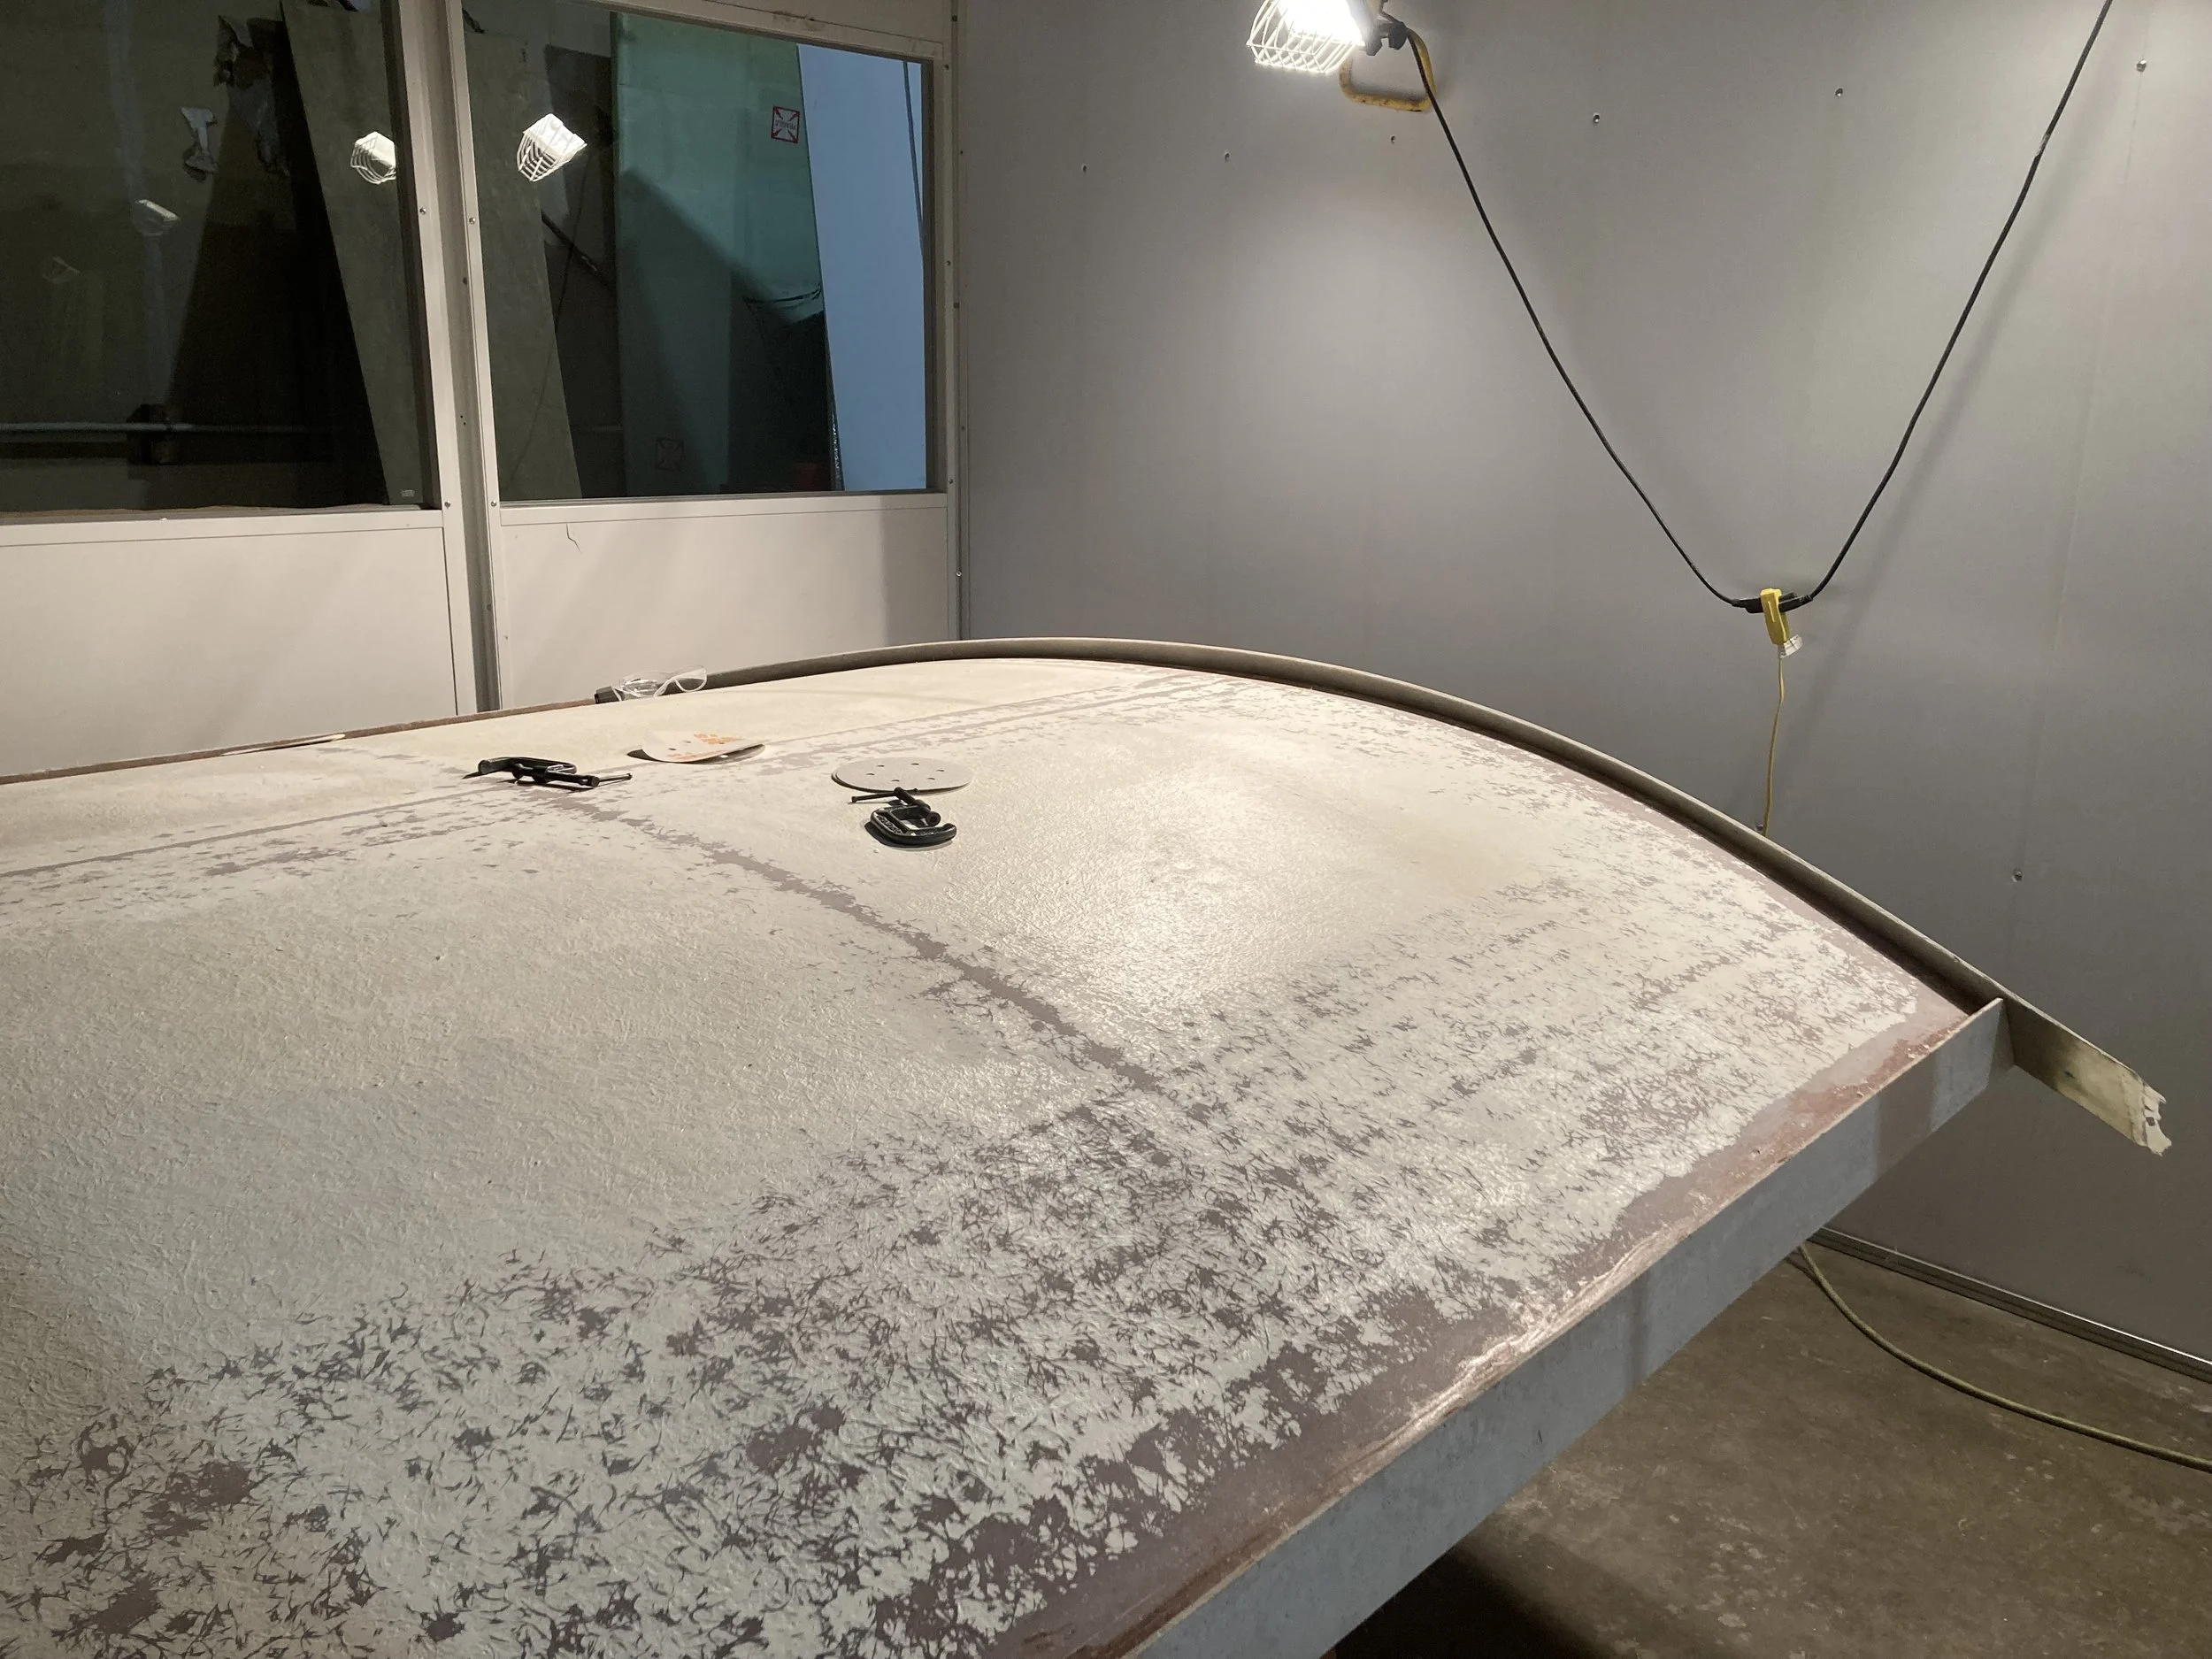
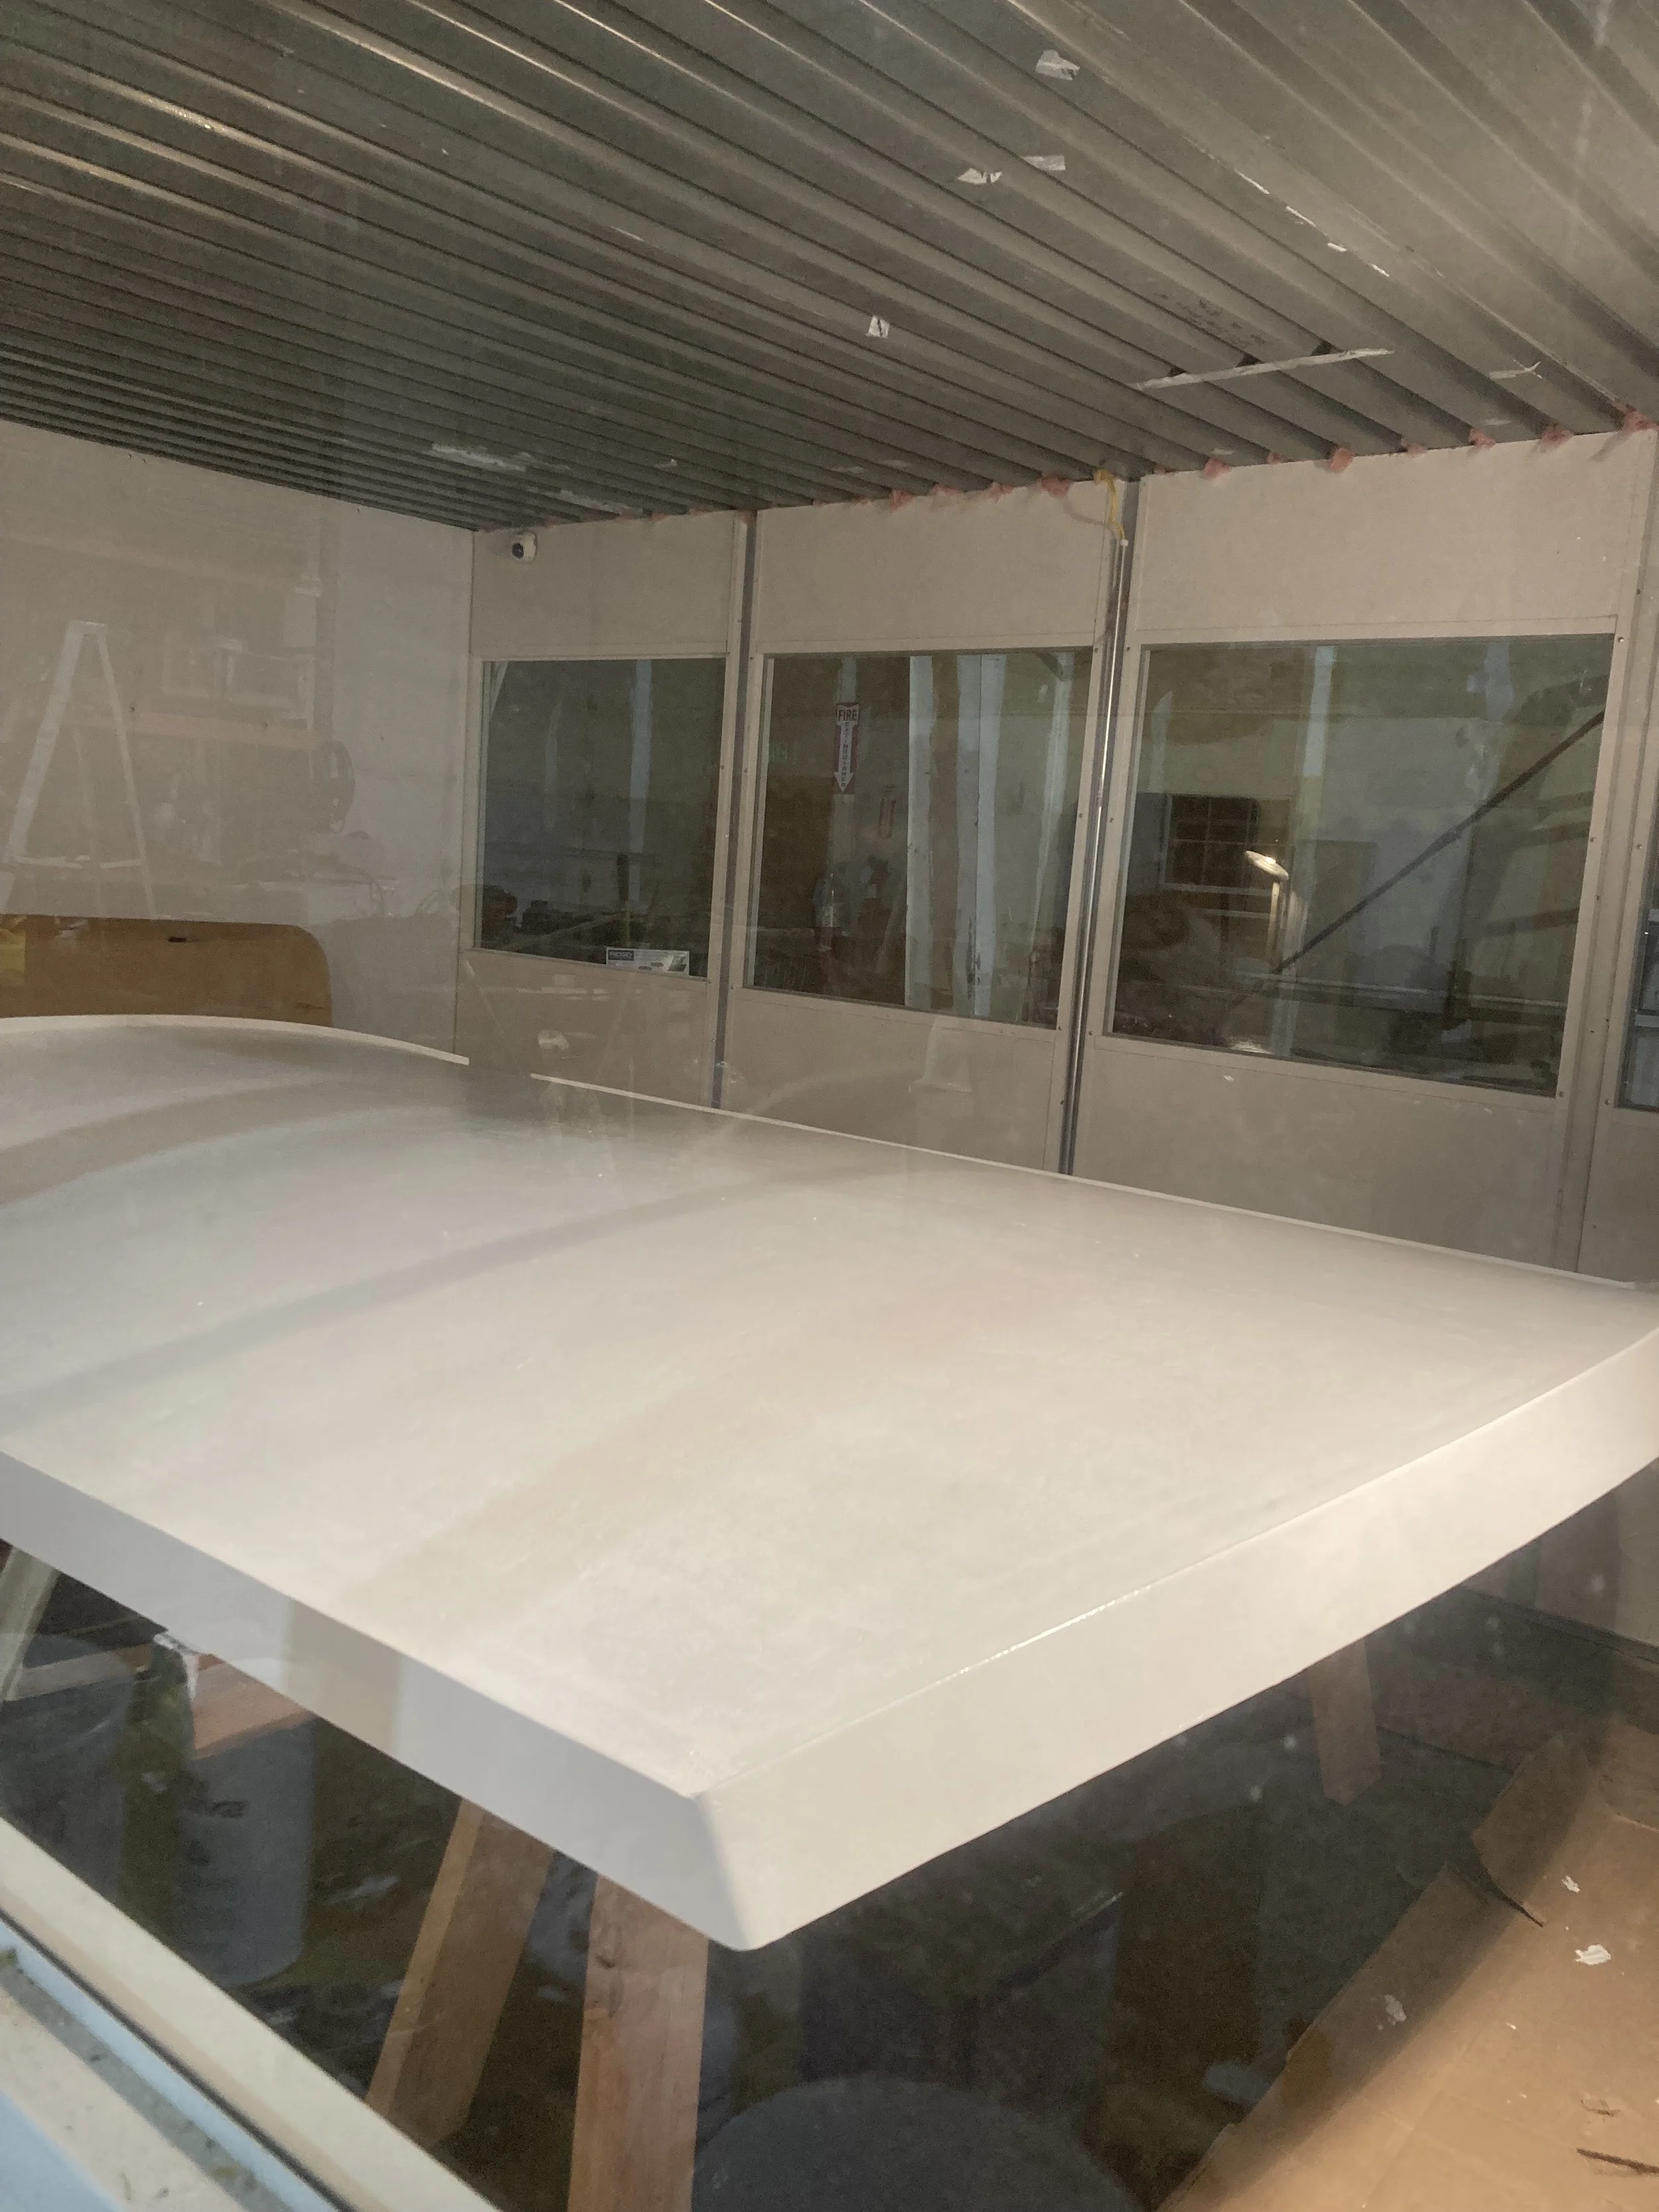
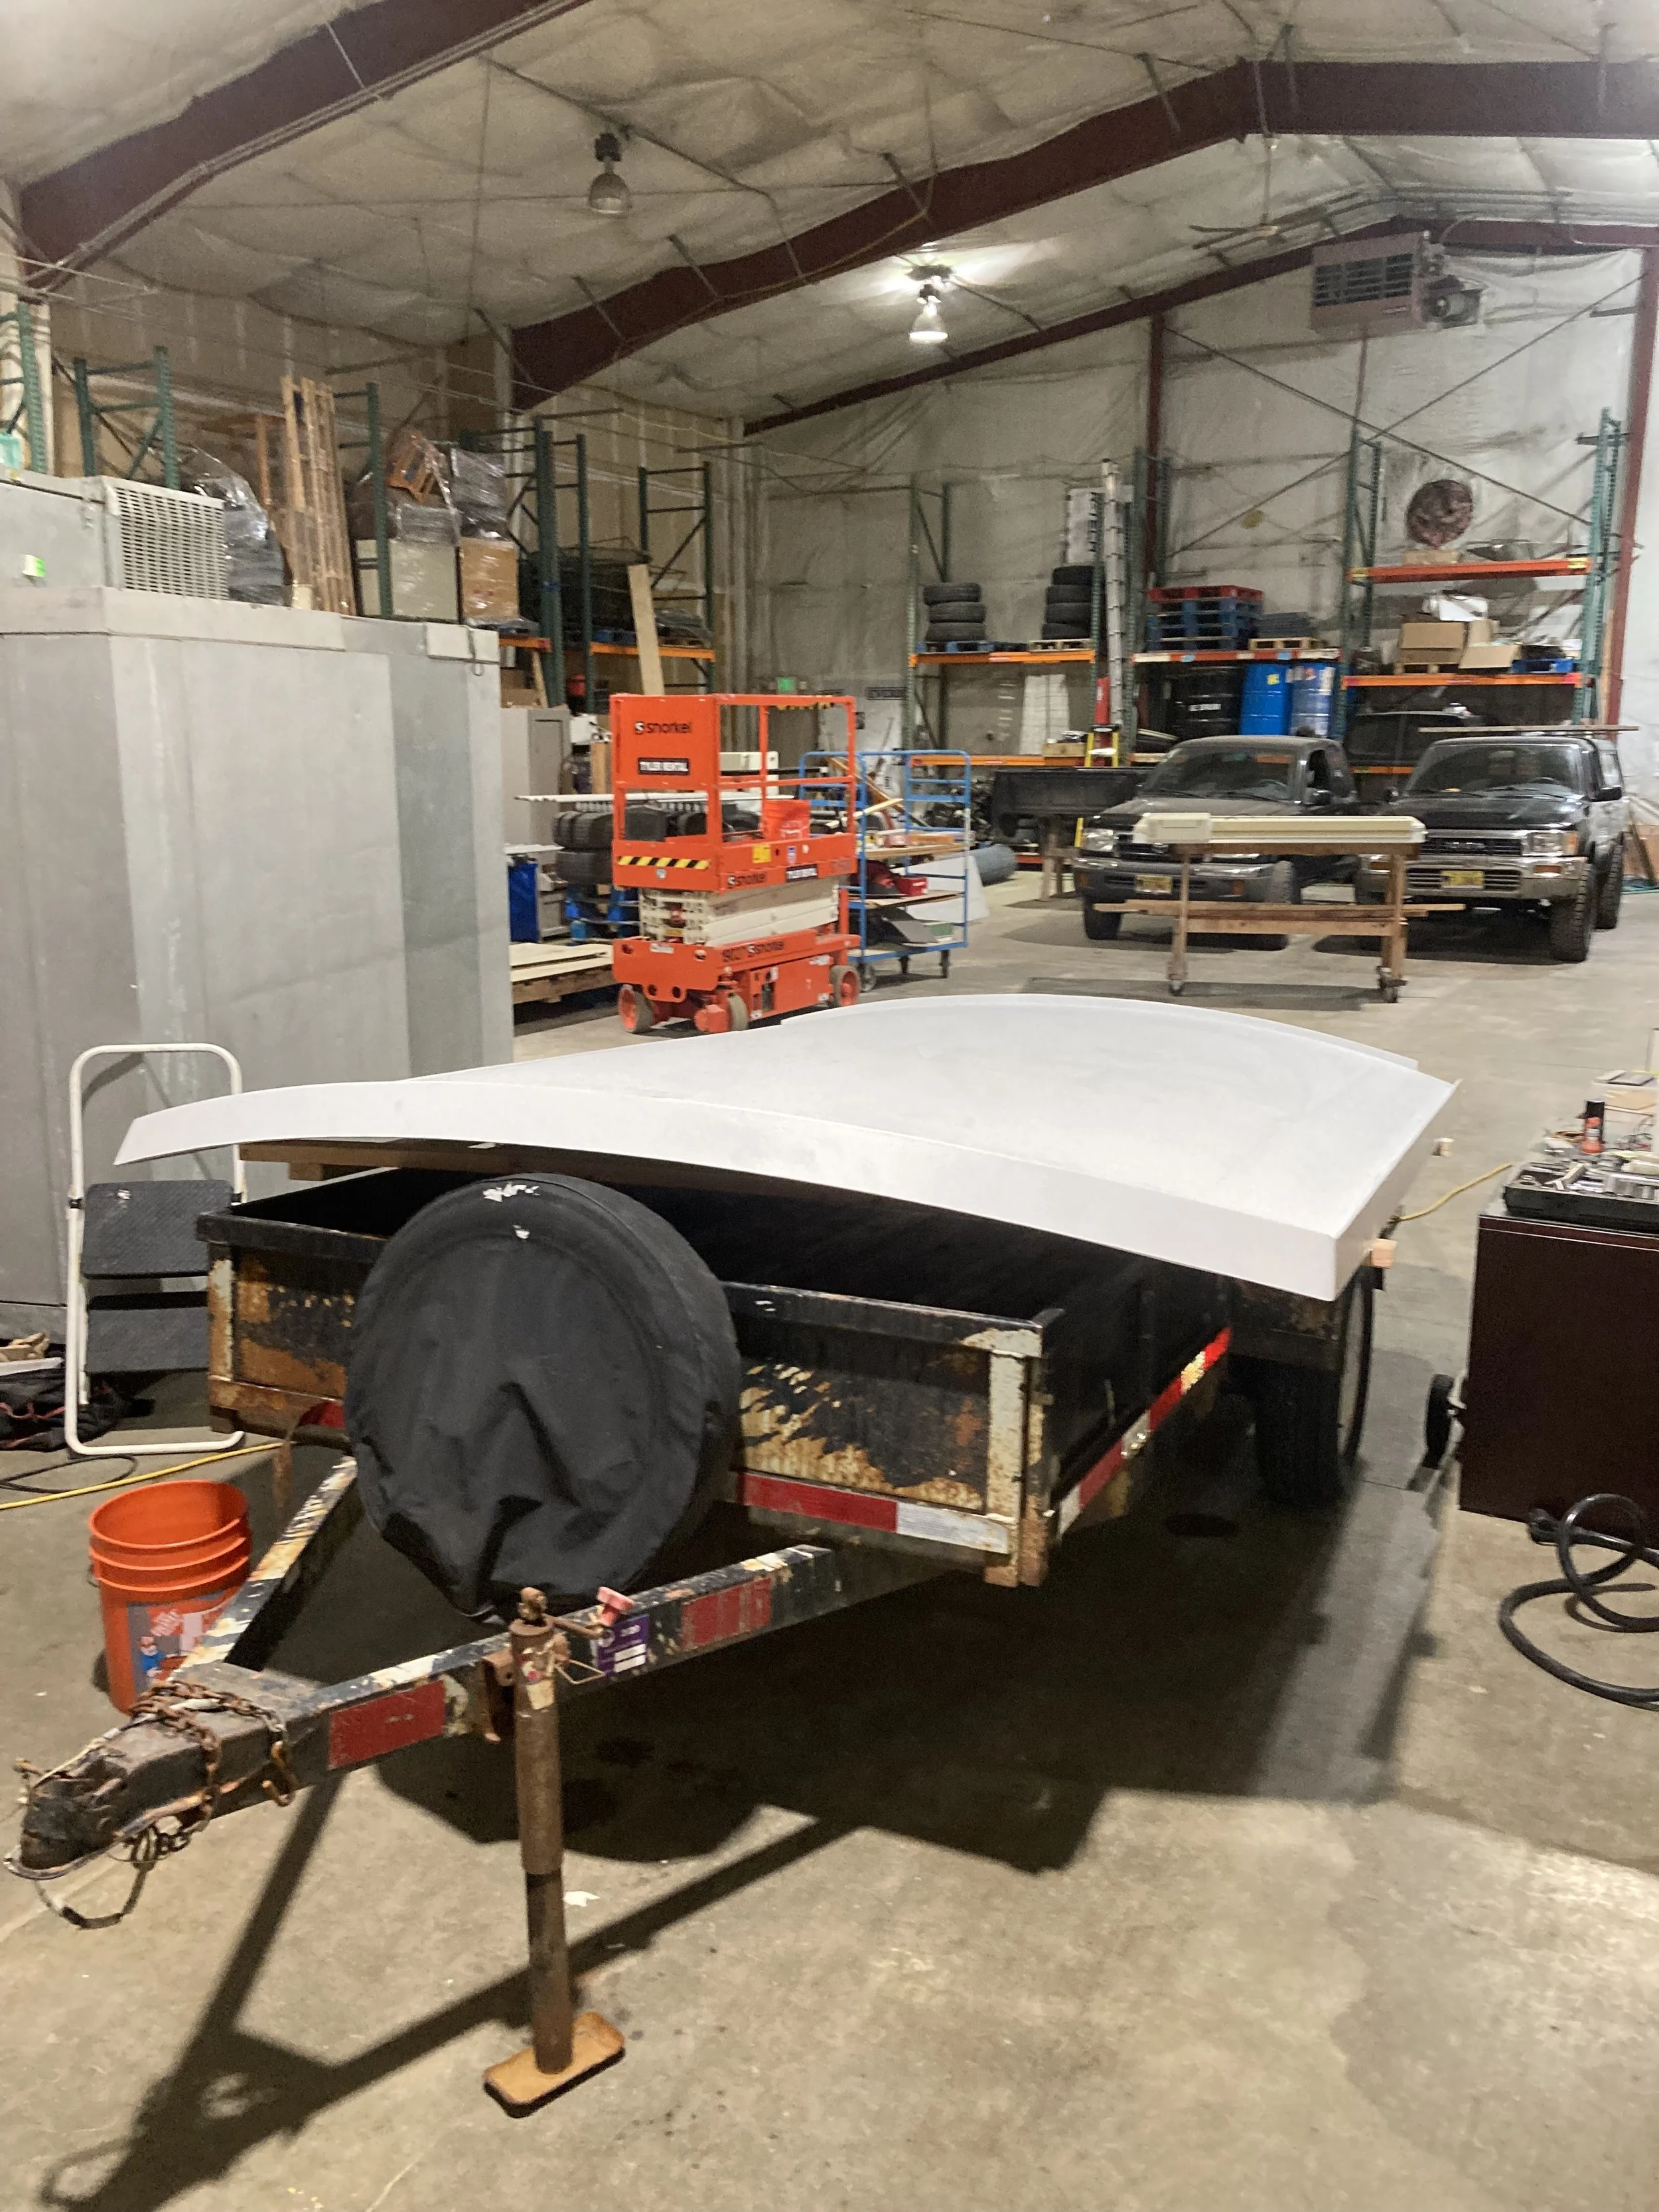
Eventually we sketched out a design, ordered 3 sheets of 1.25” nidacore panels, and built the whole thing in a friend’s shop.

It’s been on the boat for years now, and honestly it’s probably the biggest comfort upgrade we’ve made besides adding hot water. The cockpit stays dry, shaded, and protected. Rain drains exactly where we want it — even into containers if we need to catch water. And the new canopy gave us a perfect place to mount our first solar panels.

What started as a rotten old canvas turned into one of the most useful improvements we’ve ever made.

Comment

Ernest moves on board

Comment

Ernest moves on board

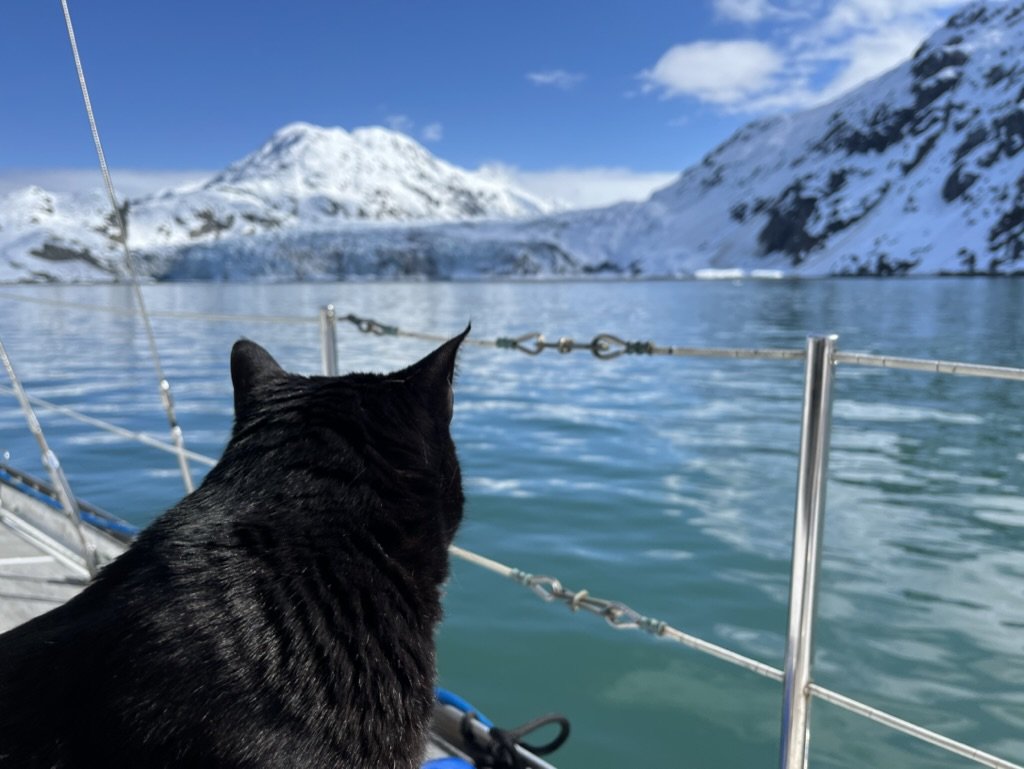
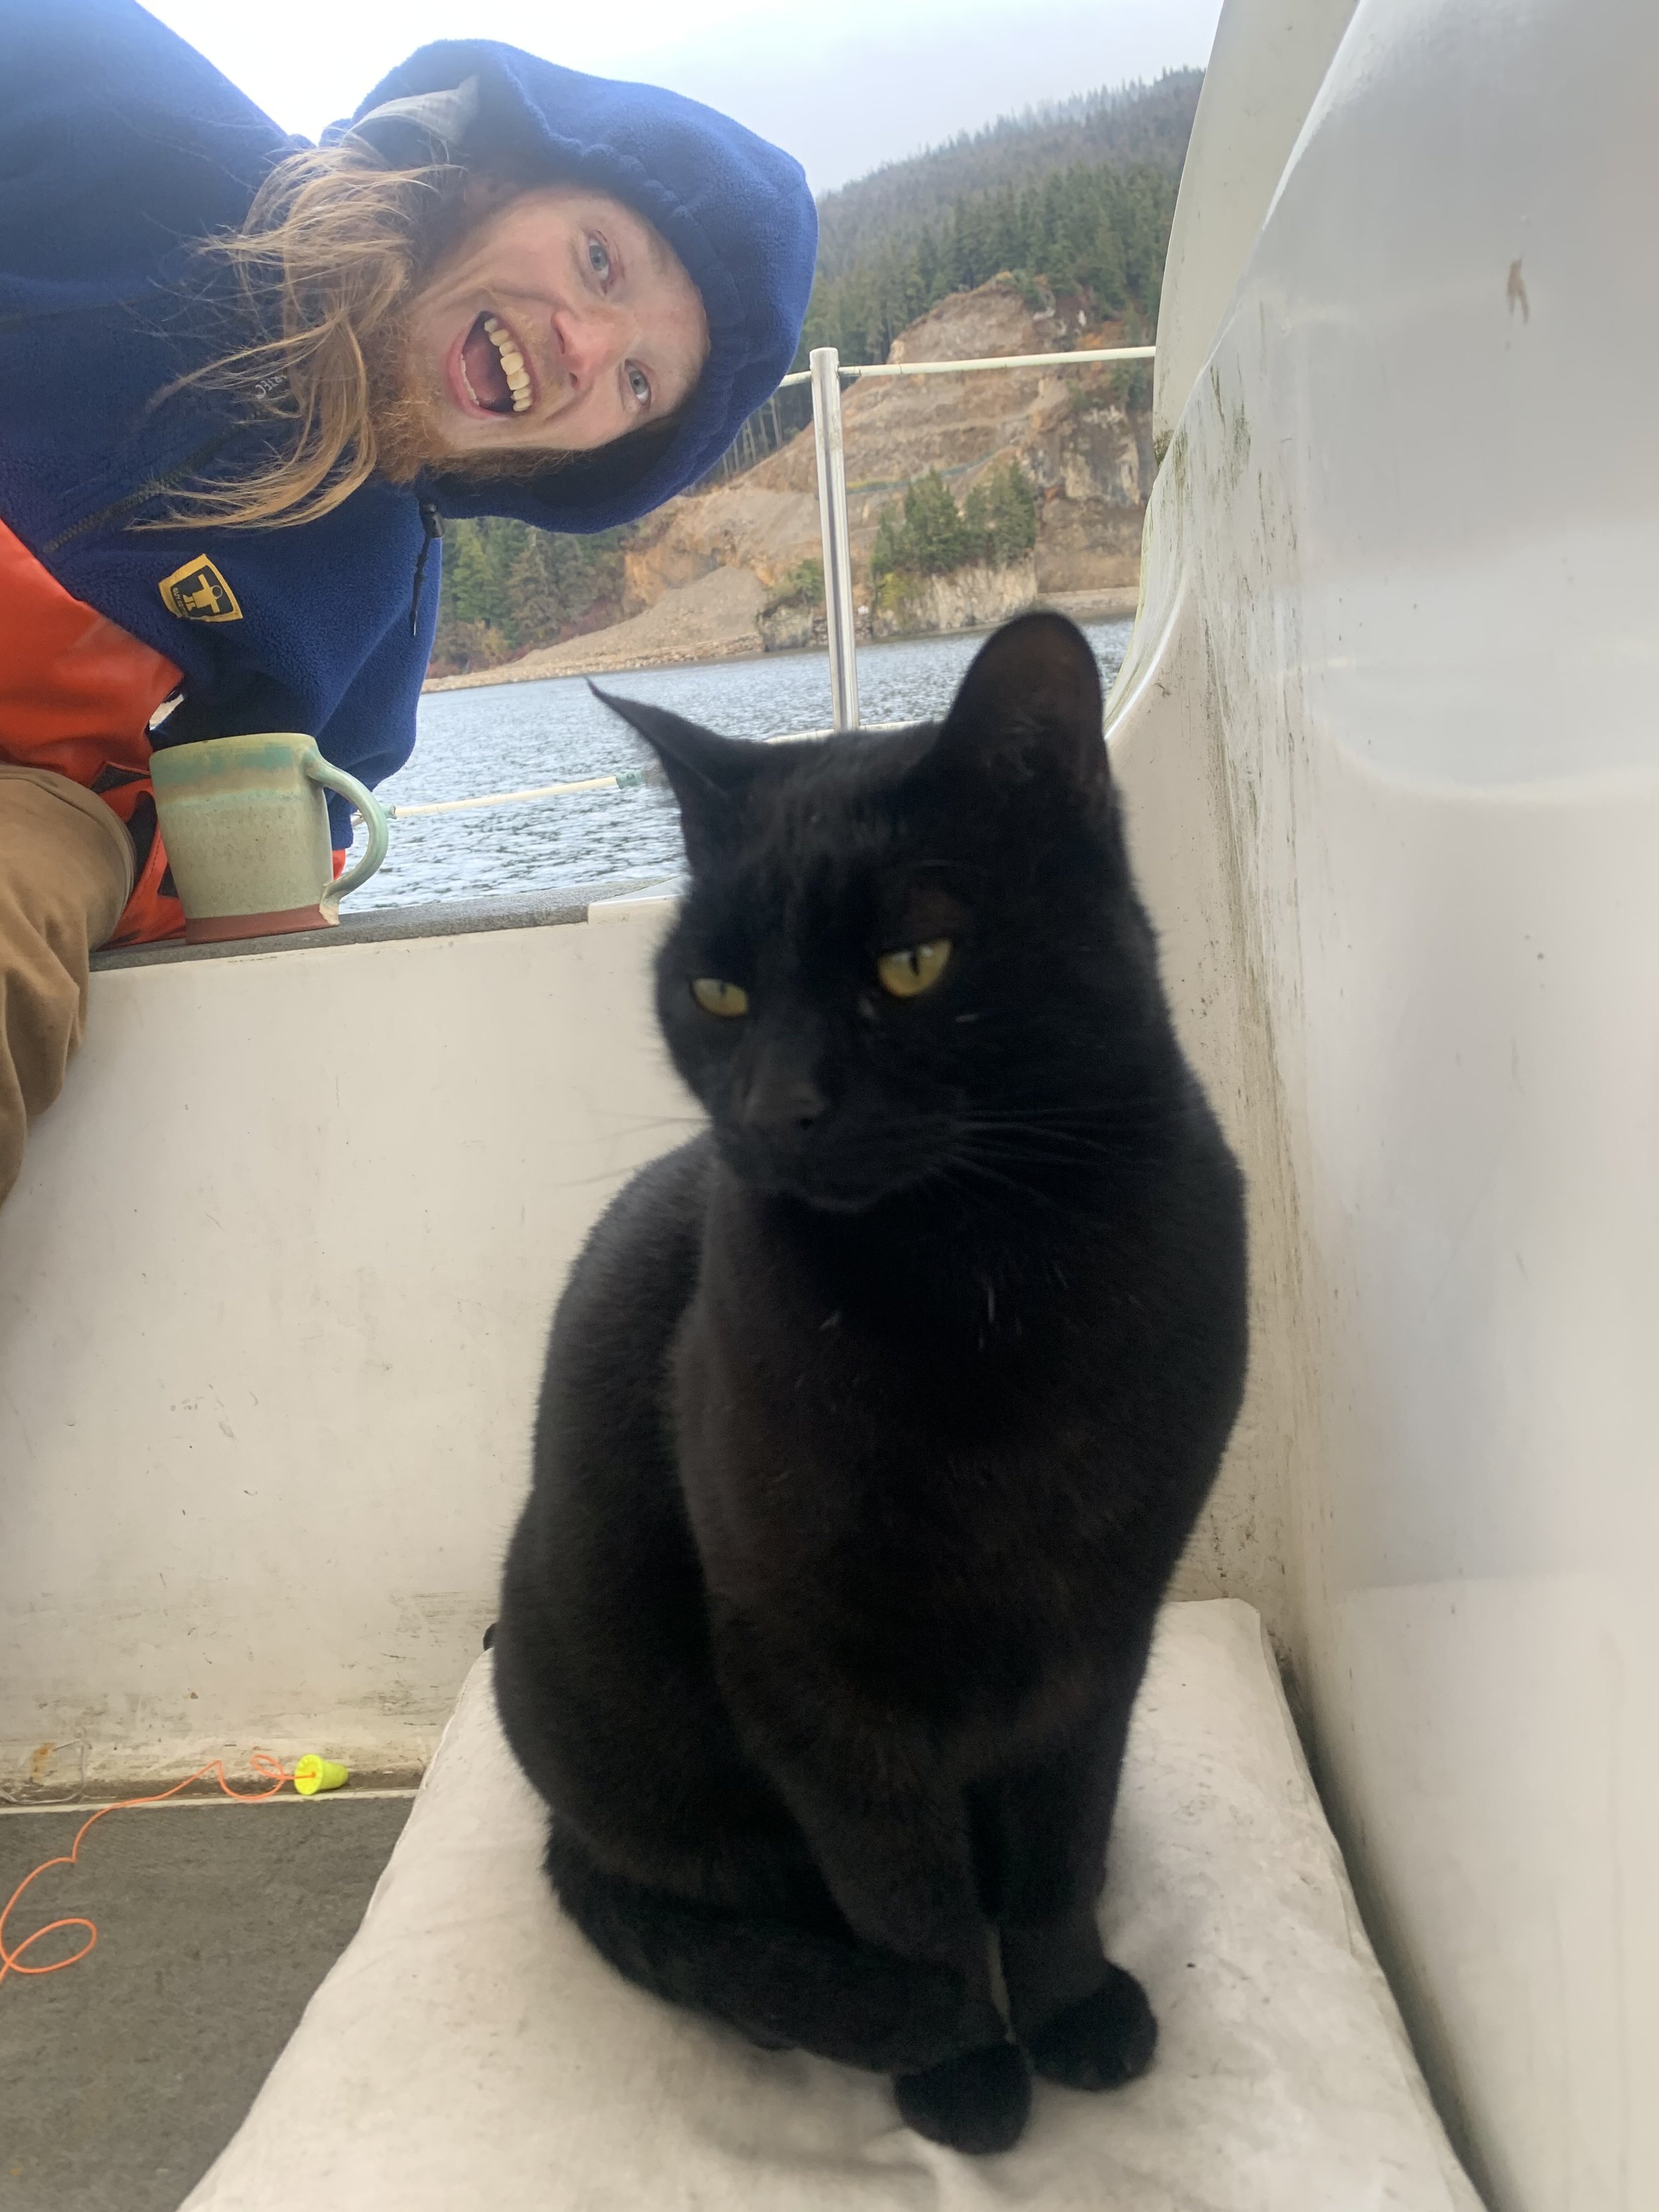
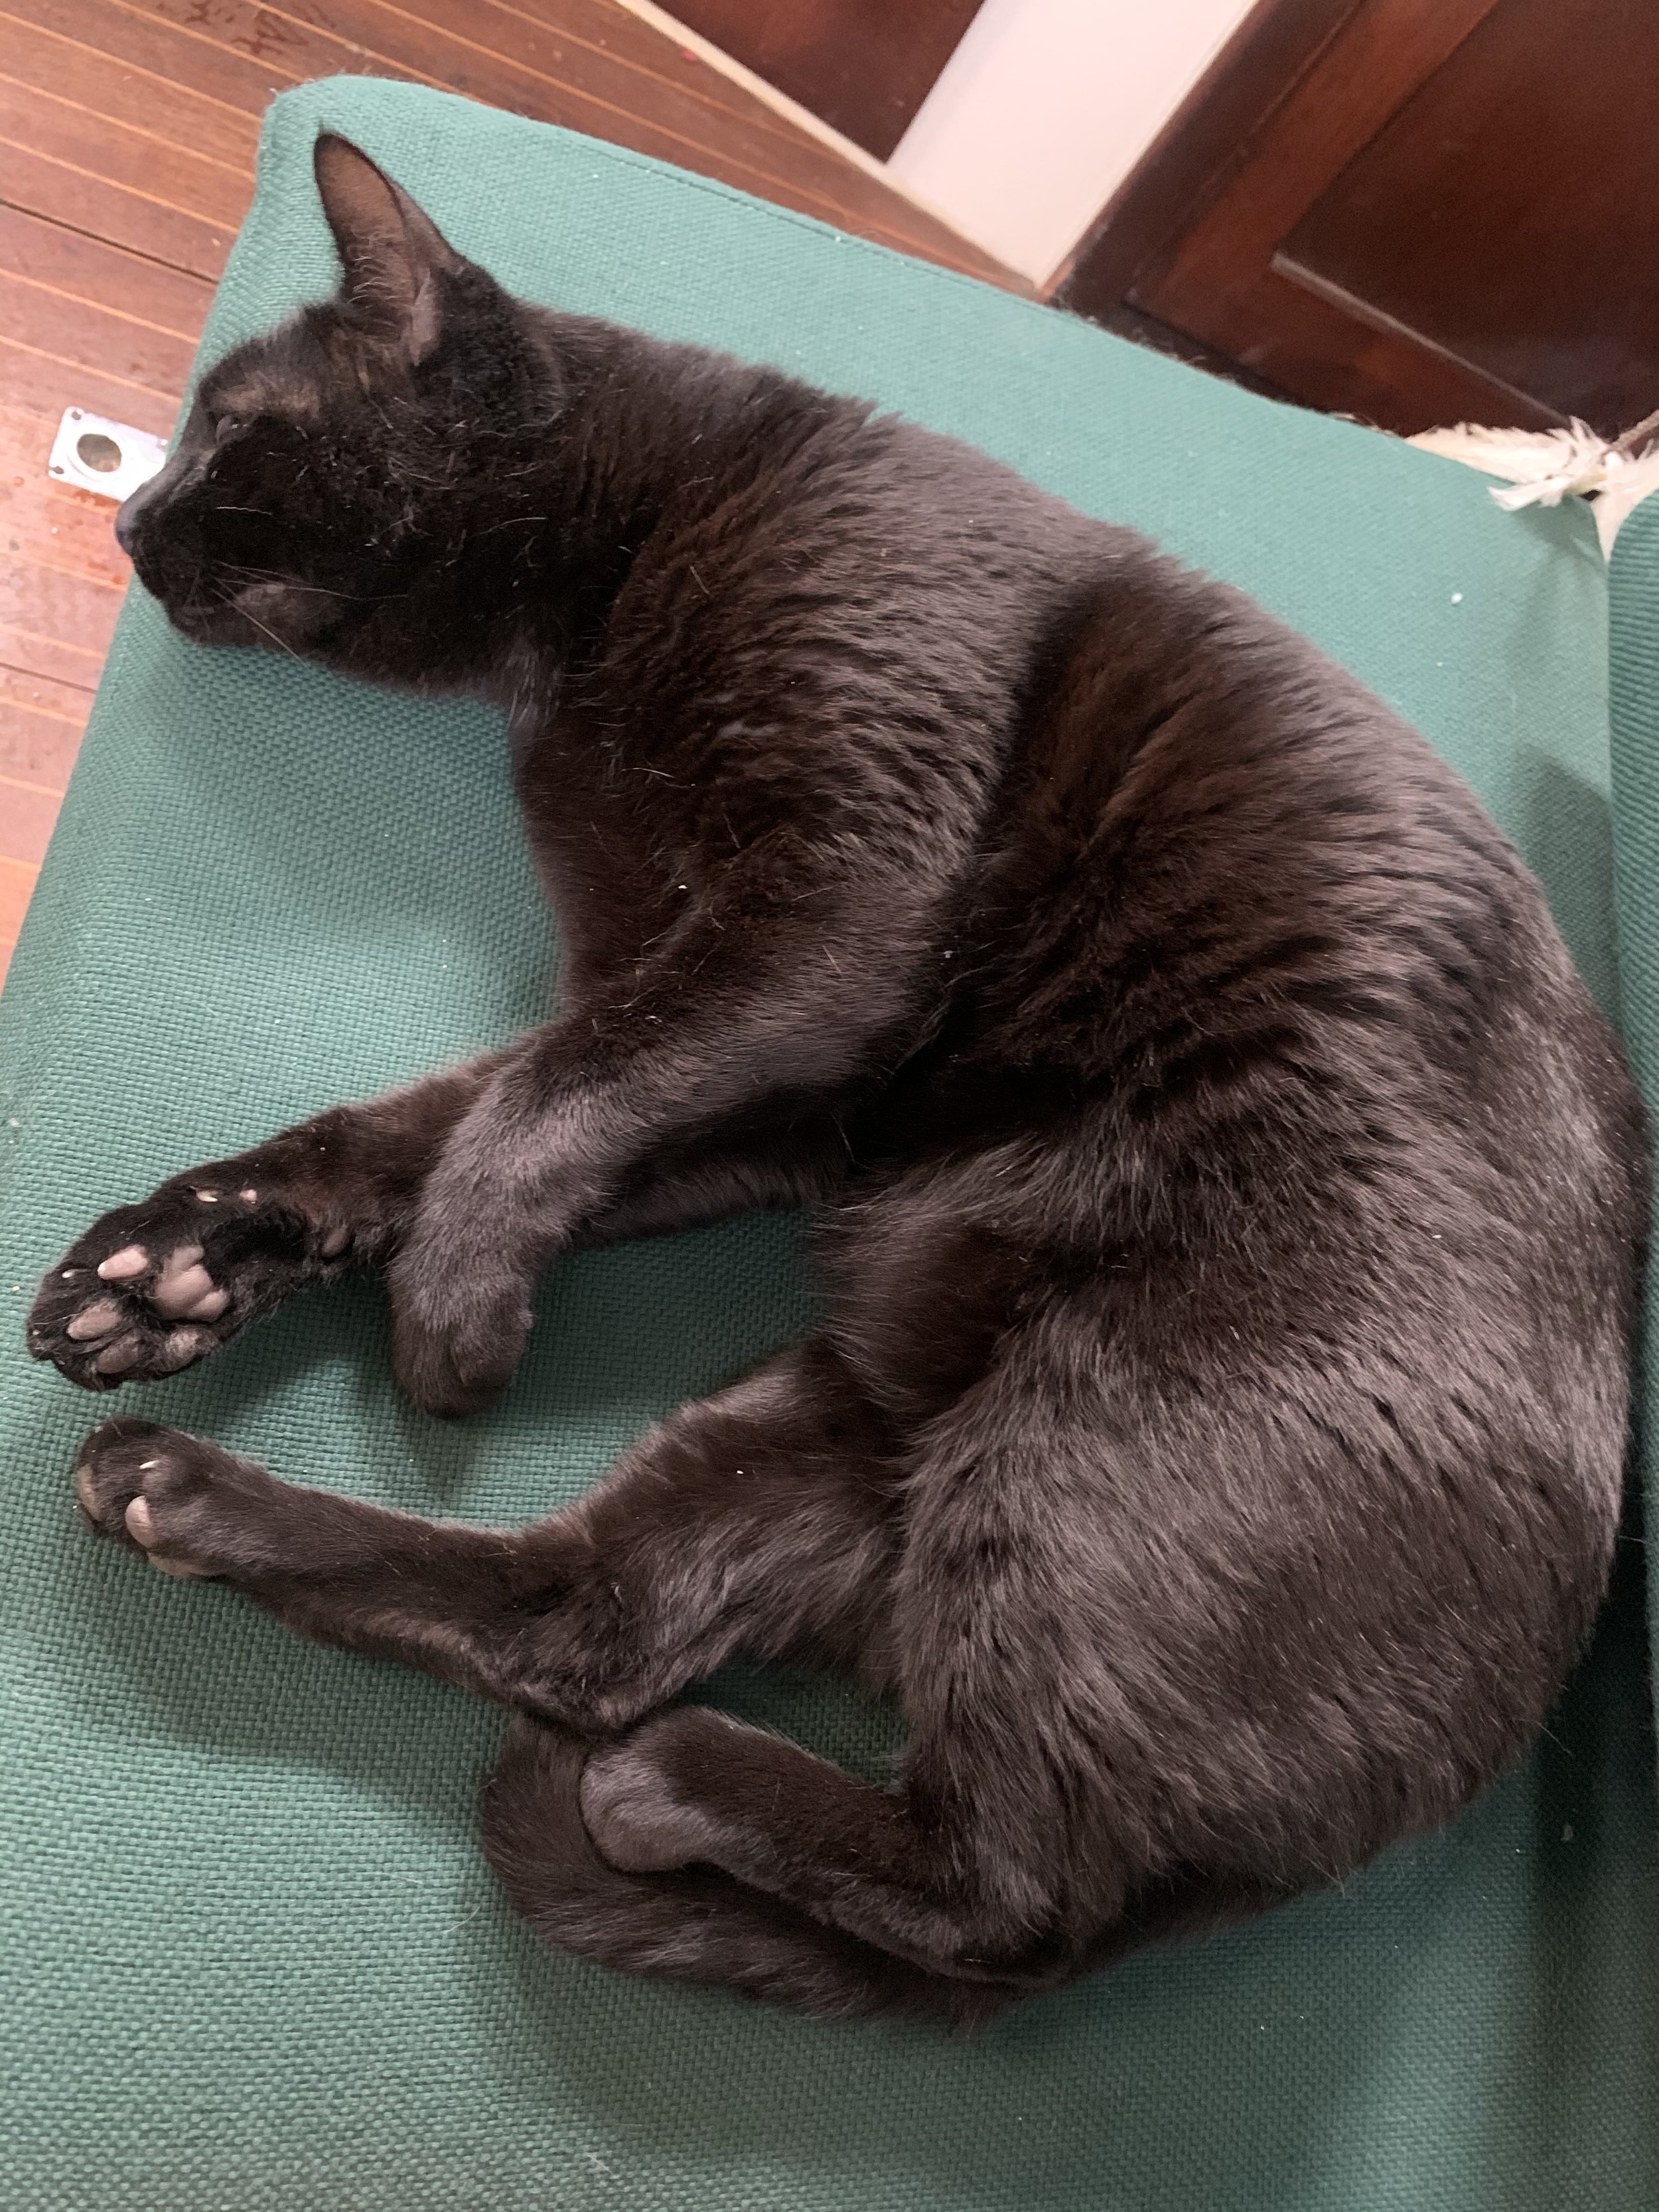
Well we went and adopted a cat. He is all black and named Ernest. He has quickly become part of the family and we love him so much! He is loving and sleeps with us every night. The positives of having a pet on board far outweigh any negatives he may bring. Yes somethings have become more difficult, mainly traveling or camping trips. Yet he is full of such personality and love. He is sitting on my lap as I type this. I have just retuned home from work and he is in need of “lap time” He watches us while we work and cook. He likes to cackle at the birds and crows but has not caught one yet. He also hates to leave the boat… He has never jumped onto the dock and freaks out if we take him to someones house to cat sit. He may meow more than is ideal yet we put up with it. Our diet just may consist of more cat hair than it did in the past. Dylan was NOT a cat person. Ever since Ernest, Dylan is now a cat person. Although Ernest is a bit more dog like than any cat I’ve met.
Sometimes he wears clothes.

Comment

Introducing Sundew

Comment

Introducing Sundew

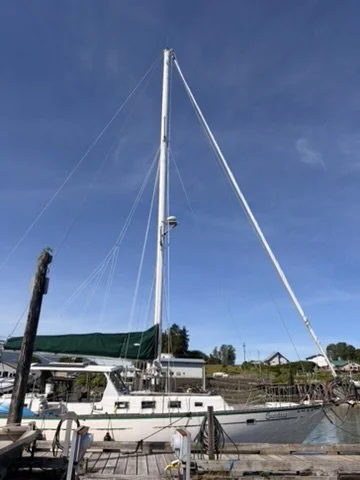
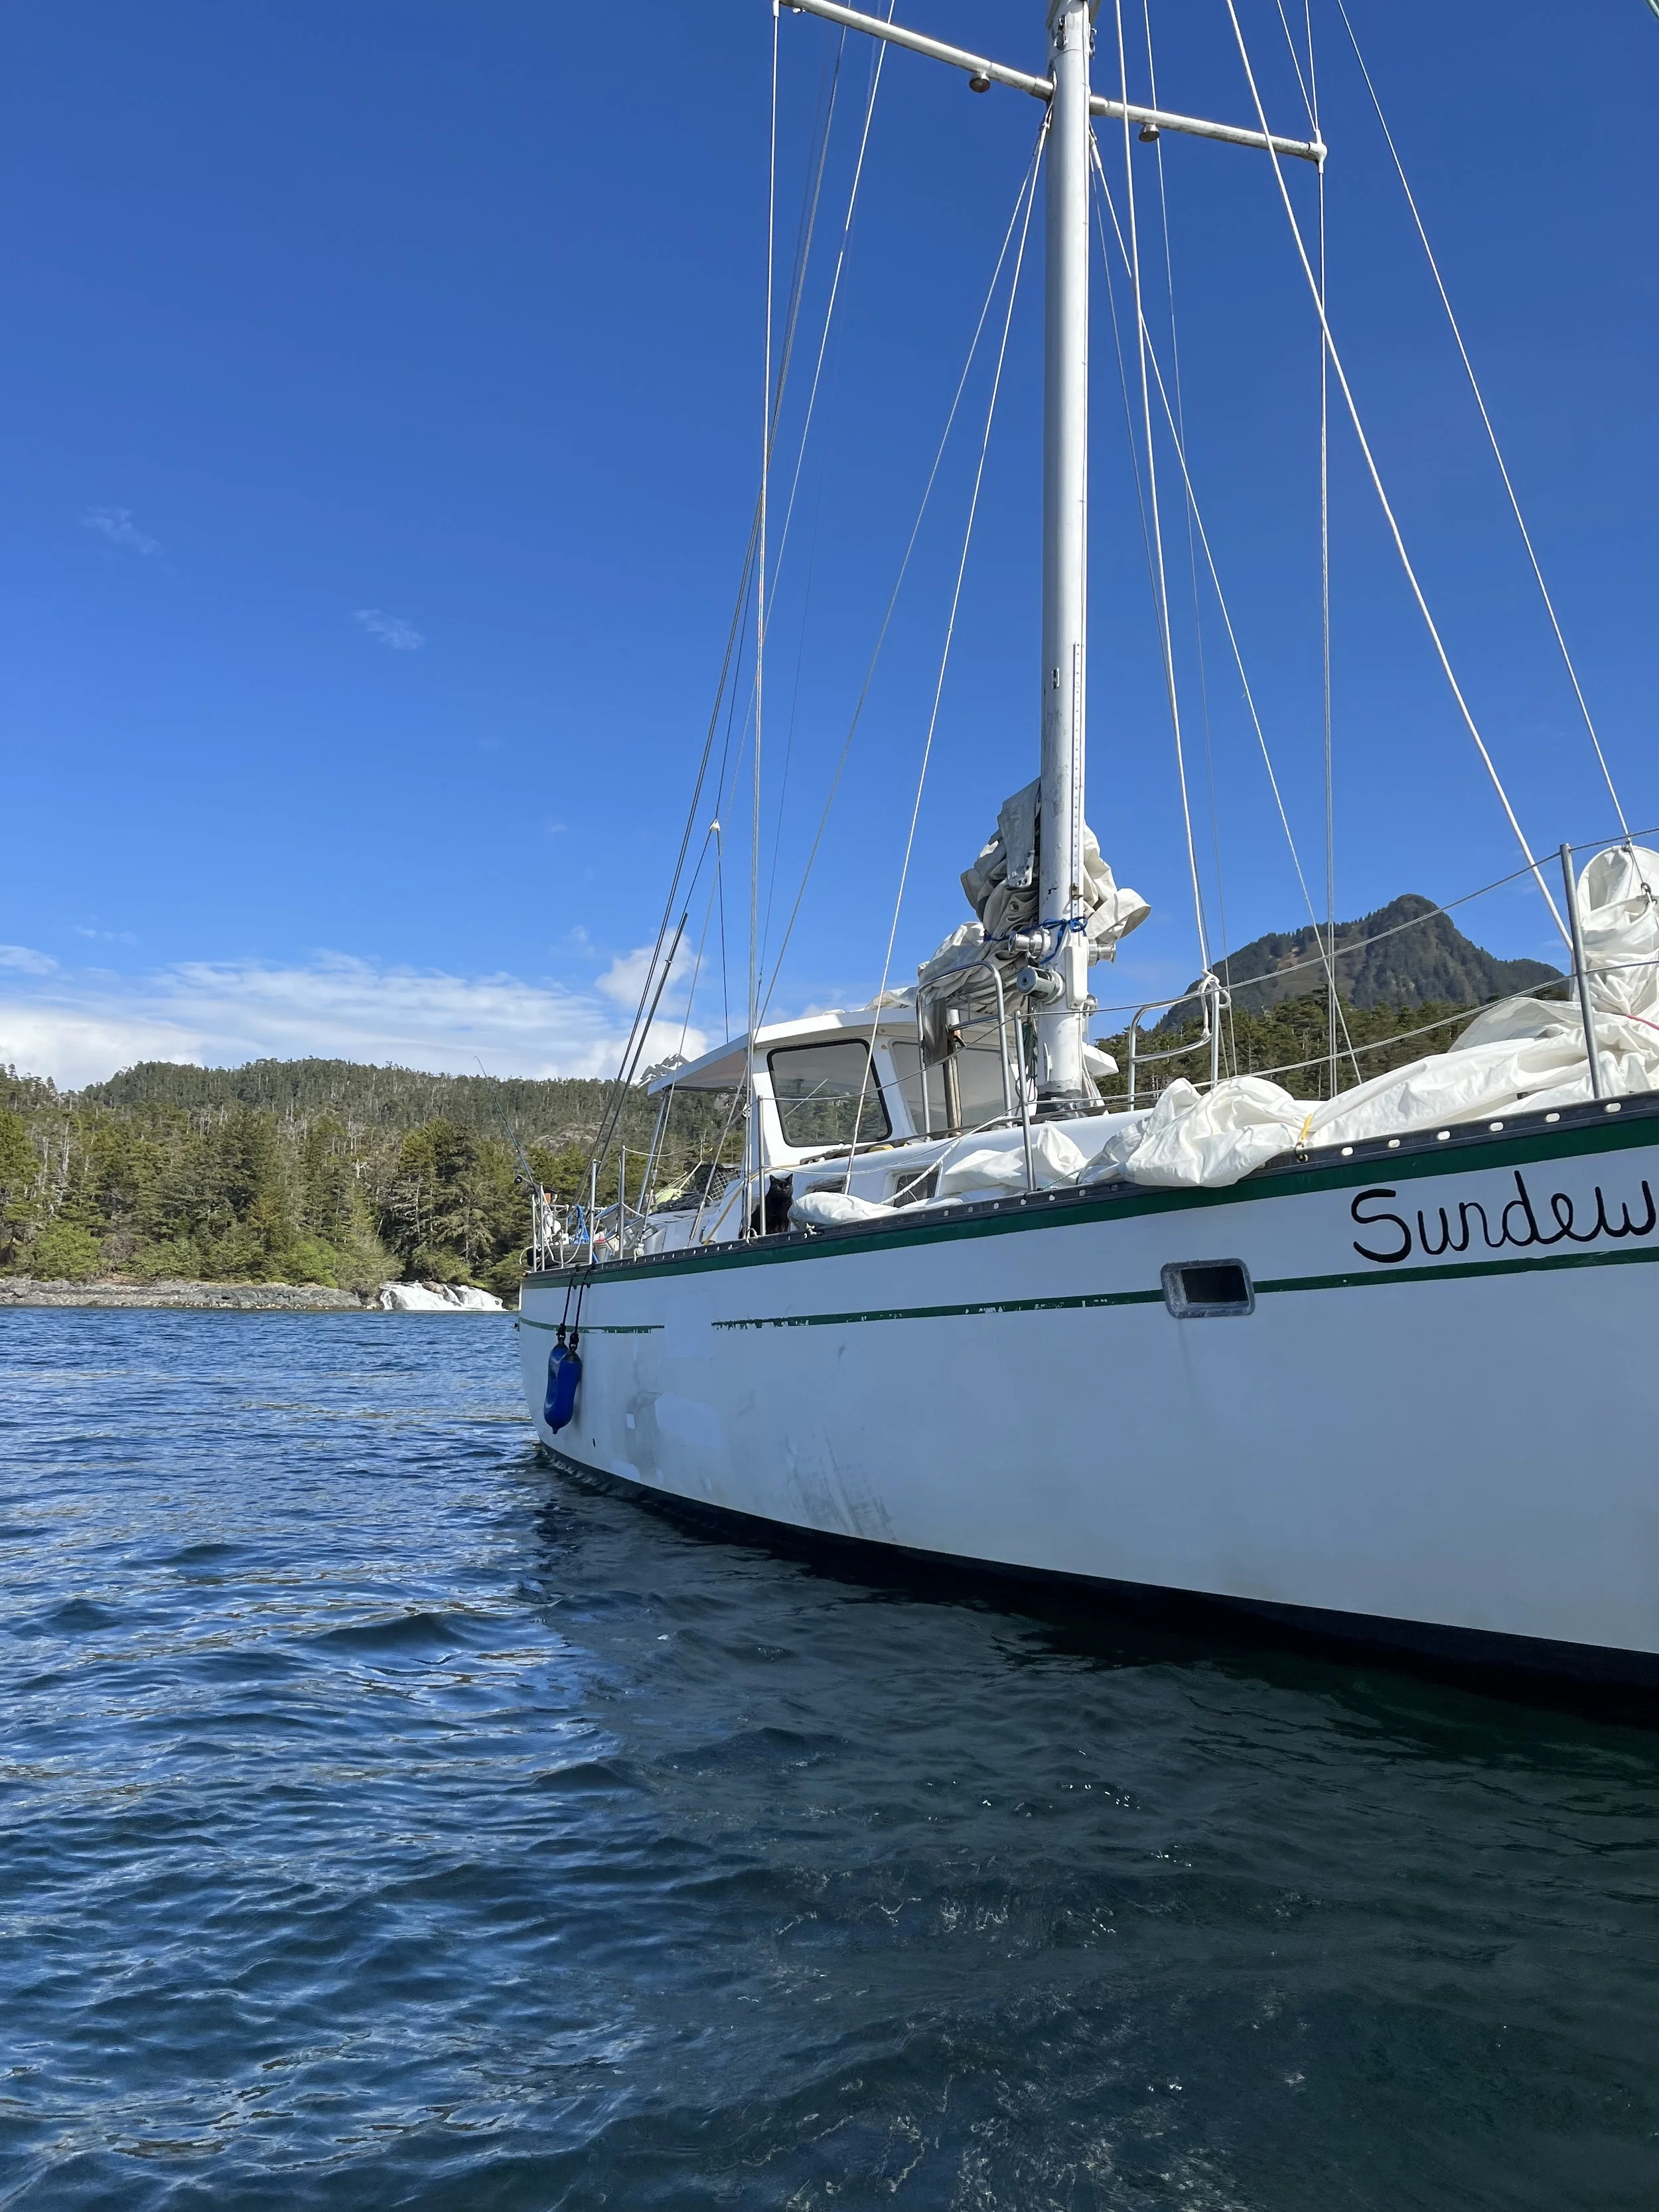
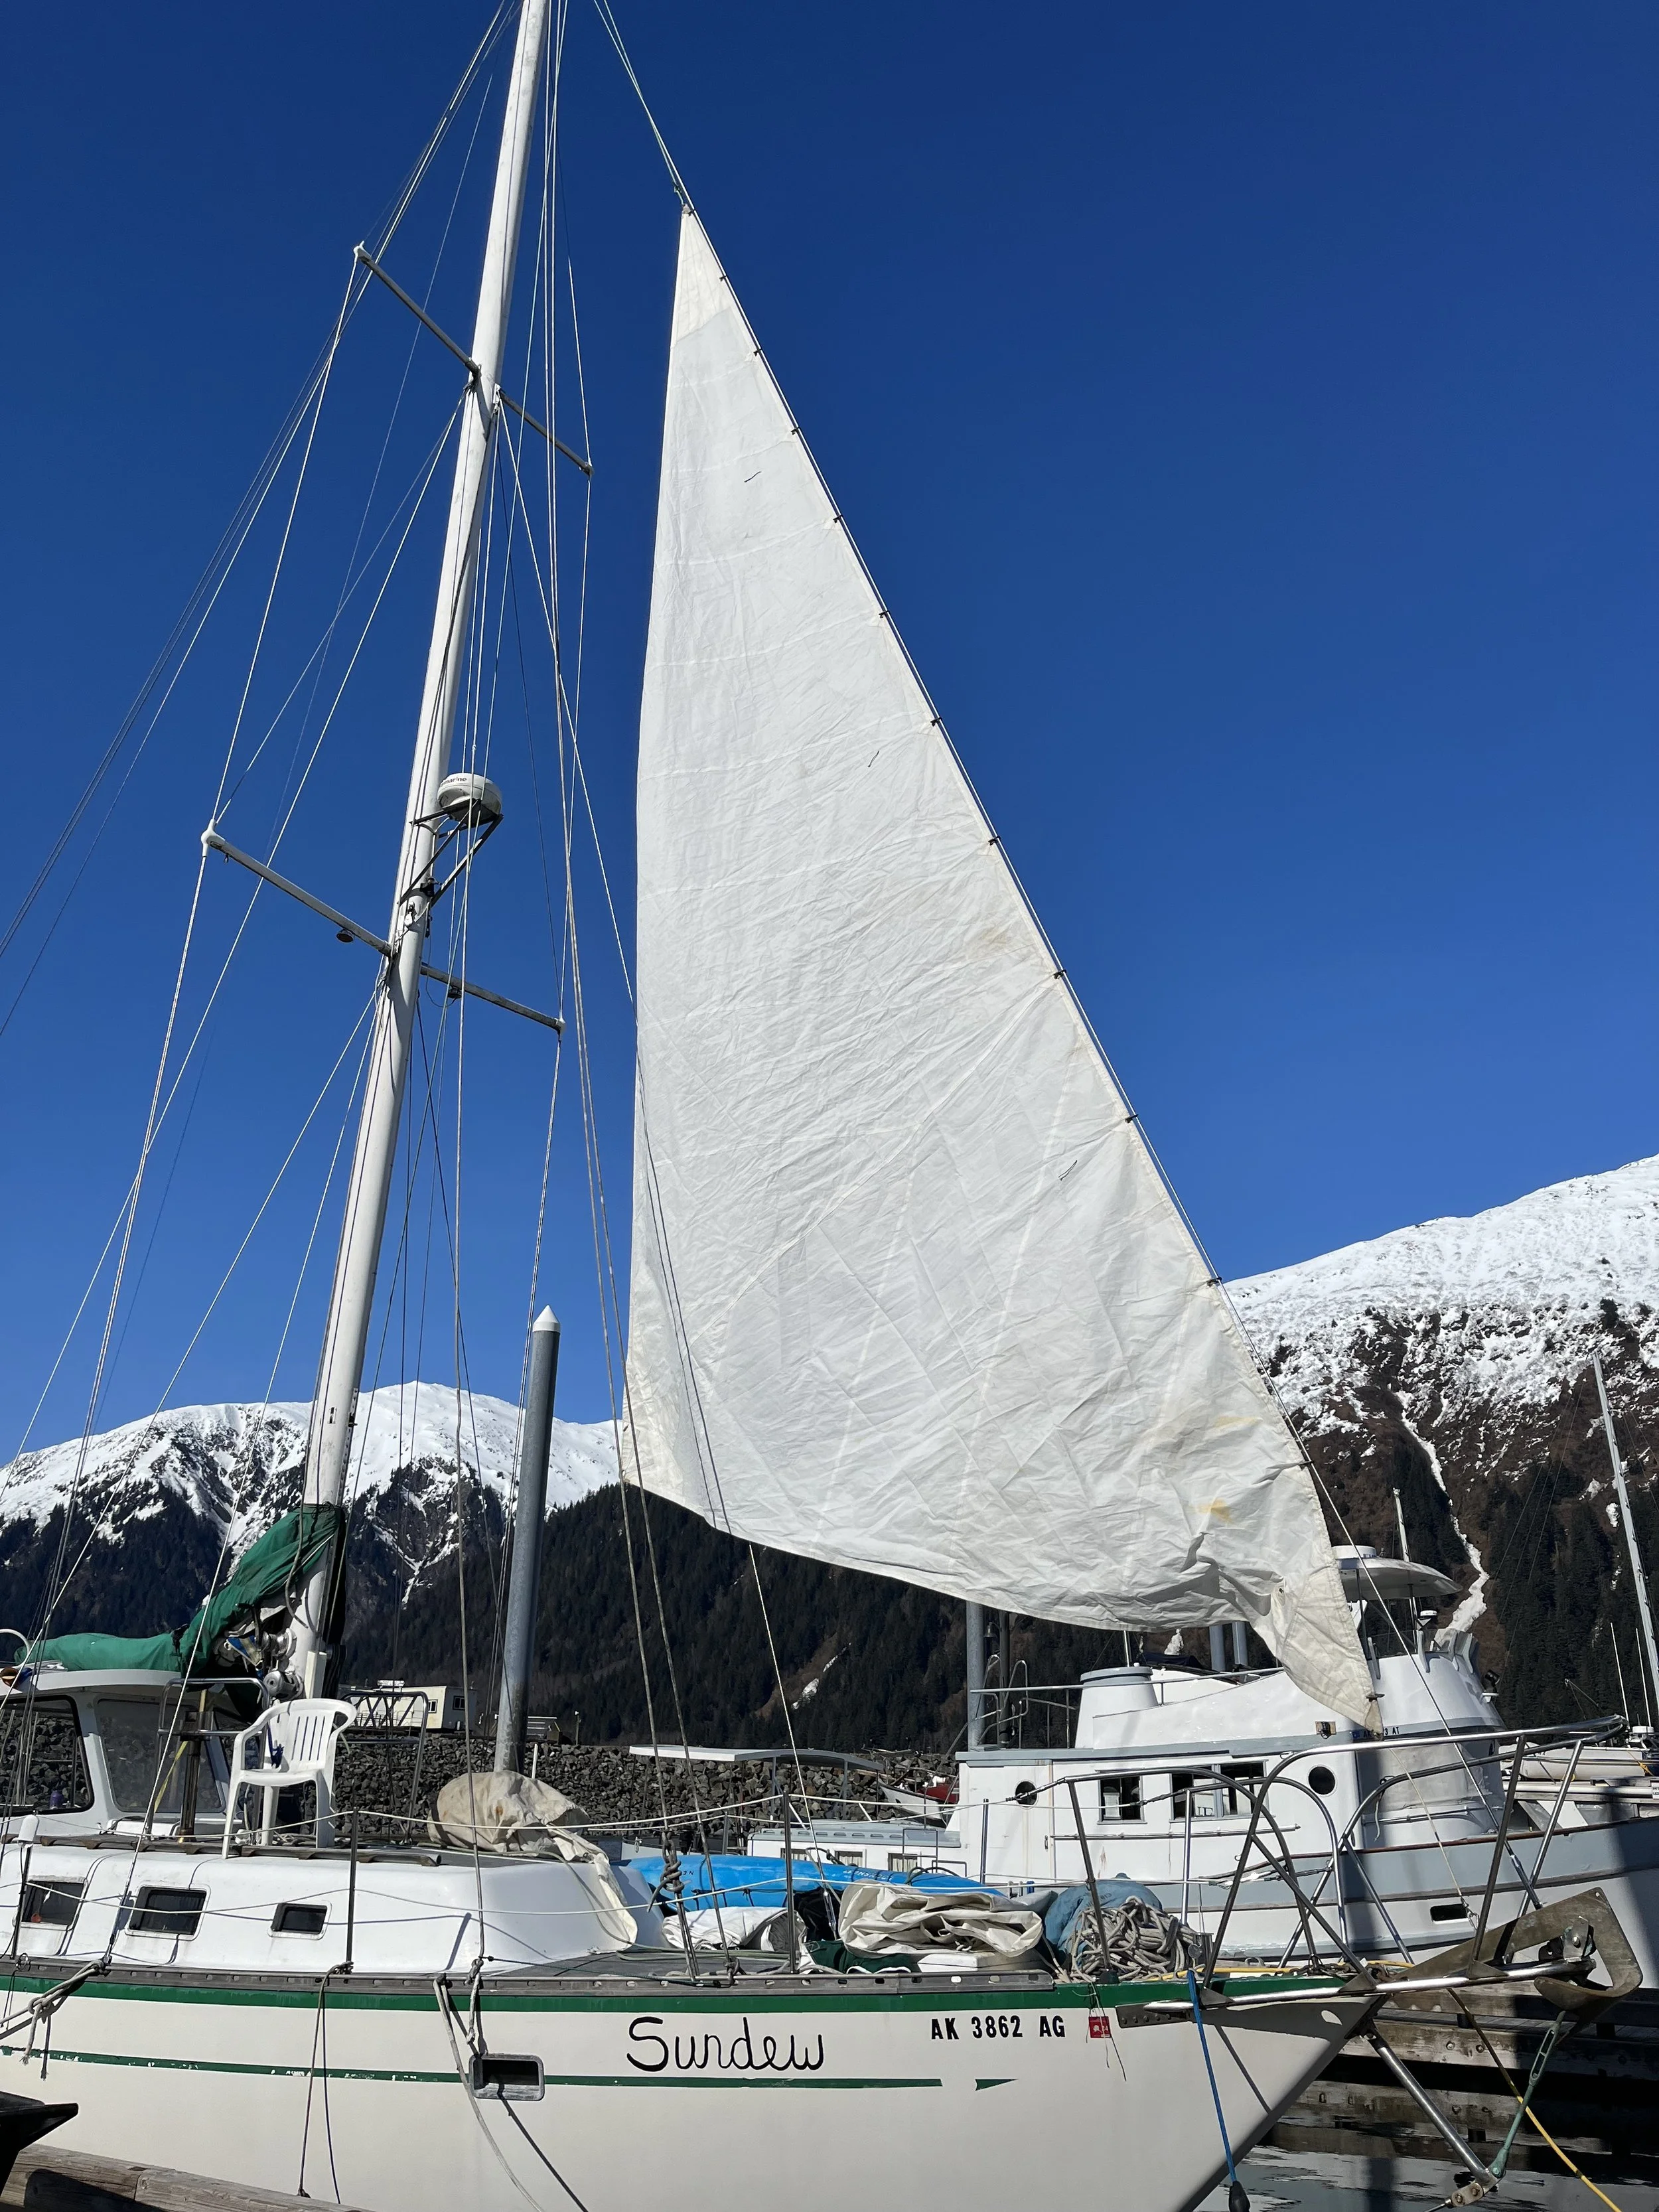
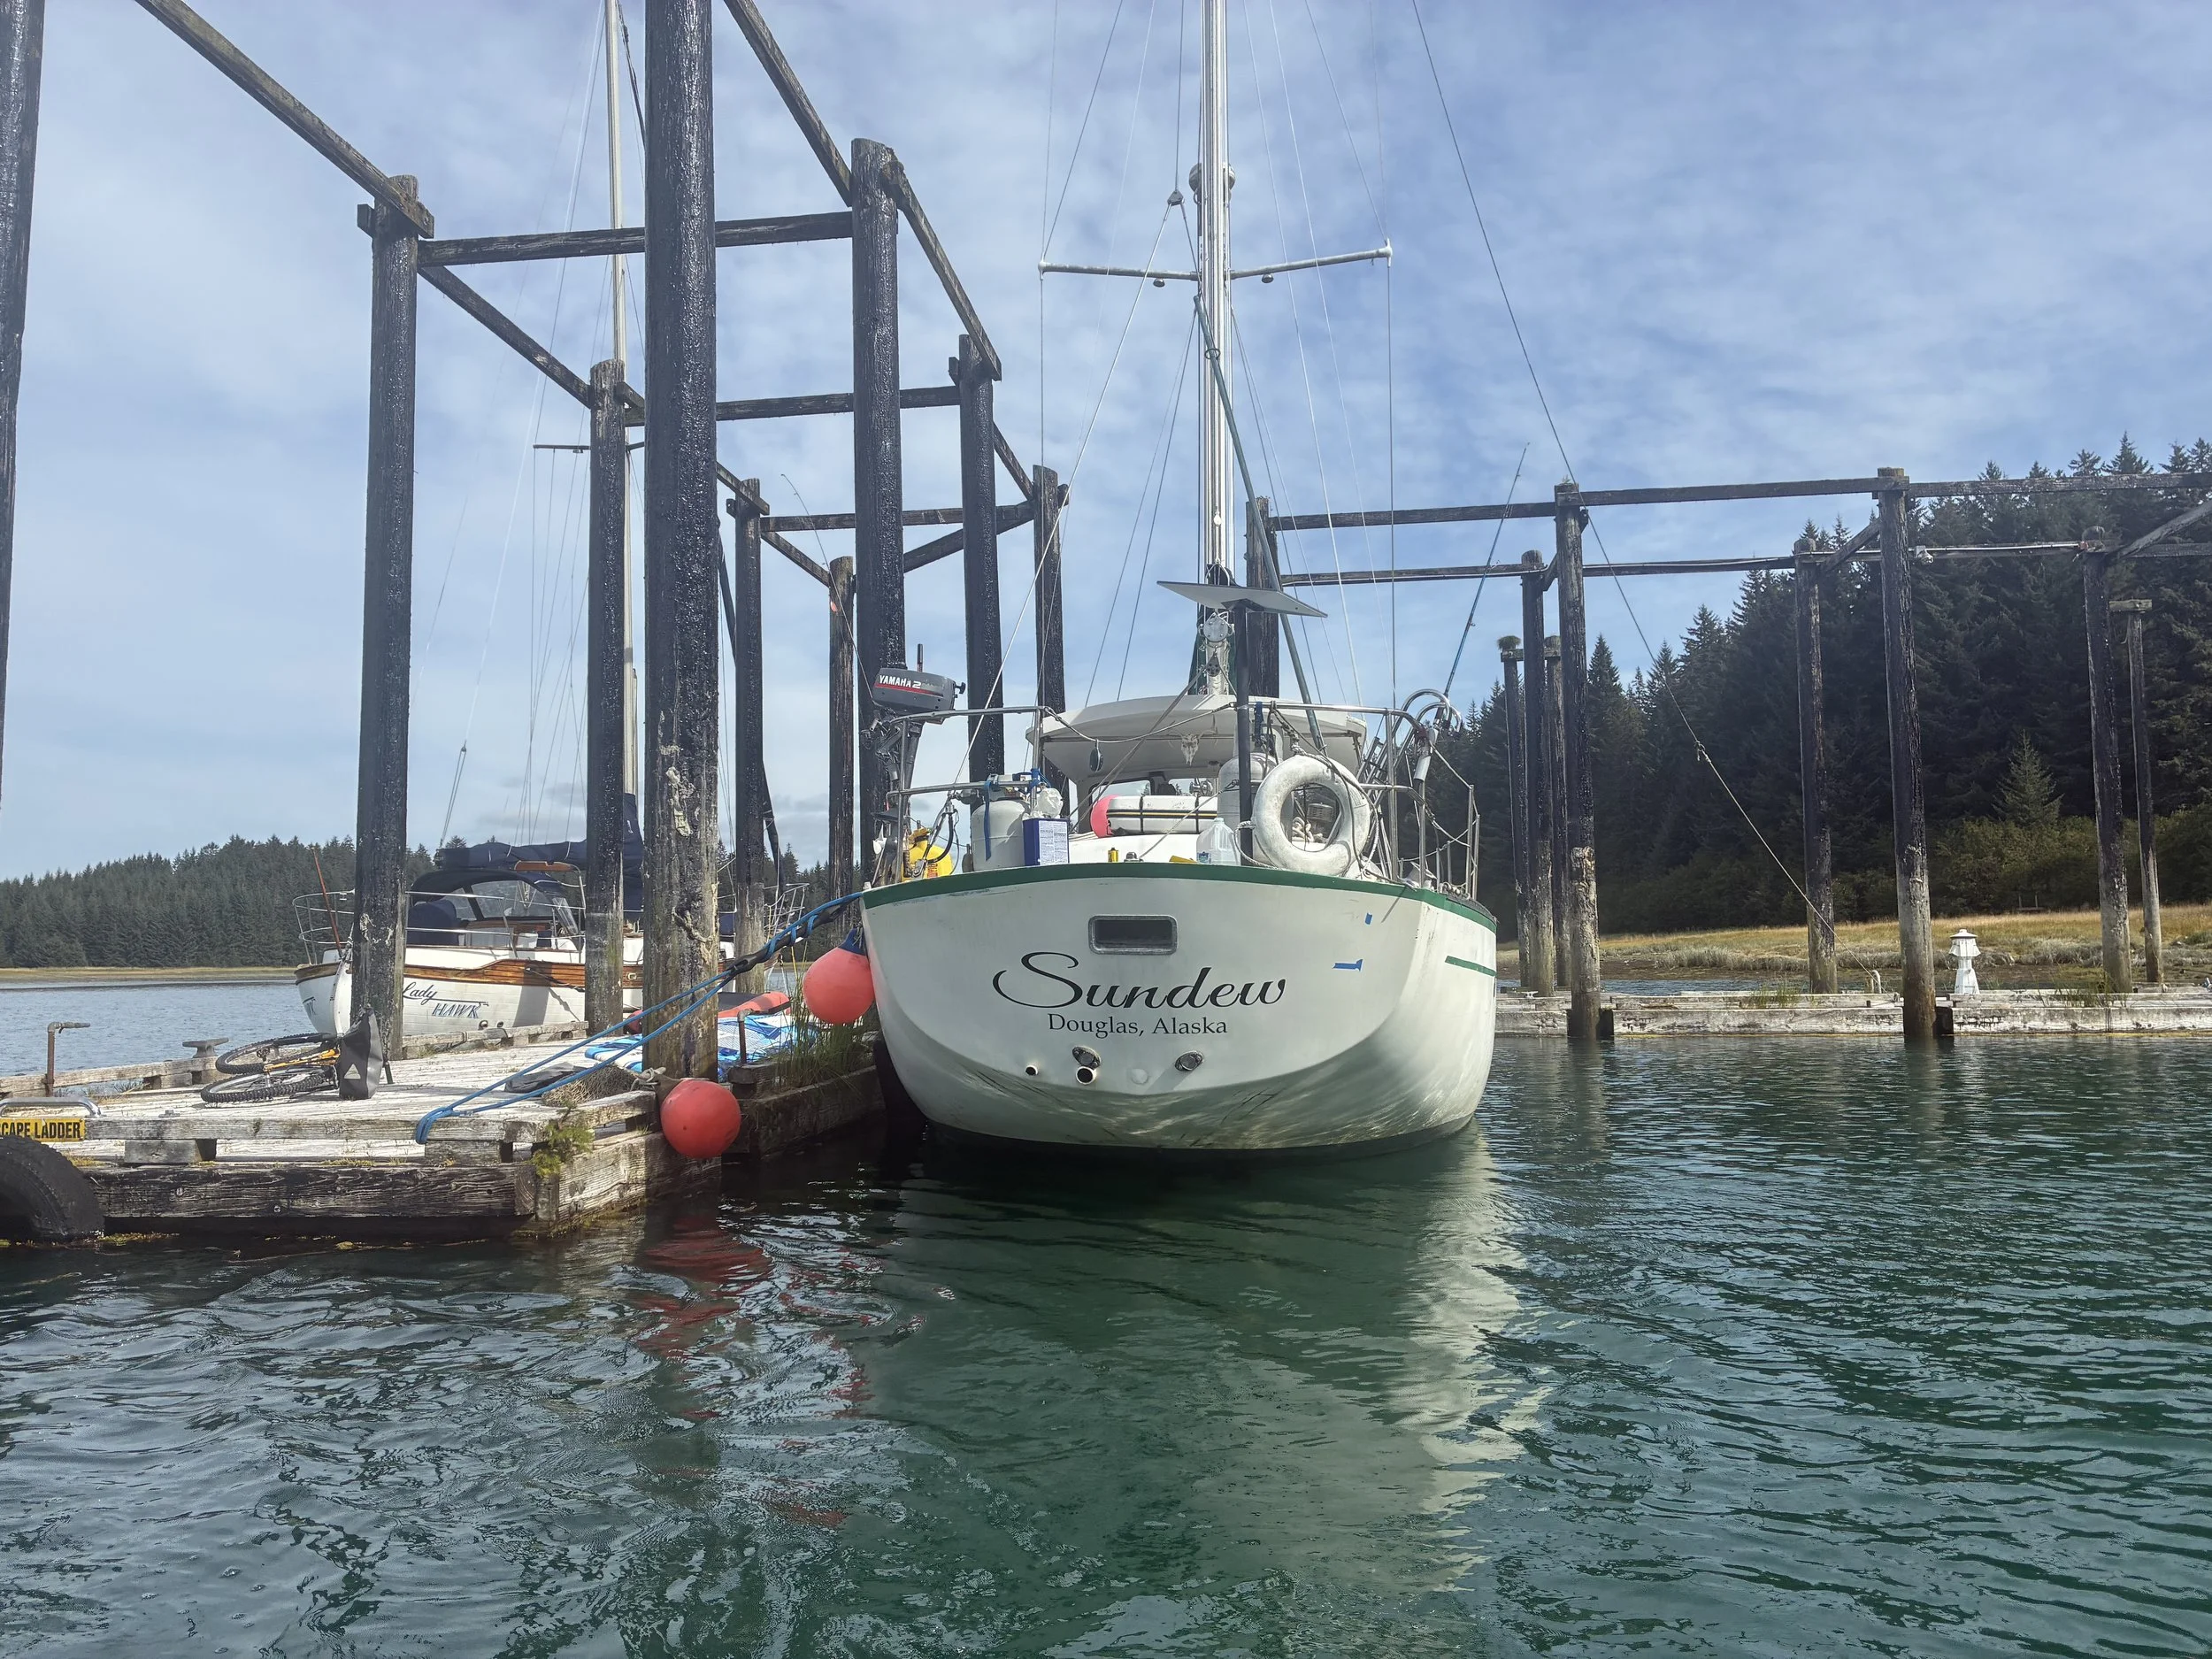
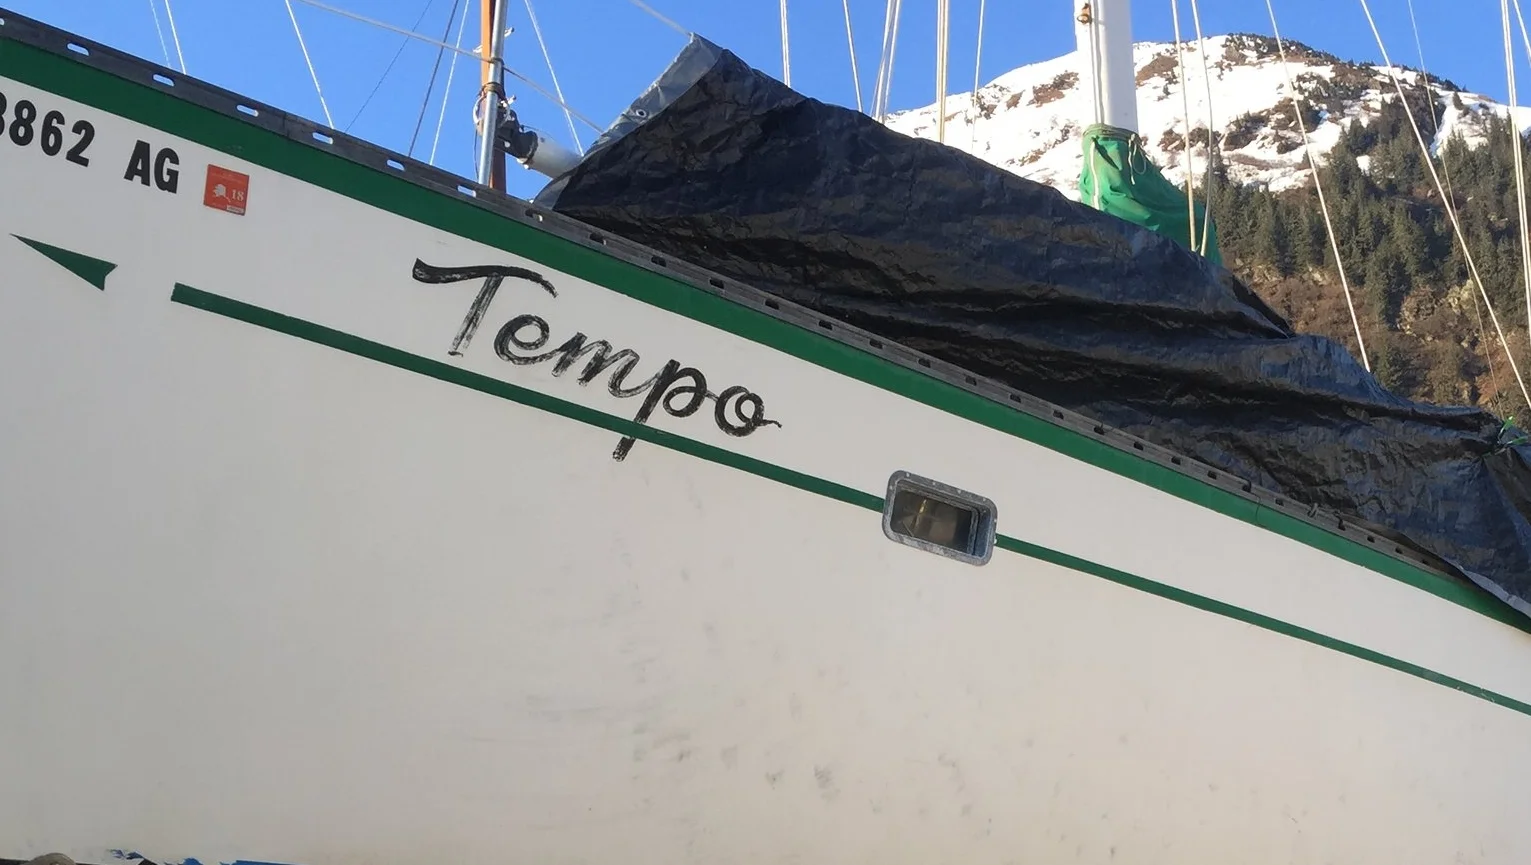
Ok so we finally agreed on a name we both love. Sundew shall be the name of our wonderful Spencer 53. I’ve ordered decals for the bow and transom but in the meantime the bow has been hand painted. We love having her be named and able to call her Sundew rather then always just “the boat”

Comment

Comment

Sweetheart Sockeye

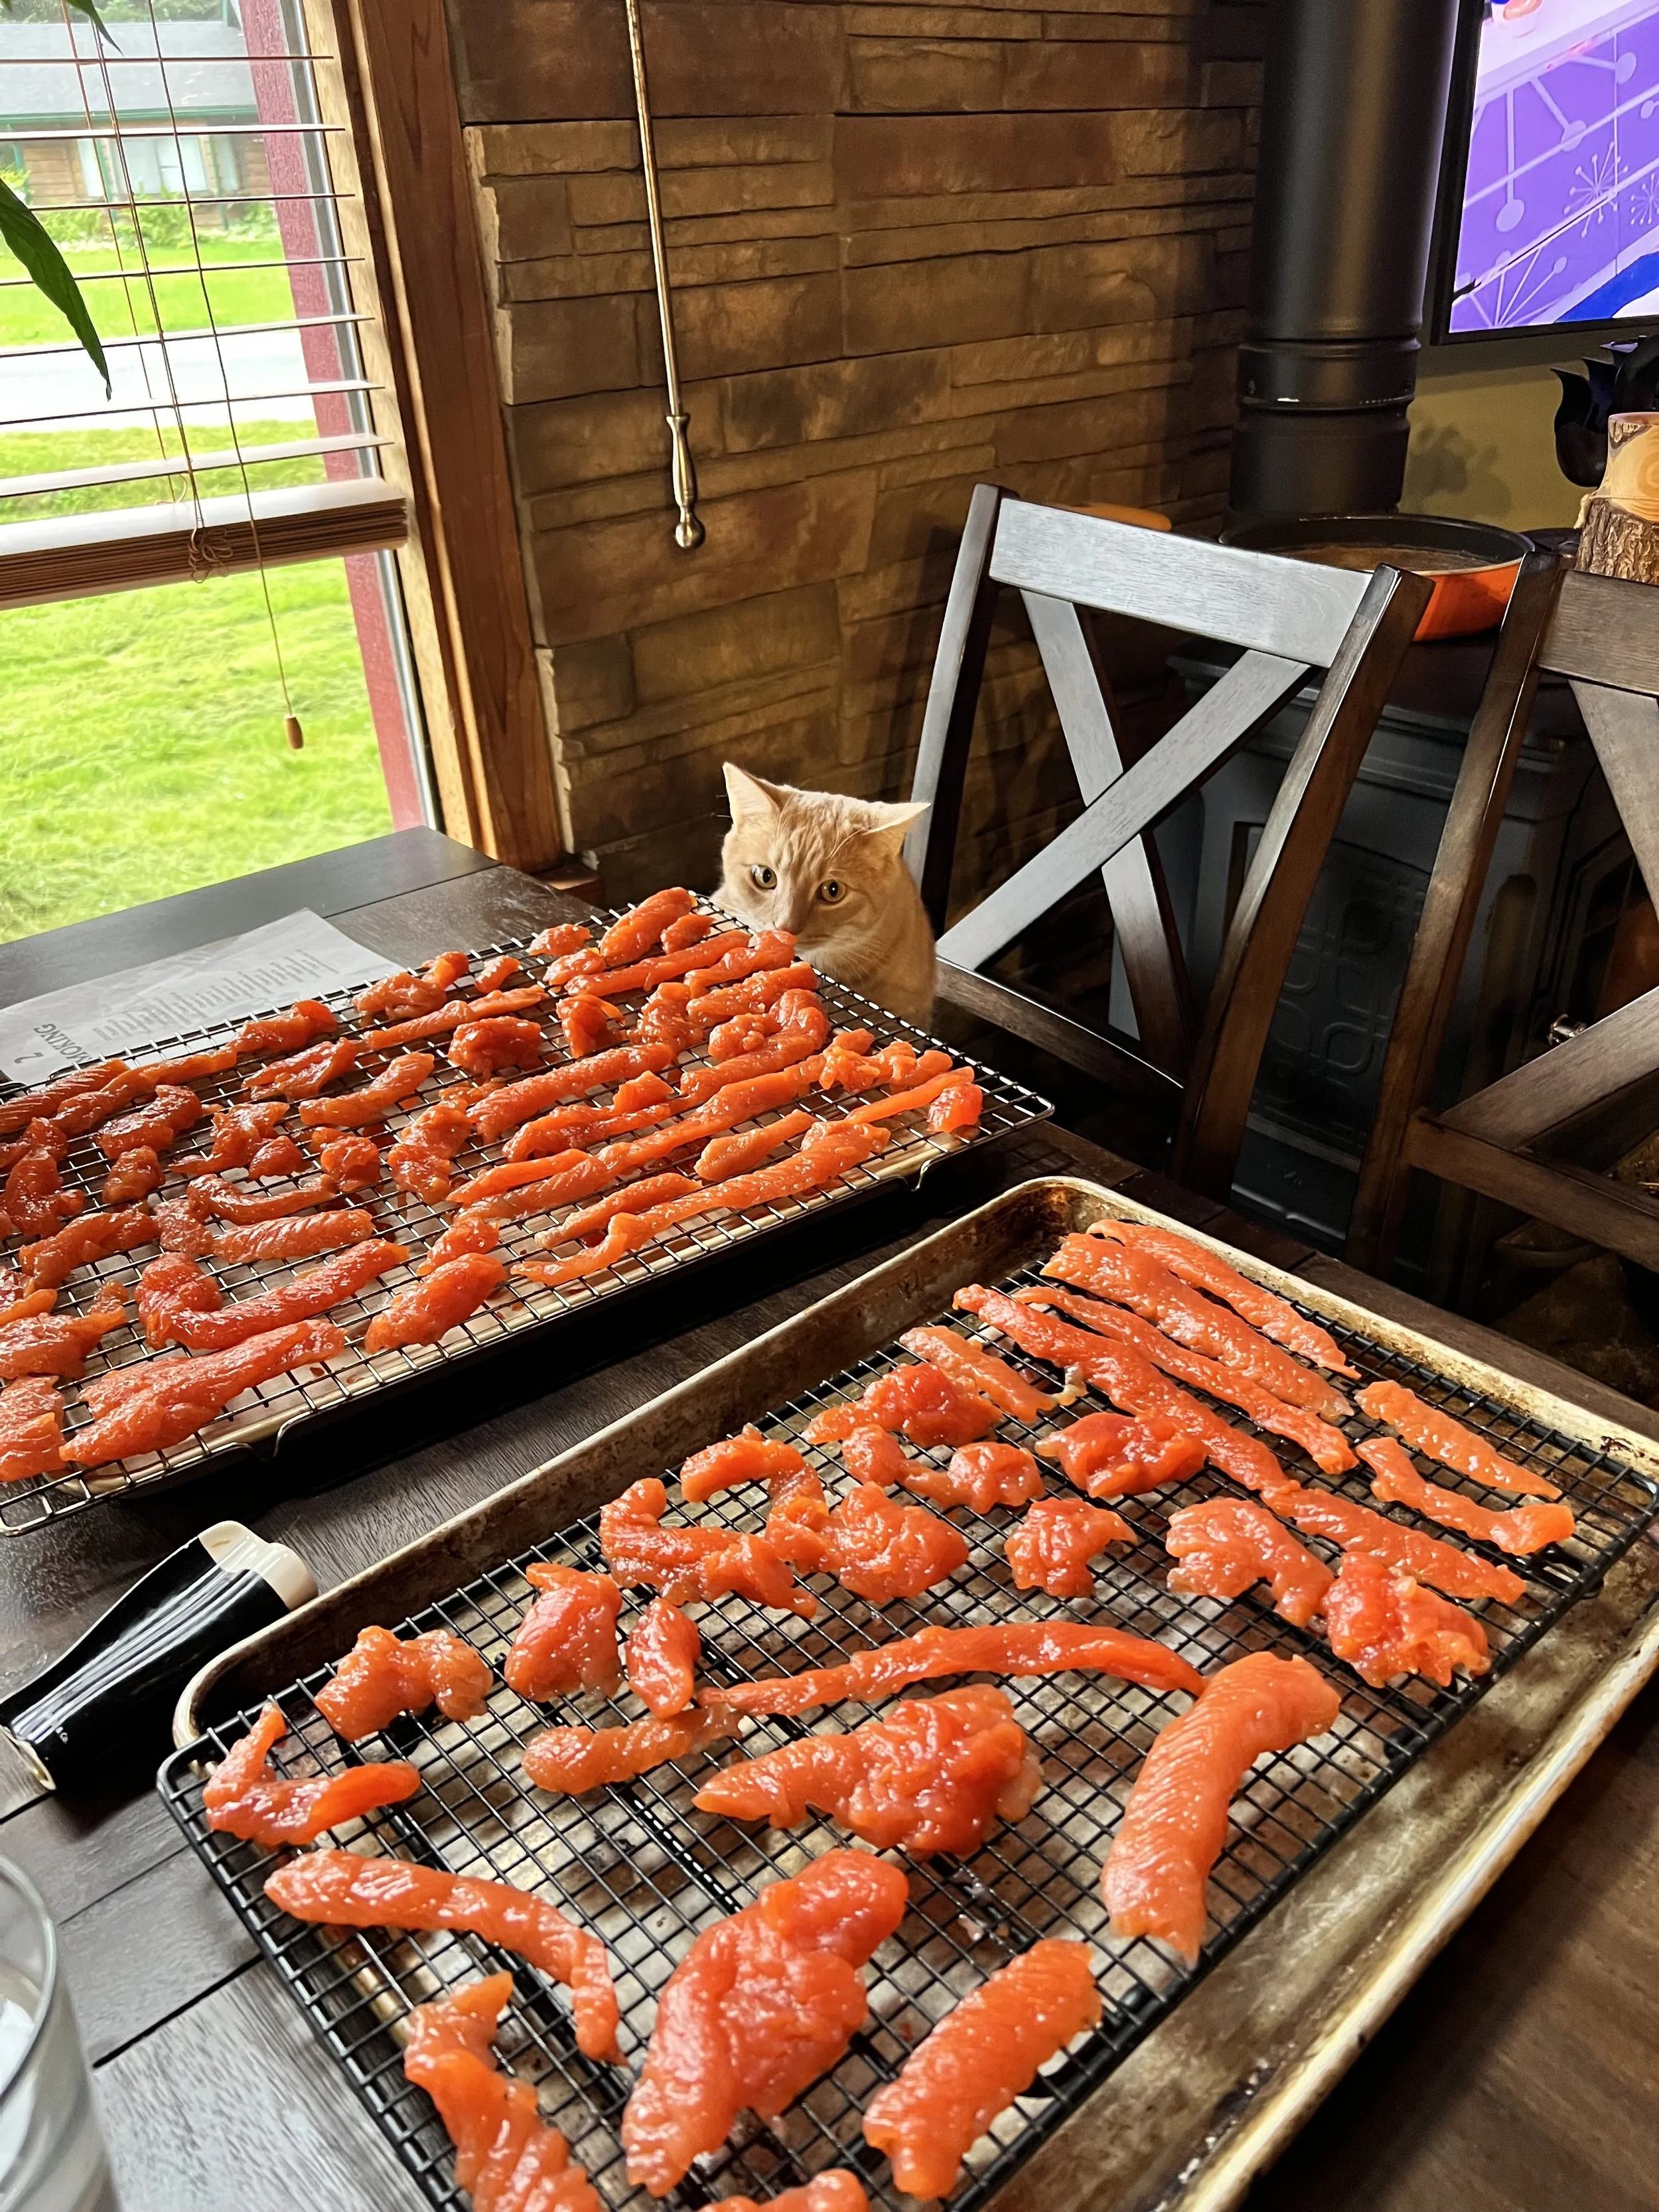
This past month I got the opportunity to go with friends to Sweetheart Creek where there is a terminal hatchery sockeye salmon release. What this means is the fish are released to the wild as babies from this creek and they return to the exact spot. This particular creek ends in a steep waterfall and there is no place to spawn. That means that bears and humans alike come to catch and eat their fills! Per day each household can bring home 25 sockeye. This is a rather good amount of meat! For Dylan and I this is plenty to eat and share through winter. It takes about 3 days for us to process fully - because we were both working full time also. For three days all I did after work was deal with fish. This means gutting, filleting, vacuum sealing, smoking, then pressure cooking all happens to prepare fish for winter. After I fillet, I scrape the carcass was a spoon and collect any and all meat from the bones. We then salt this and keep it for curry. This year Dylan also used it to make lox for the first time! It turned out very tasty.

Guiness (cat) eyeing the fresh lox

Comment

First Haul out March 2017

Comment

First Haul out March 2017

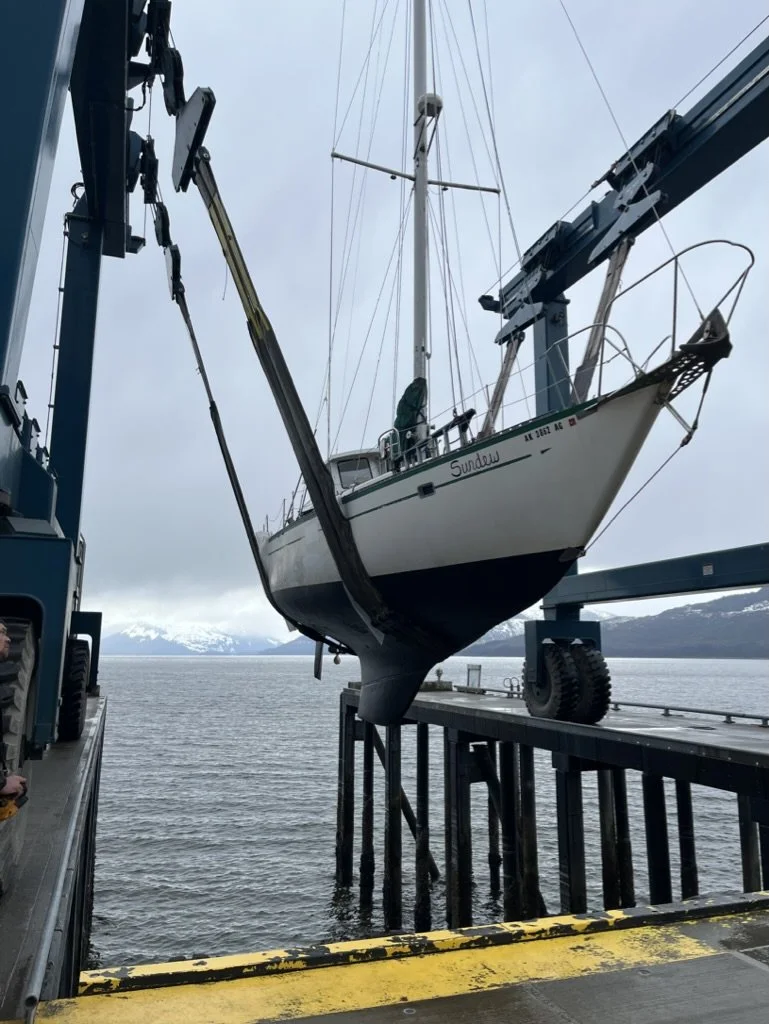
Main reasons for Hauling out the first time.

1) Inspect everything.

2) Repaint bottom.

3) Replace old seacocks

IMG_0690.JPG

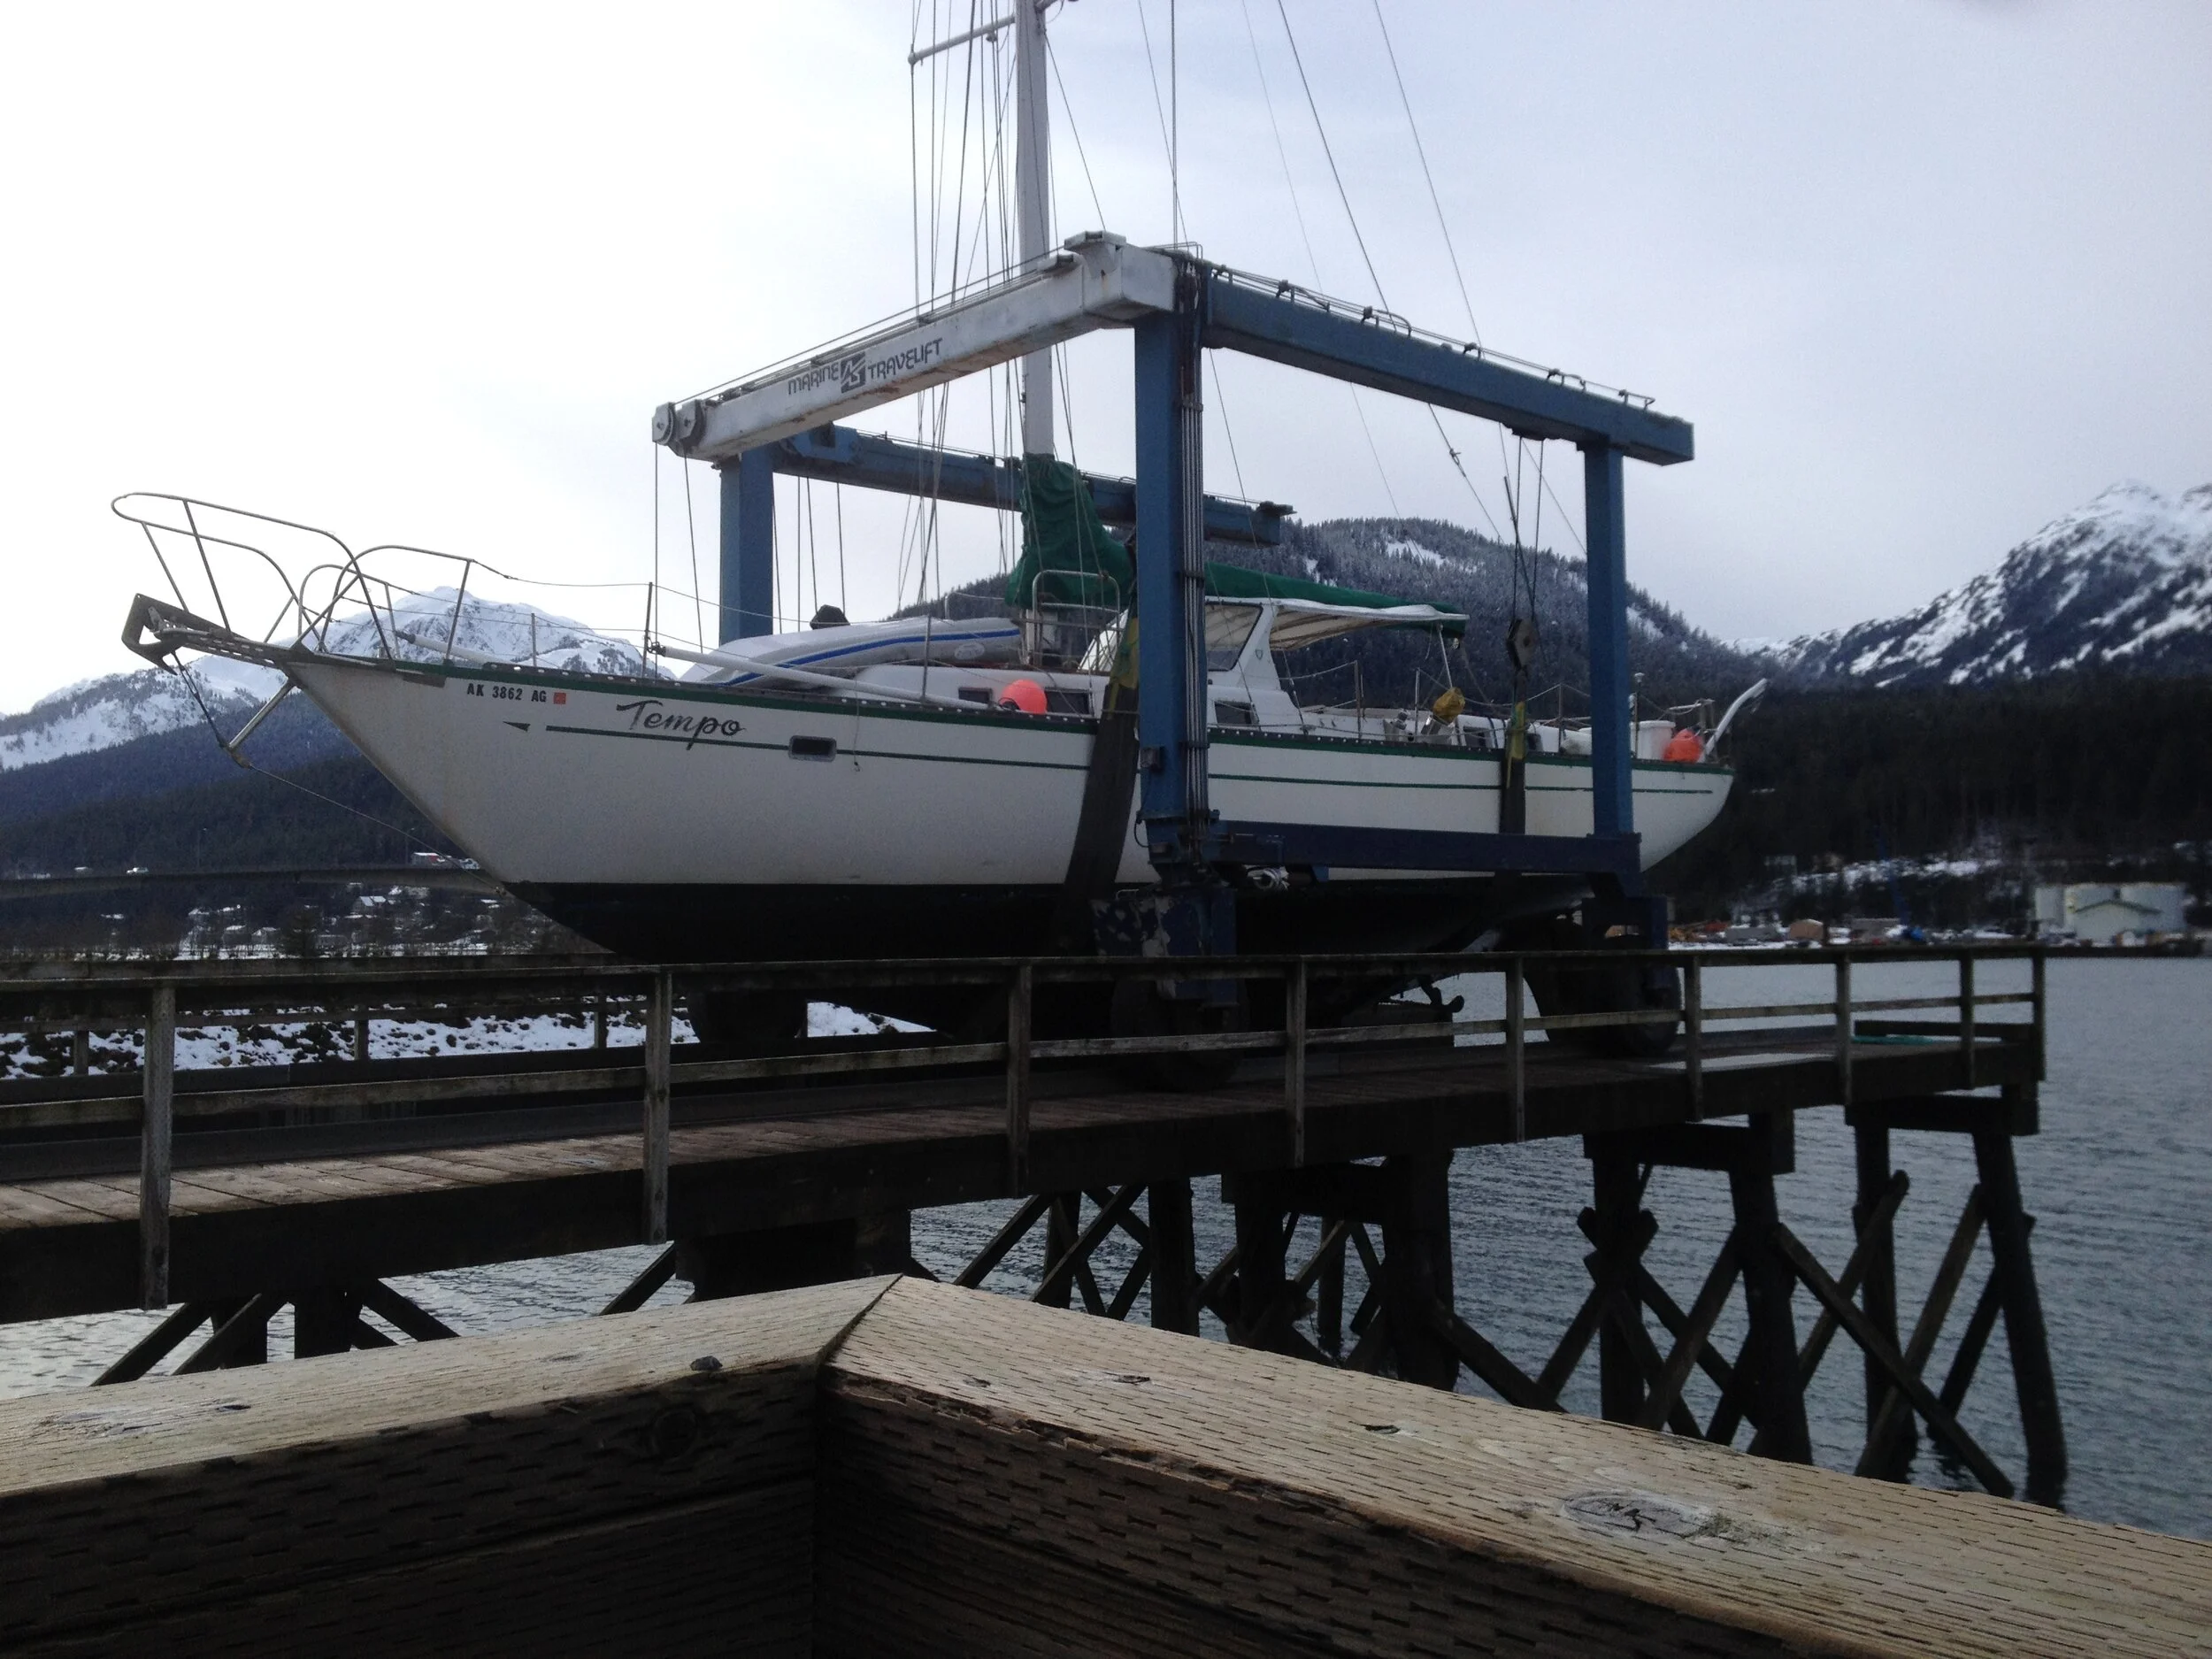
As you can see this is the max height and width that fit on this 50 ton lift in Juneau.

IMG_0701.JPG

There is some debate between Sara and I about how many thru hulls this boat had when we bought it.

The correct answer is too many.

I fiber-glassed up at least 5 holes after removing the terribly scary thru hull ball valve setup that the boat had previously.

IMG_0722.JPG

We replaced 7 thru hulls with Groco BV series flanged seacocks and the appropriate bronze Groco thru hulls.

The old backing plates were fiberglass over plywood. Some had moist plywood and I didn’t like it.

We cut off the plywood backing plates and I made some solid fiberglass ones.

We used the new thru hulls to clamp them to hull while being adhered with polyester resin putty.

I really like BoatLife sealants and adhesives. I believe we used lifecaulk to install the new parts.

IMG_0719.JPG

The old thru hull plumbing was wrong and dangerous.

Straight pipe threaded thru hulls on tapered pipe thread ball valves, rusty hose clamps, corroded and broken handles, and rotten hoses were just a few of the problems we encountered.

First thing we learned about this potential project was this: Thru hulls have a Straight pipe thread or NPS. Most normal ball valves suitable for household and small industrial applications have Tapered thread or NPT. If you attempt to put NPS male to NPT Female you only get a couple threads on before it wont screw in any further.

There are a few “combo threaded” thru hulls that will fit NPT ball valves. We got fancy and went with the very nice (and expensive) Groco Flanged Seacocks with NPS threads.

IMG_0705.JPG

Cutlass bearing seemed to be in good enough shape although the bronze strut seemed to be in less then perfect condition due to galvanic corrosion or electrolysis

Prop seems to be in great shape. Shaft seems straight.

We now have all new zincs and we are still debating the best way to bond all of our underwater metals to zincs.

Comment

Comment

Moving on Board

Around September we mentioned to our roommates we were thinking of moving on board in November.

They both proceeded to find other places to live for December and suddenly we realized there was no turning back and we had to make it happen.

We were moved on board for November 1st.
IMG_0535.JPG

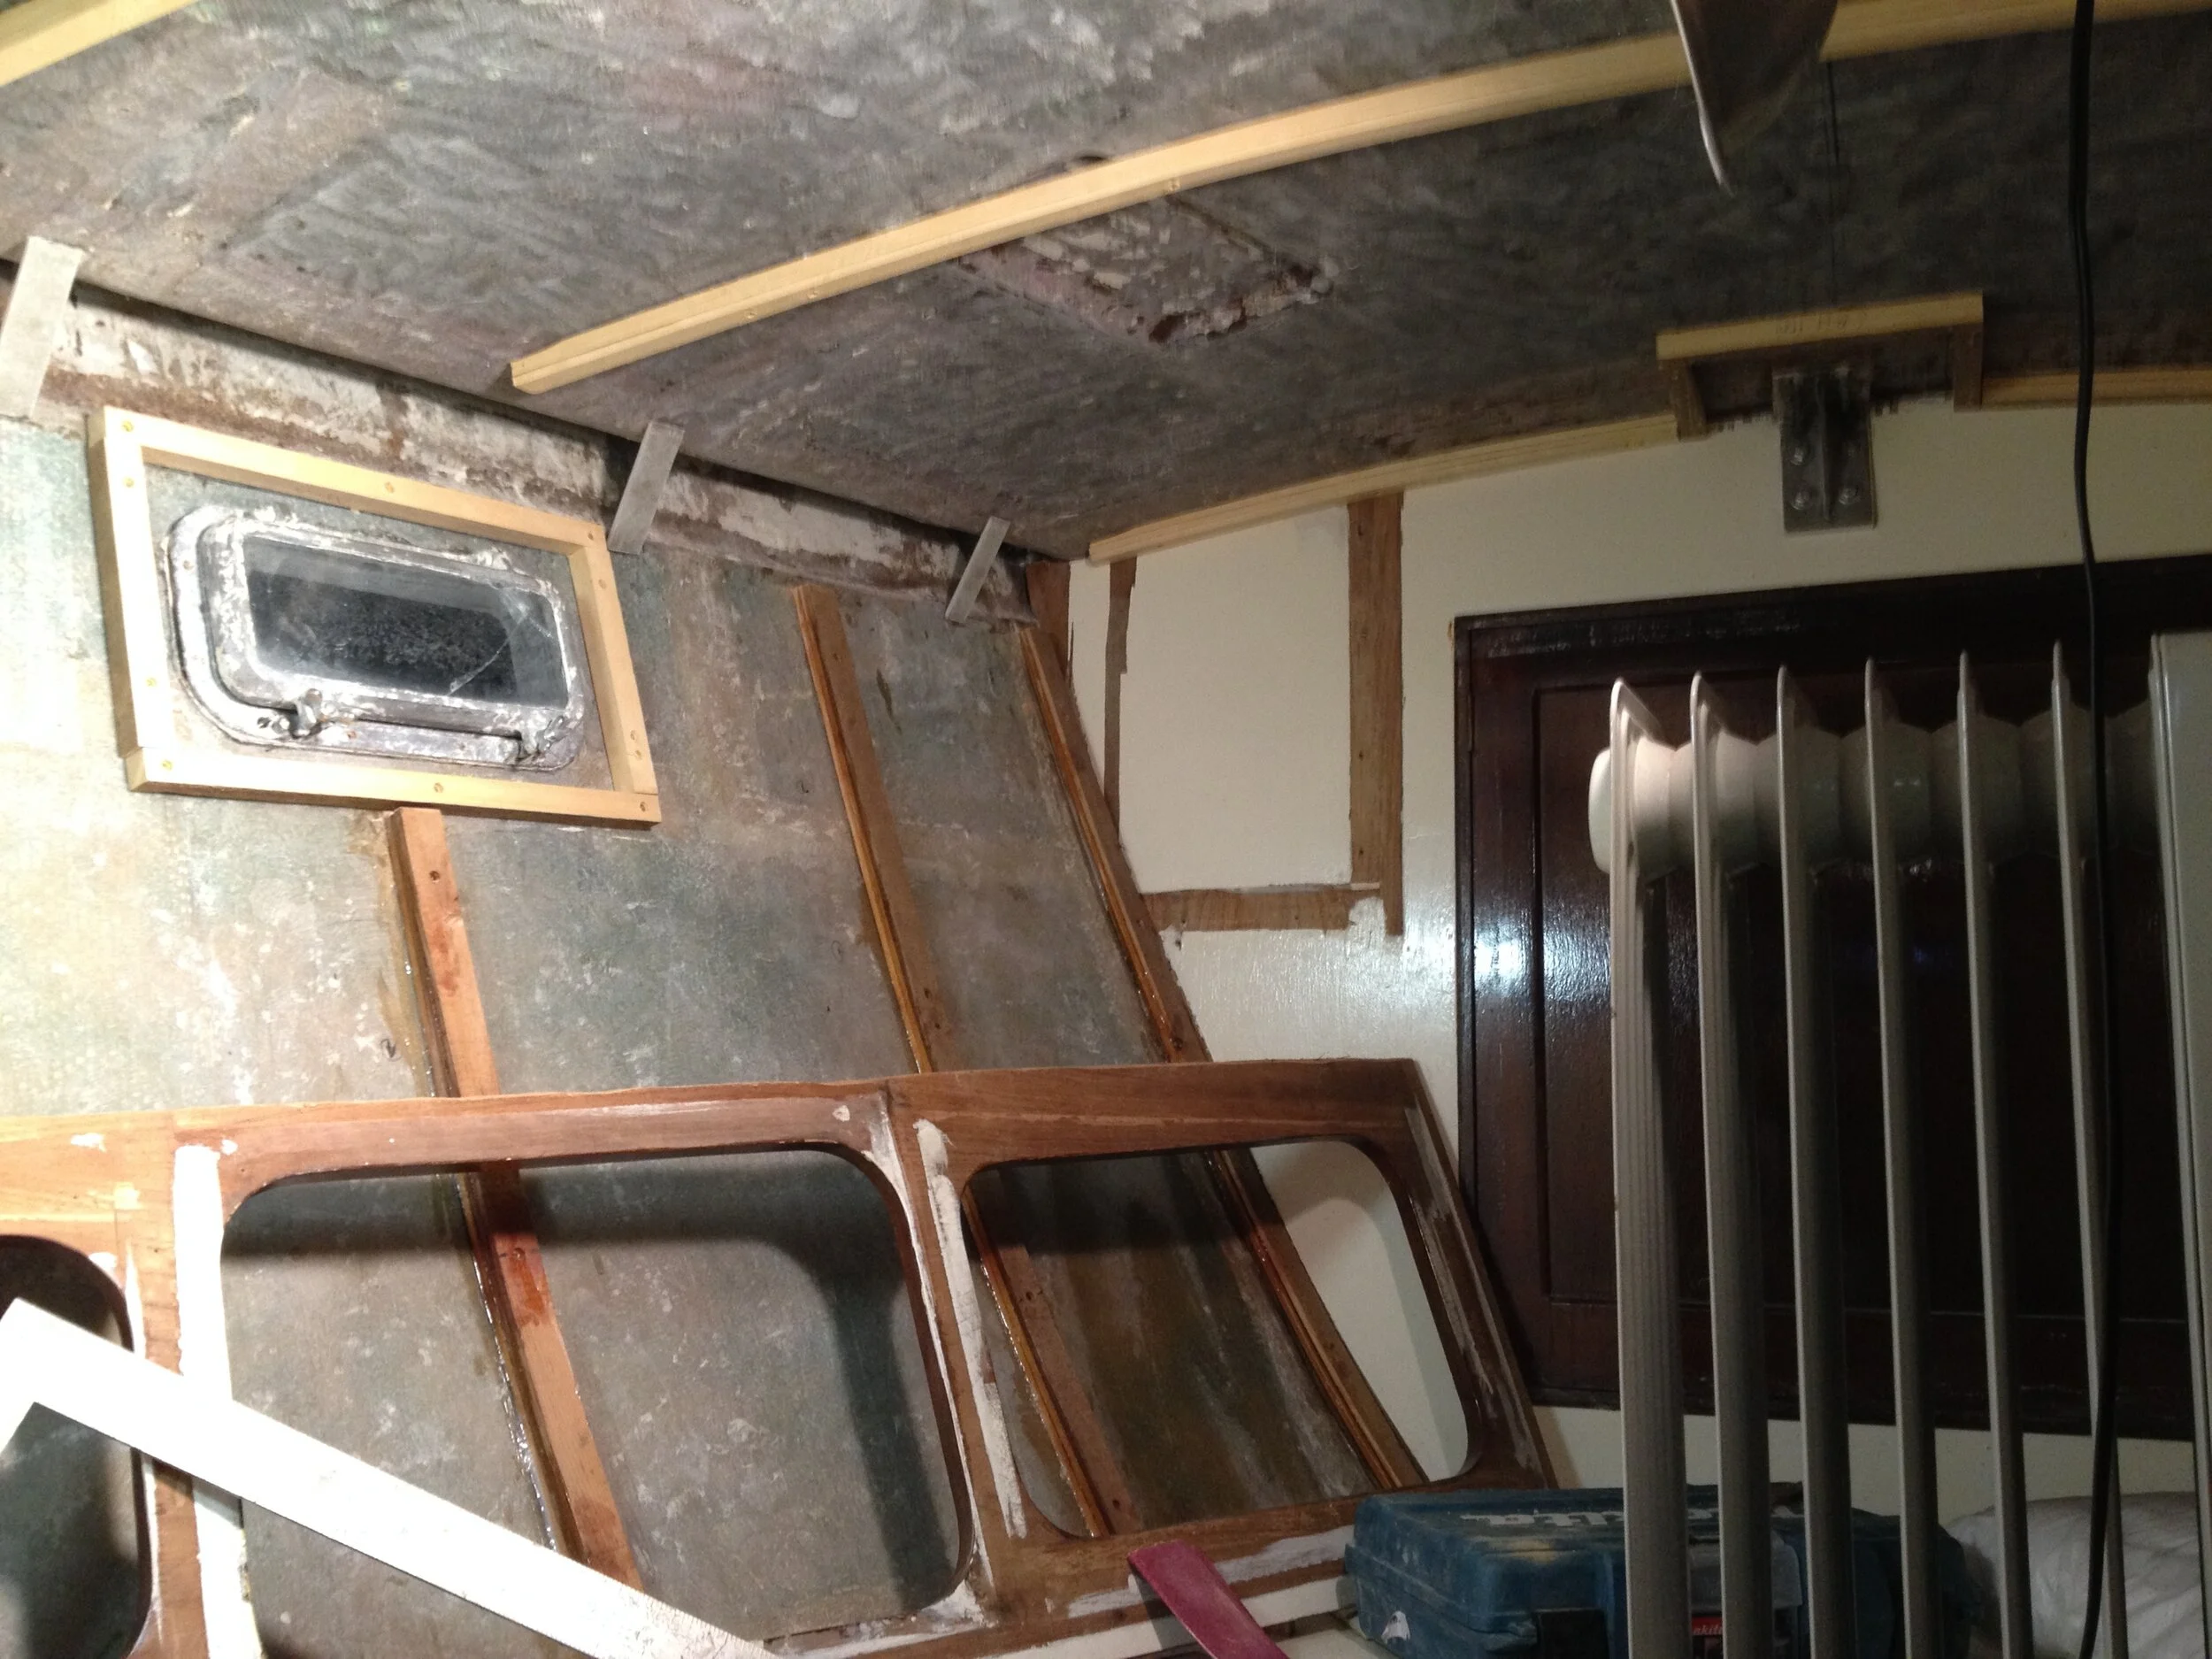
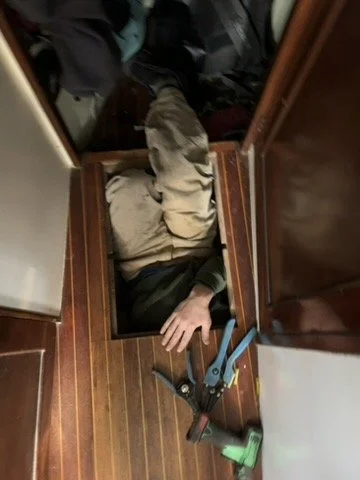
The entire month of October was spent furiously fitting out the V Berth for us to sleep in, finishing head plumbing , and getting rid of most land and house stuff we owned.

The previous Vberth hull sides were a thin glued on foam anti condensation stuff that was stained from freshwater leaks and heavy tobacco use.

IMG_0577.JPG

We then tore out these waterlogged shelves on either side and replaced just one on starboard side for more headroom.

Most of the water damage was from condensation

IMG_0585.JPG

Sara meticulously (with lots of cussing) removed all of it with different powered scraping tools and grinders. The best was an oscillating tool with a scraper blade attachment and a sawzall with a scraper blade attachment.
IMG_0595.JPG

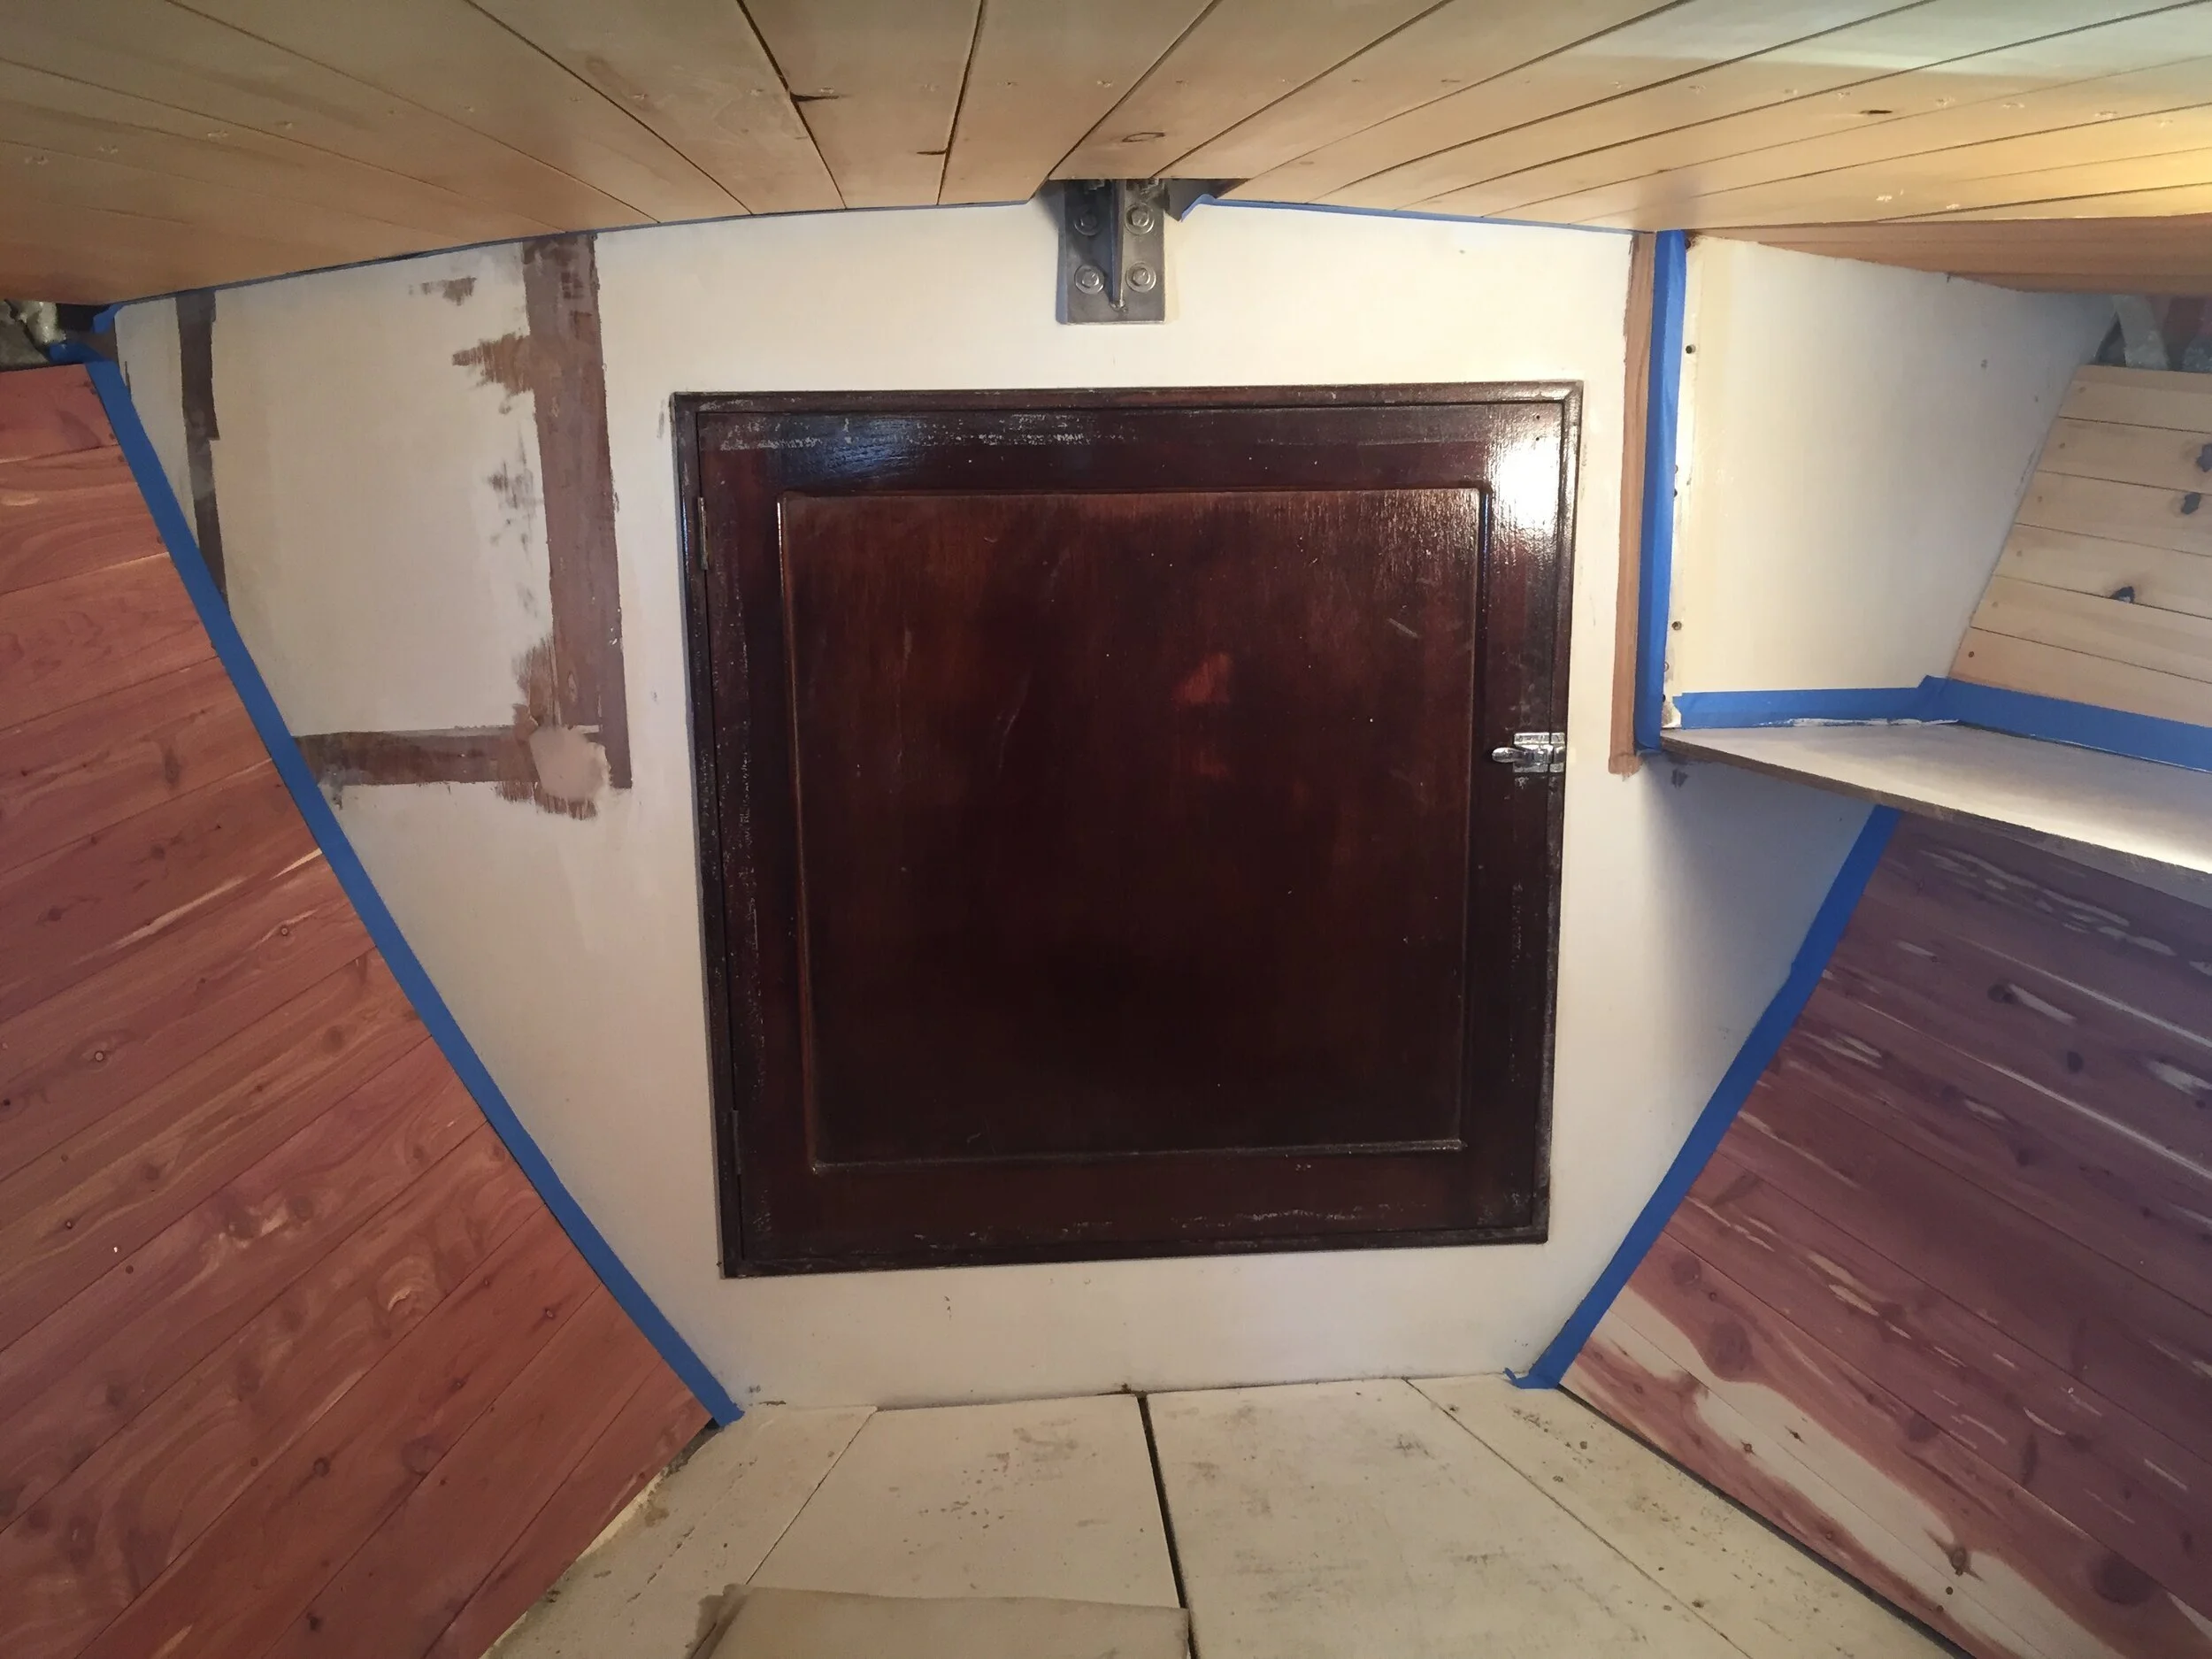
After grinding all the surfaces clean of adhesive and F#*%ing drywall screws we installed some laminated red and yellow cedar “studs”

We also little fiberglass pieces for the deck to hull transition trim pieces.
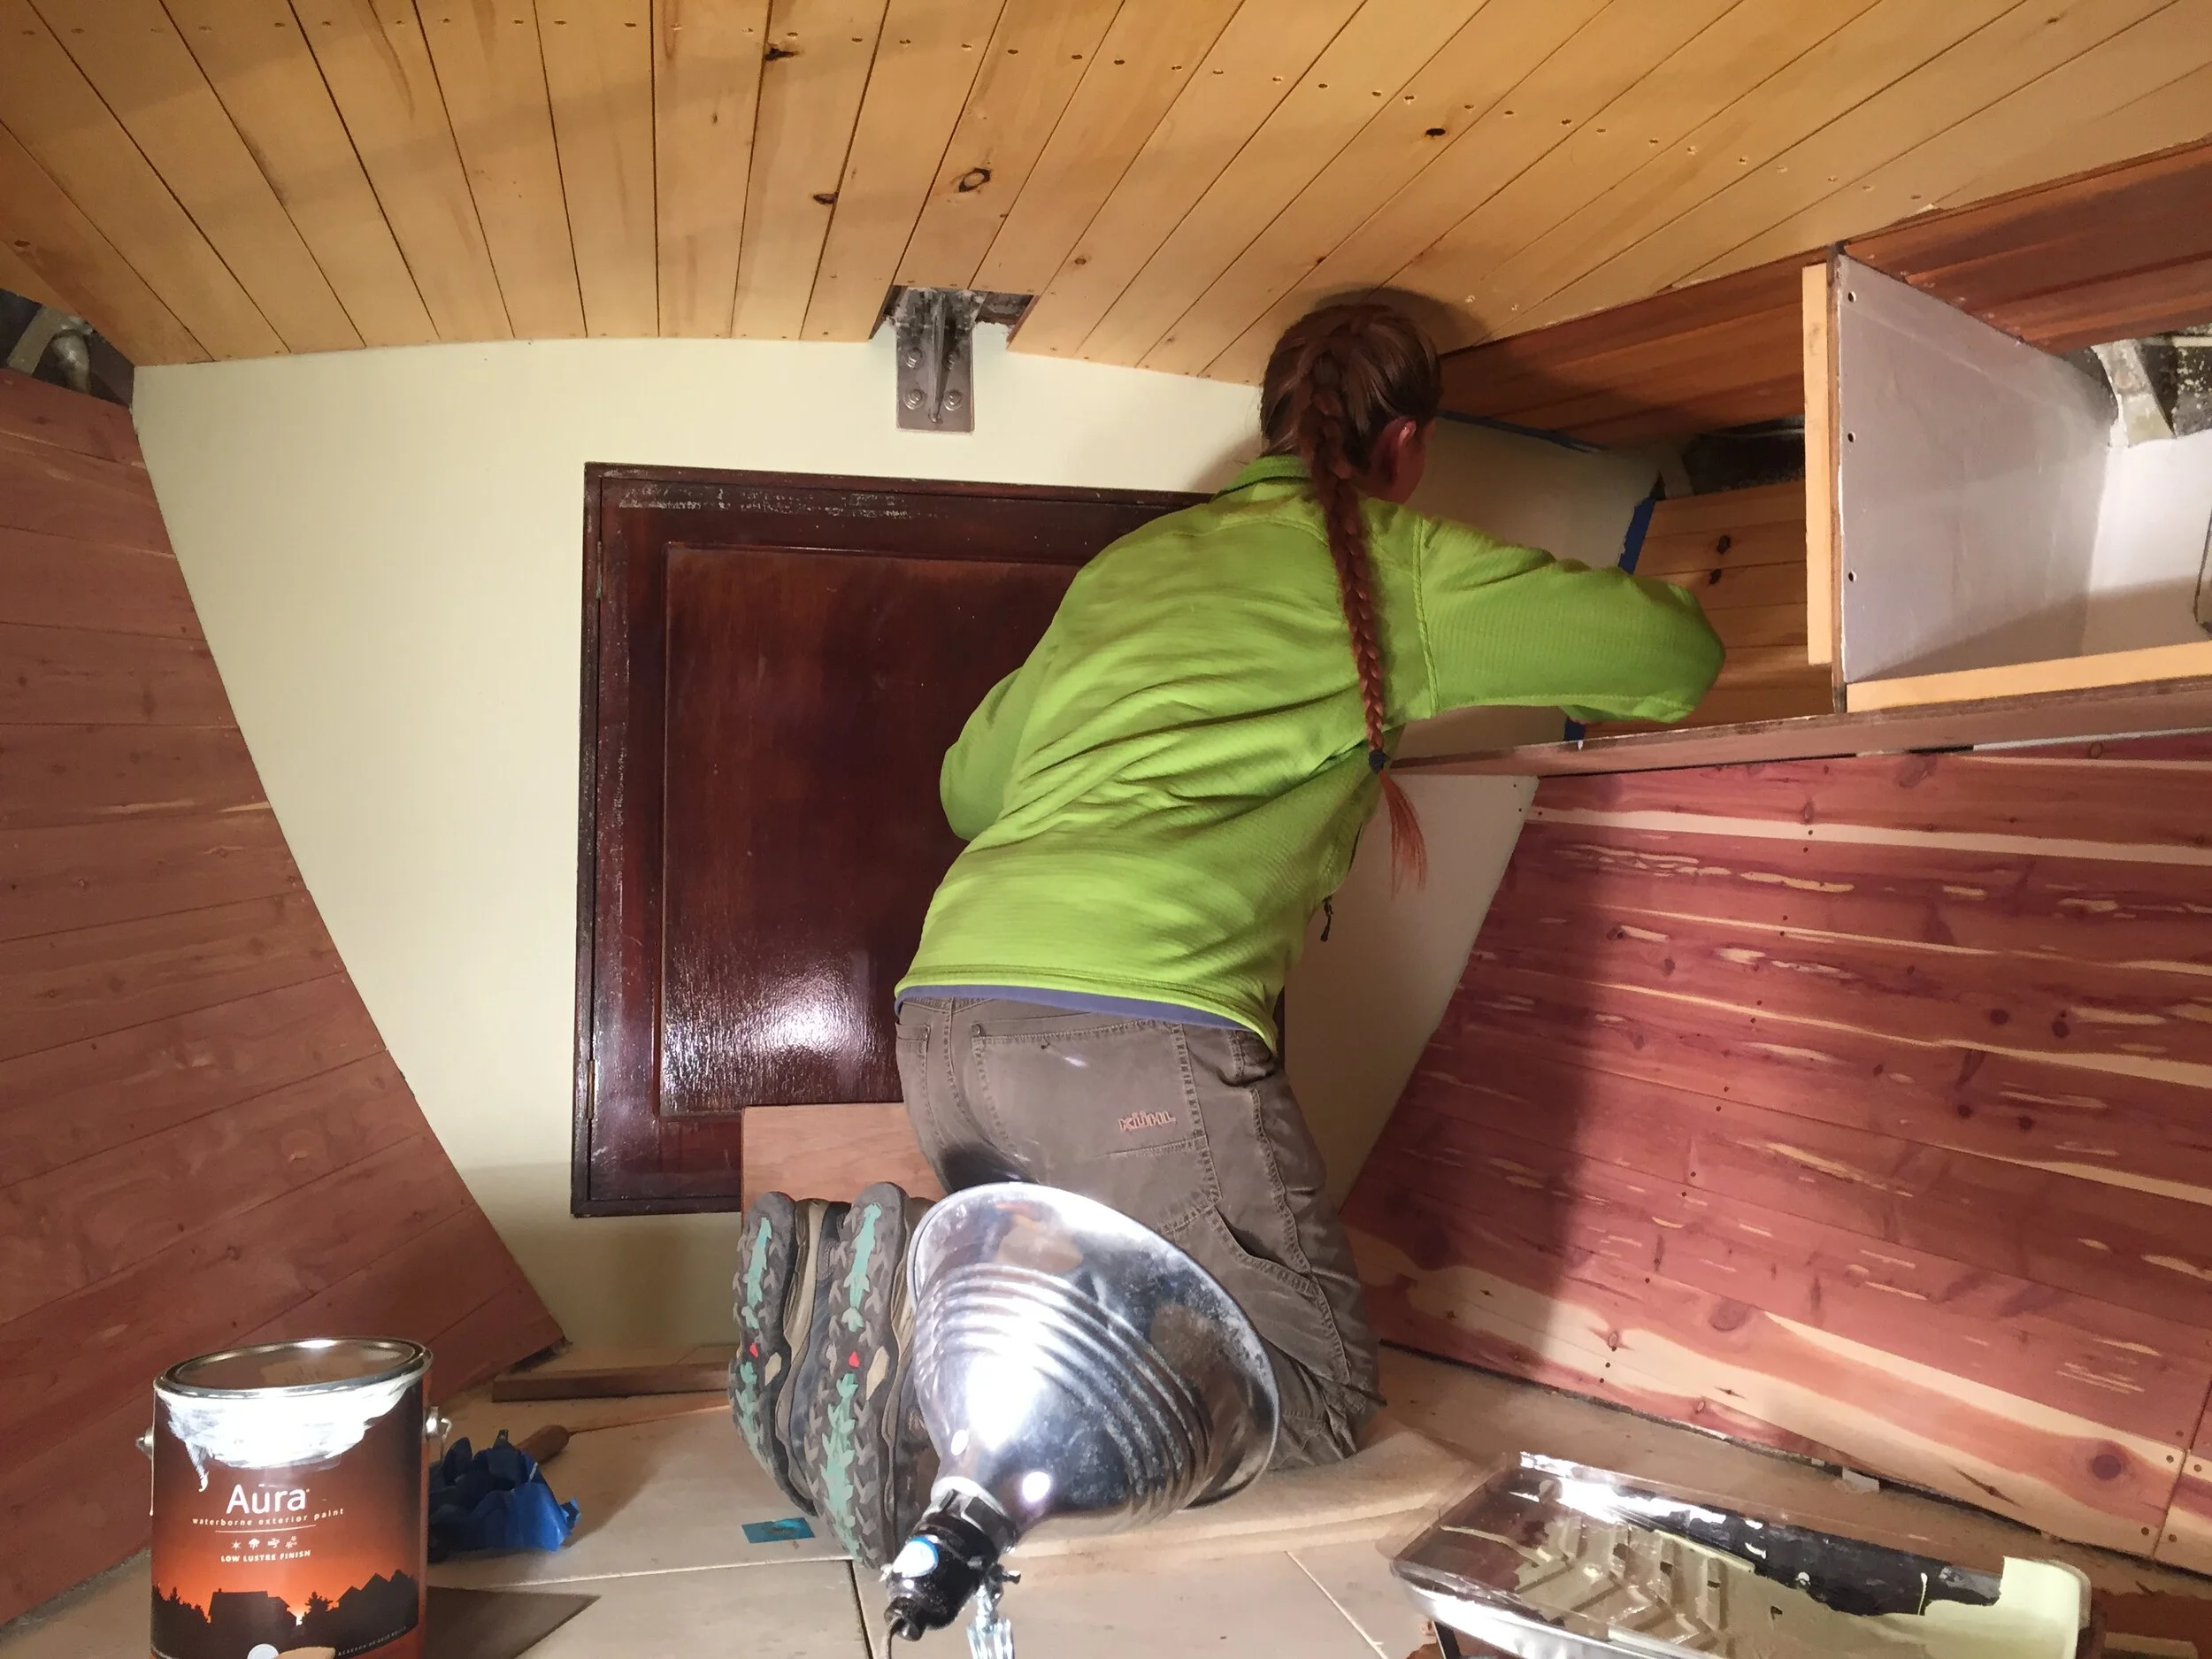
After refinishing some free yellow cedar T+G we installed the ceiling.

IMG_0794.JPG

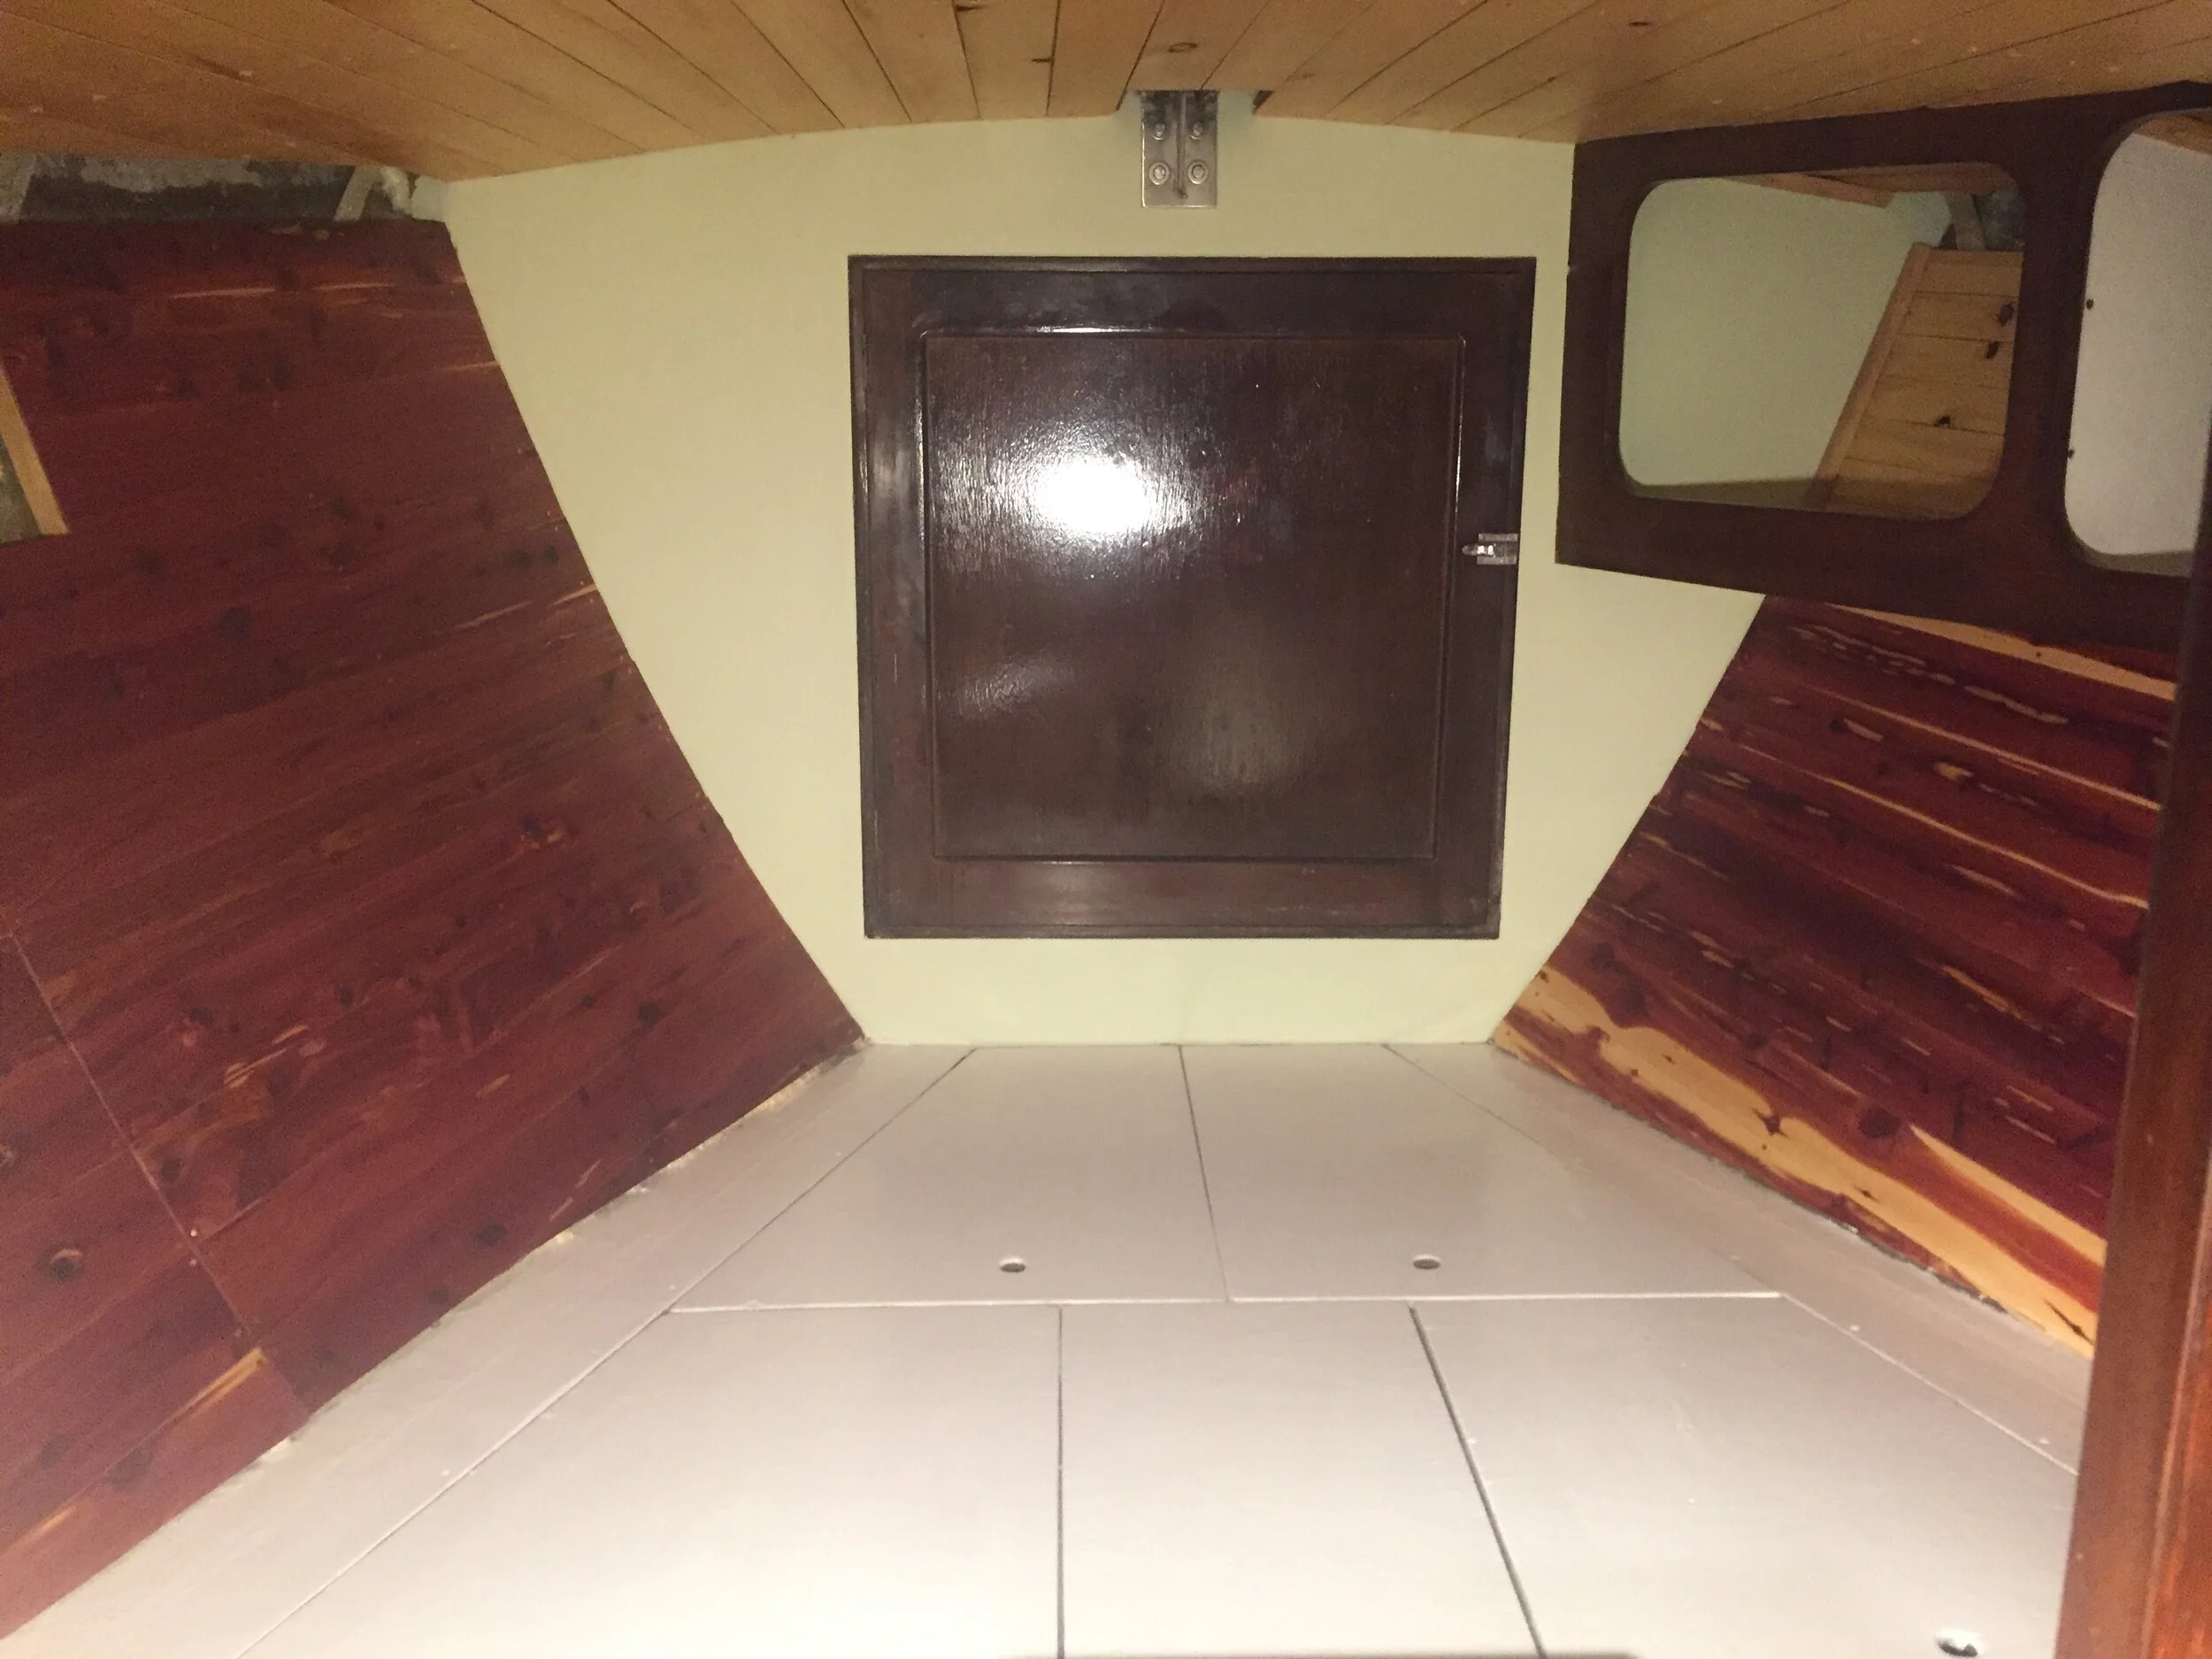
Sara found some Eastern red cedar “closet paneling” that we used for the hull sides to cover the foam insulation we placed in between the “studs”.

All of our hard work paid off in the end. Now we sleep in the V berth every night.

IMG_8626.jpg
IMG_8648.JPG
IMG_8664.JPG

Comment

Grinding My Life Away

Comment

Grinding My Life Away

I began the job of grinding the bottom of the boat on a Wednesday at 1pm. It was not finished until Friday evening. It took forever! The best estimate of square footage is 600. That's a big area! 

Comment

Painting the Bottom

Comment

Painting the Bottom

   After spending days preparing the bottom to paint, we finally got to roll on the first layer.  It went on fast and thick. We were lucky enough to have clear skies while painting so no need for our tarp set up!

Comment

To Change or Not to Change?

Comment

To Change or Not to Change?

We went back and forth about our opinion to decide to leave the name the boat came with or change it to something we connect with more.  The numerous superstitions regarding the subject ever in the back of the mind...

Comment